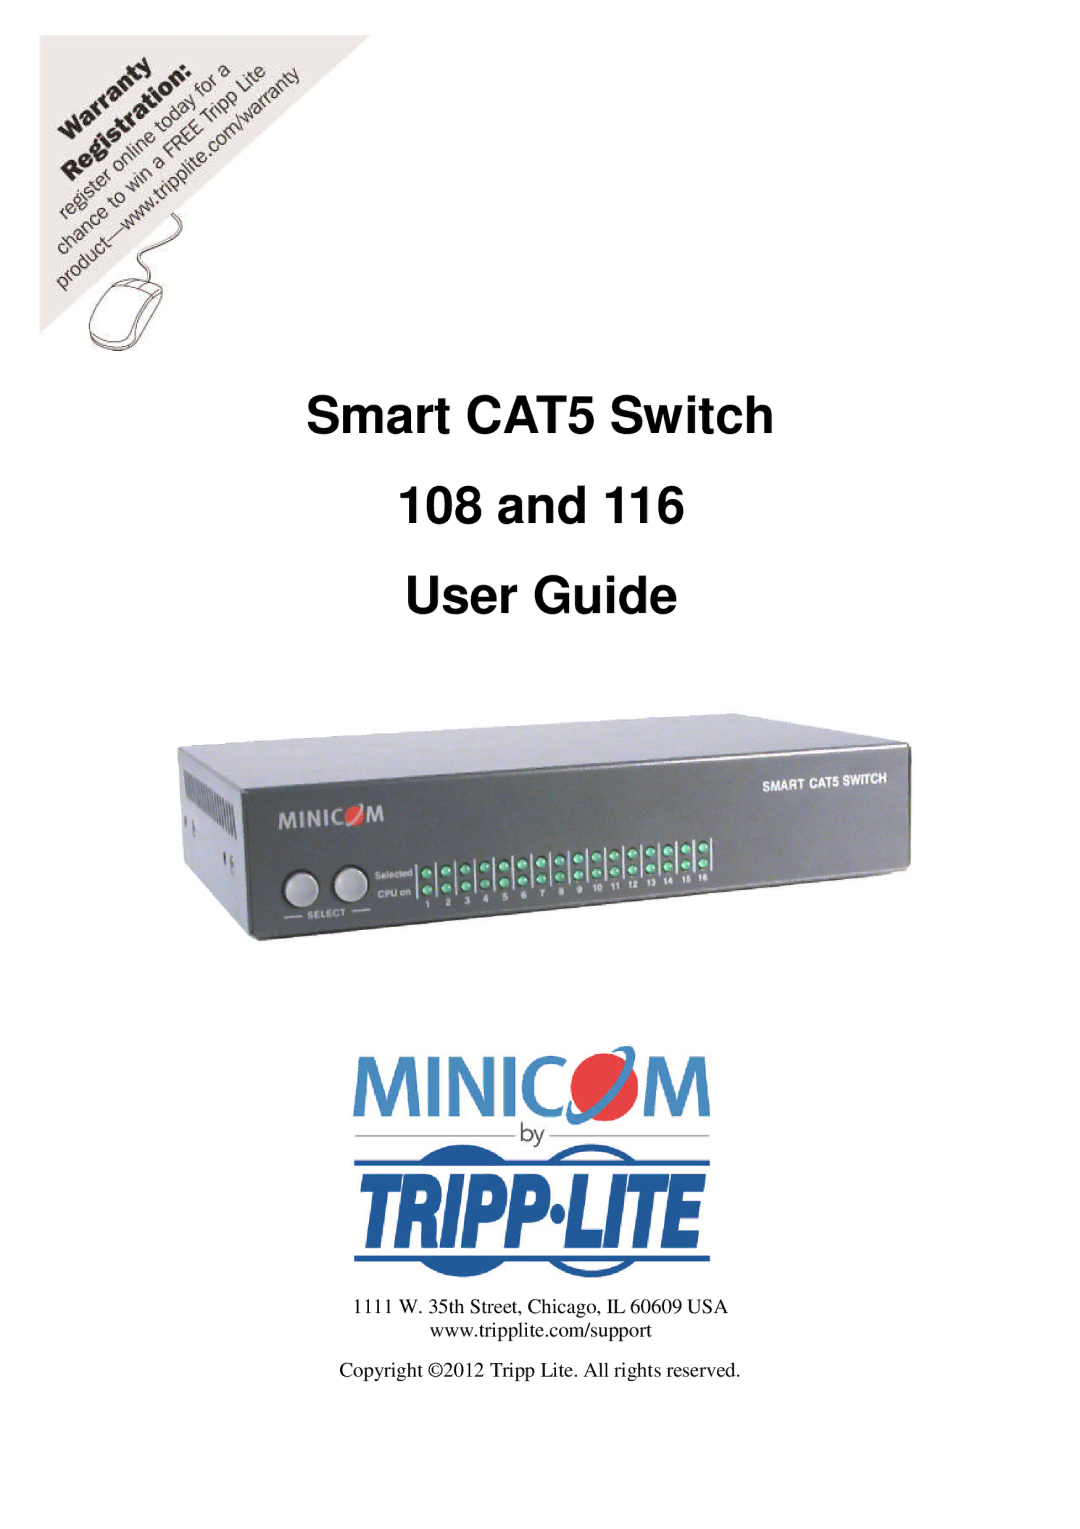
Manuals
/
Tripp Lite
/
Computer Equipment
/
Switch
Tripp Lite
116 manual Smart CAT5 Switch 108 and User Guide
Models:
116
108
1
1
45
45
Download
45 pages
9.88 Kb
1
2
3
4
5
6
7
8
<
>
Troubleshooting
Specs
Install
Error messages
The Smart CAT5 system configuration
Connecting a ROC/RICC PS/2
Avoiding general rack mounting problems
Resetting the units
The hotkeys can be any of the following Shift, Shift default
Tuning - F5
Page 1
Image 1
Smart CAT5 Switch
108 and 116
User Guide
1111 W. 35th Street, Chicago, IL 60609 USA
www.tripplite.com/support
Copyright ©2012 Tripp Lite. All rights reserved.
Page 2
Page 1
Image 1
Page 2
Contents
1111 W. 35th Street, Chicago, IL 60609 USA
Smart CAT5 Switch 108 and User Guide
Copyright 2012 Tripp Lite. All rights reserved
SMART CAT5 SWITCH - 108/116
Table of Contents
Features
3.3 Connecting a RICC SUN
6. Upgrading the Smart CAT5 firmware
5. Using the Control software
USER GUIDE
9.1 Safety
6.7.3 Communication Error message
SMART CAT5 SWITCH - 108/116
6.7.2 Getting the current status
Technical precautions
1 . We l c o m e
Trademarks
2 . I n t r o d u c t i o n
2.1 Features
2.2 System components
2.3 Compatibility
2.4 The Smart CAT5 system configuration
2.5 The Smart CAT5 models
2.6 Pre-installation guidelines
3 . C o n n e c t i n g t h e S m a r t C AT 5 s ys t e m
3.1 Connecting a ROC/RICC PS/2
3.2 Connecting a ROC/RICC USB
3.4 Connecting the CAT5 cables
3.3 Connecting a RICC SUN
3.5 Connecting the KVM console
3.6 Connecting the power supply
Elevated operating ambient temperature
3.6.1 Avoiding general rack mounting problems
Reduced airflow
Mechanical loading
3.6.3 Rack mounting the RICCs
3.6.4 Cascading Smart CAT5 switches
RICCs
Figure 12 Cascading Smart CAT5 switches
4.1 The keyboard hotkeys
4 . O p e r a t i n g t h e S m a r t C AT 5 s ys t e m
4.2 Displaying the OSD
4.2.1 Navigating the OSD
4.2.3 The OSD settings F2
4.2.2 Selecting a computer
4.2.4 The General settings
The Administrator can
The hotkeys can be any of the following Shift, Shift default
4.2.6 The Ports settings
4.2.5 F7 Defaults
4.2.4.10 Editing the Switch name
4.2.4.9 Changing the Keyboard language
4.2.6.1 Editing the computer name
4.2.7 The Time settings
4.2.6.2 Keyboard KB
4.2.6.3 HKEY hotkey - Cascading
4.2.8 Users
4.2.9 Security
Figure 18 Users settings window
4.2.10 The OSD HELP window - F1
4.2.11 Scanning computers- F4
4.2.12 Tuning - F5
4.2.13 Moving the label - F6
4.2.14 Sending monitor emulation information to ROC/RICCs - F10
To input the DDC information
5 . U s i n g t h e C o n t r o l s o f tw a r e
5.2 Connecting the RS232 Serial cable
5.1 Control software system requirements
5.3.1 Selecting a Com port
5.3 Installing and running the Control software
5.3.2 Computer icons Icon Meaning
5.3.3 Communication Error
5.3.4 The View menu
5.3.9 Write Configuration
5.3.8 Read Configuration
5.3.5 Selecting a computer
5.3.6 The toolbar buttons
5.3.13 Settings
5.3.12 Logo and Passwords
5.3.11 The Edit menu
5.3.16 The factory default settings
5.3.14 Loading a saved configuration
5.3.15 Reminder
5.4.1 Administrator Status A
5.4 Password protection
5.4.2 Supervisor Status S
5.4.3 User Status U
6.2 System requirements for the Smart CAT5 Update software
6.1 Obtaining the Update software and latest firmware
6.3 Connecting the Smart CAT5 system
6 . U p g r a d i n g t h e S m a r t C AT 5 f i r mw a r e
6.5 Starting and configuring the Smart CAT5 Update
6.4 Installing the software
6.4.1 Connecting the RS232 Serial cable
6.5.1 Verifying the version numbers
6.5.2 Updating the firmware
1. In the Switch Unit box, check the Smart CAT5 Manager option
6.7 Update software - Troubleshooting
6.6 Restoring factory settings
Resetting through the Update software
6.7.1 Resetting the units
Resetting from the Smart CAT5 switch
6.7.3 Communication Error message
6.7.4 Electricity failure
USER GUIDE
7 . R I C C S U N k e yb o a r d e m u l a t i o n
SUN key
8 . U S B / S U N C o m b o k e ys
Combo key
operating systems
9 . Te c h n i c a l s p e c i f i c a t i o n s
80% non-condensing relative humidity
9.2 WEEE compliance
9.1 Safety
201204196
USER GUIDE