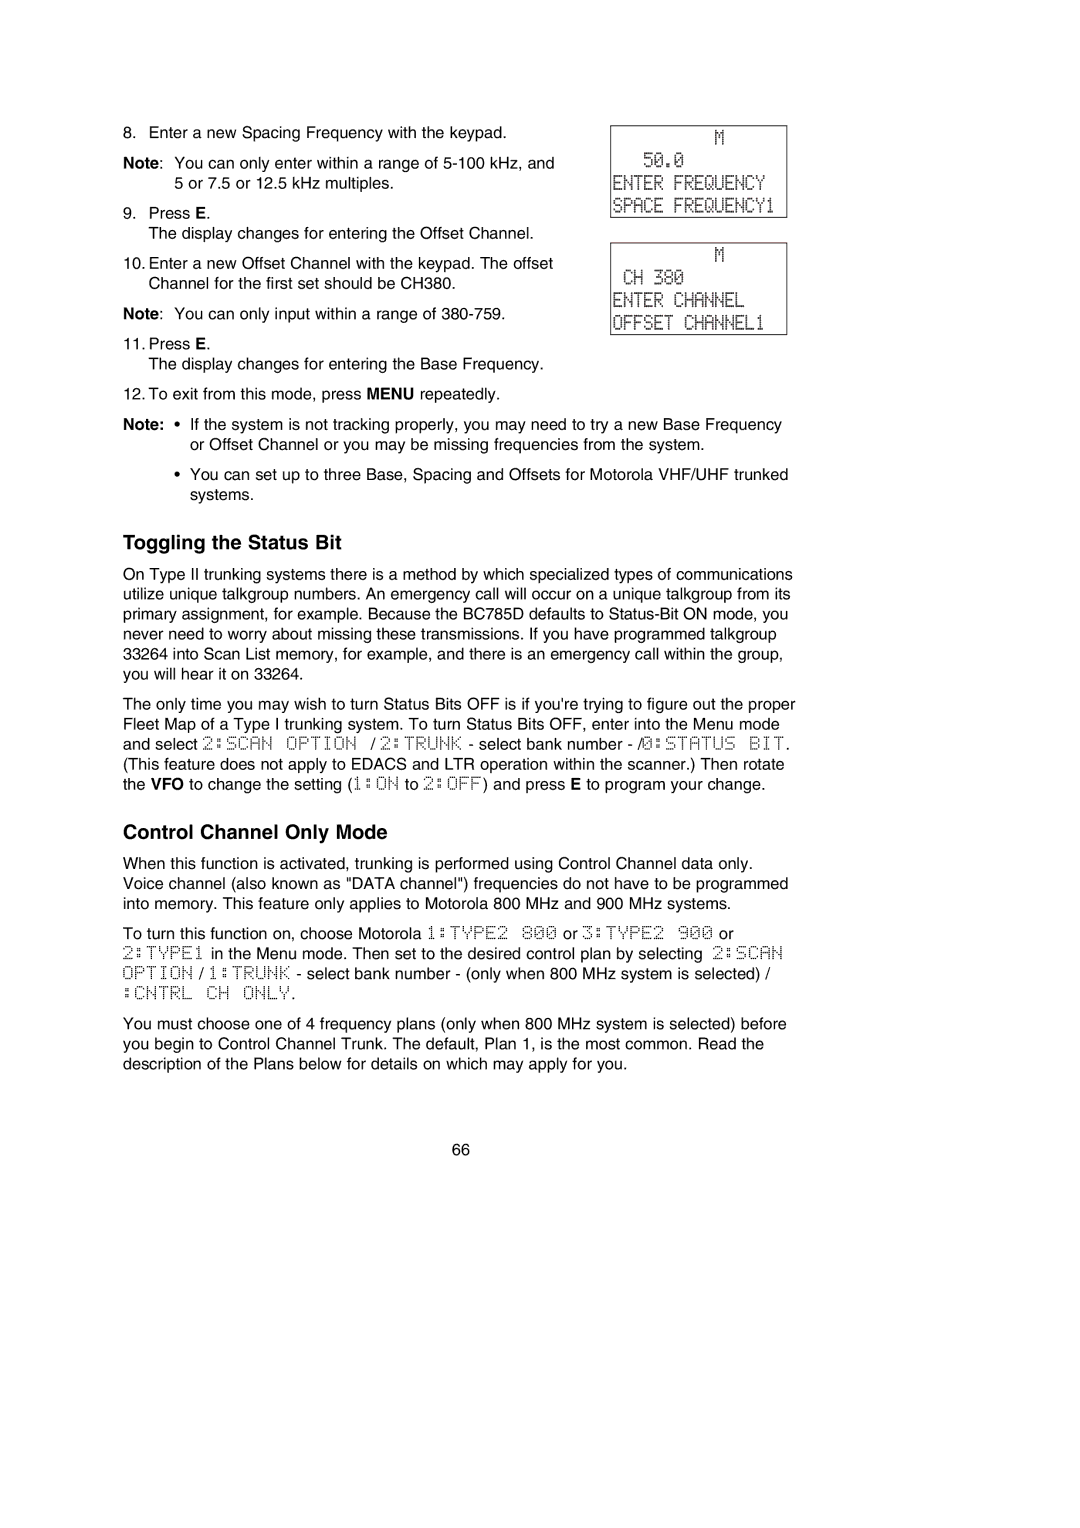
8. Enter a new Spacing Frequency with the keypad.
Note: You can only enter within a range of
9.Press E.
The display changes for entering the Offset Channel.
M
50.0
ENTER FREQUENCY SPACE FREQUENCY1
10.Enter a new Offset Channel with the keypad. The offset Channel for the first set should be CH380.
Note: You can only input within a range of
M
CH 380 ENTER CHANNEL OFFSET CHANNEL1
11.Press E.
The display changes for entering the Base Frequency.
12.To exit from this mode, press MENU repeatedly.
Note: • If the system is not tracking properly, you may need to try a new Base Frequency or Offset Channel or you may be missing frequencies from the system.
•You can set up to three Base, Spacing and Offsets for Motorola VHF/UHF trunked systems.
Toggling the Status Bit
On Type II trunking systems there is a method by which specialized types of communications utilize unique talkgroup numbers. An emergency call will occur on a unique talkgroup from its primary assignment, for example. Because the BC785D defaults to
The only time you may wish to turn Status Bits OFF is if you're trying to figure out the proper Fleet Map of a Type I trunking system. To turn Status Bits OFF, enter into the Menu mode and select 2:SCAN OPTION / 2:TRUNK - select bank number
Control Channel Only Mode
When this function is activated, trunking is performed using Control Channel data only. Voice channel (also known as "DATA channel") frequencies do not have to be programmed into memory. This feature only applies to Motorola 800 MHz and 900 MHz systems.
To turn this function on, choose Motorola 1:TYPE2 800 or 3:TYPE2 900 or 2:TYPE1 in the Menu mode. Then set to the desired control plan by selecting 2:SCAN OPTION / 1:TRUNK - select bank number - (only when 800 MHz system is selected) /
:CNTRL CH ONLY.
You must choose one of 4 frequency plans (only when 800 MHz system is selected) before you begin to Control Channel Trunk. The default, Plan 1, is the most common. Read the description of the Plans below for details on which may apply for you.
66