VIVOTEK
■To set the privacy mask windows, follow the steps below:
1. Select Enable privacy mask to enable this function.
2. Click on the video window or use camera control buttons (Up, Down, Left, Right, Home, and Go to) to move the desired position to the center.
3. Use the mouse to size and
4. Enter a Window Name and click Add. The name of privacy mask will be displayed on the Privacy Mask list.
5. If you want to set up more privacy masks, please repeat above steps. Up to 8 privacy mask windows can be set up, and only 4 windows can be displayed on the same screen.
6. Choose one color to apply to all privacy mask windows.
NOTE
►If the frame is not at 1x zoom, a warning message will pop up as shown below. Click Yes and to go back to 1x zoom.
►Up to 5 privacy mask windows can be set up on the same screen.
►If you want to delete the privacy mask window, please click the ‘x’ on the upper
Sensor Settings Advanced Mode
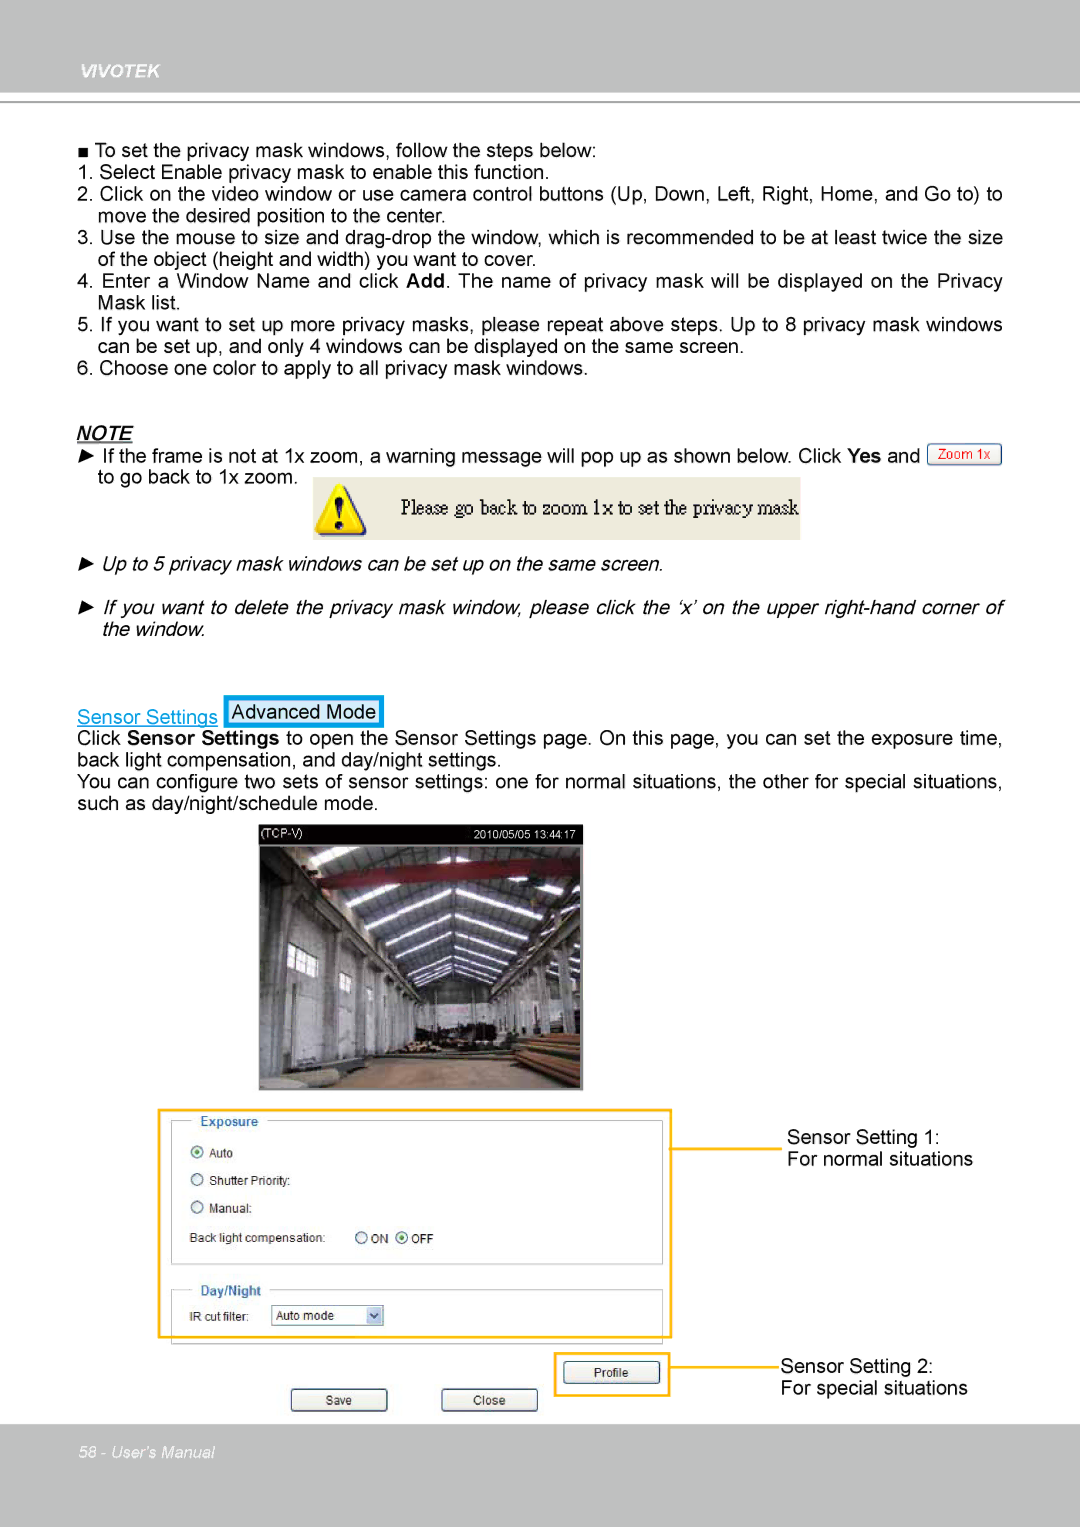
Click Sensor Settings to open the Sensor Settings page. On this page, you can set the exposure time, back light compensation, and day/night settings.
You can configure two sets of sensor settings: one for normal situations, the other for special situations, such as day/night/schedule mode.
2010/05/05 13:44:17
Sensor Setting 1:
For normal situations
![]() Sensor Setting 2:
Sensor Setting 2:
For special situations
58 - User's Manual
