INSTALLATION
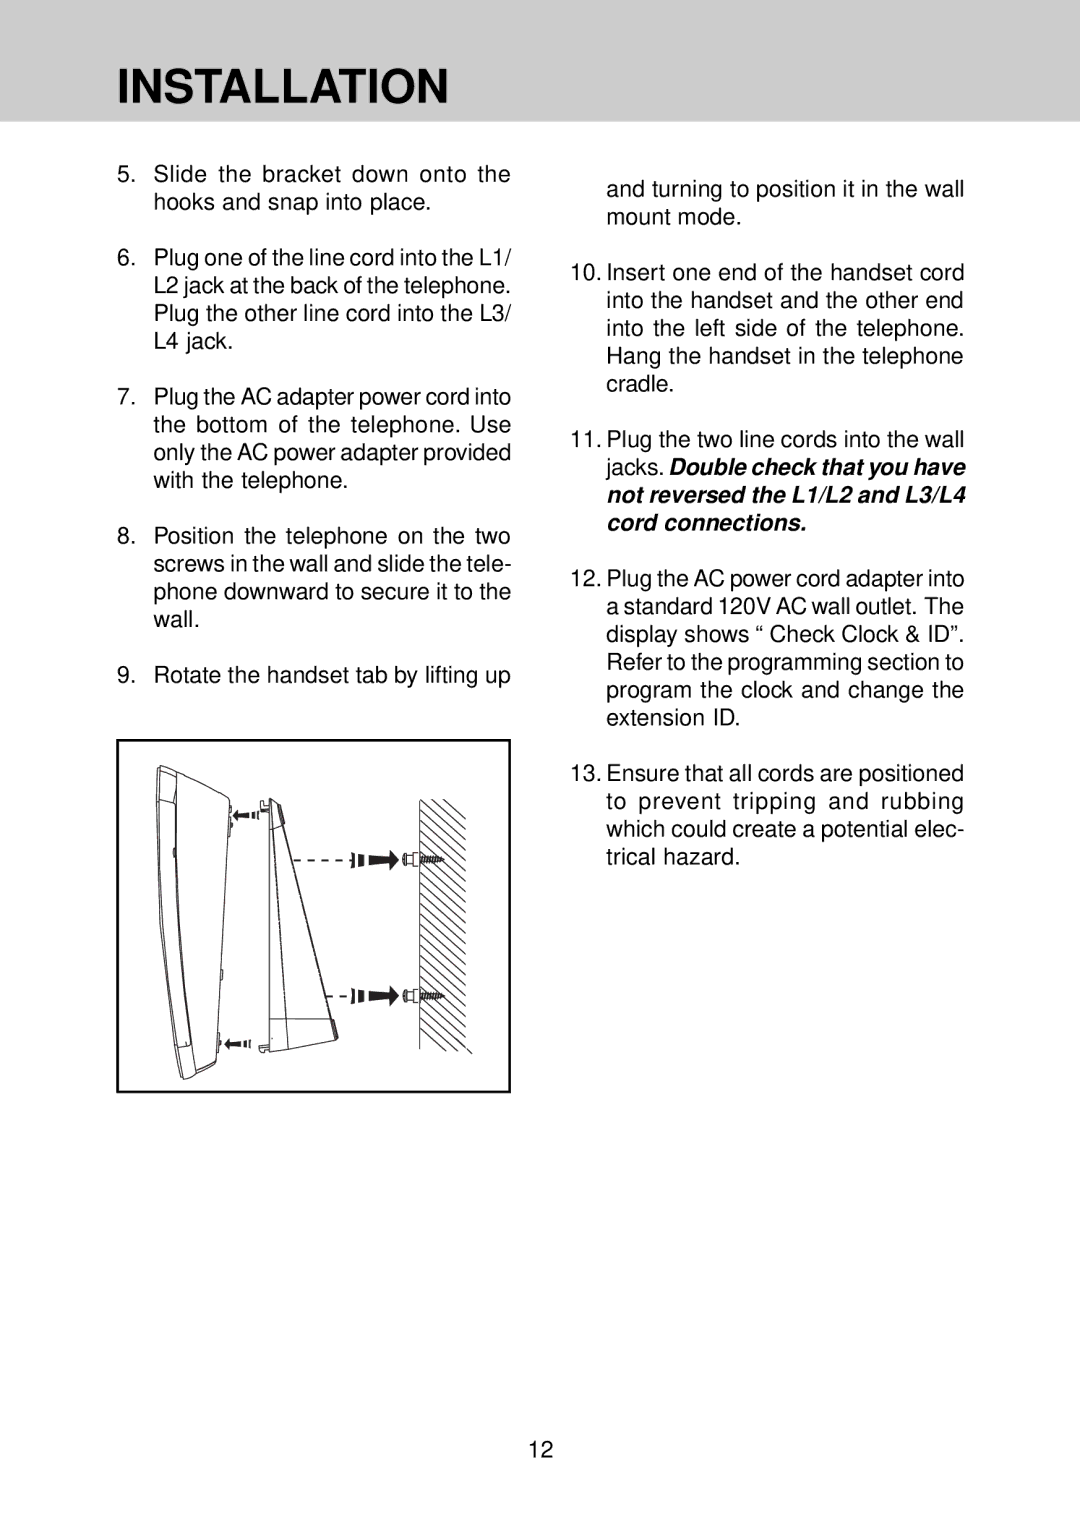
5.Slide the bracket down onto the hooks and snap into place.
6.Plug one of the line cord into the L1/ L2 jack at the back of the telephone. Plug the other line cord into the L3/ L4 jack.
7.Plug the AC adapter power cord into the bottom of the telephone. Use only the AC power adapter provided with the telephone.
8.Position the telephone on the two screws in the wall and slide the tele- phone downward to secure it to the wall.
9.Rotate the handset tab by lifting up
and turning to position it in the wall mount mode.
10.Insert one end of the handset cord into the handset and the other end into the left side of the telephone. Hang the handset in the telephone cradle.
11.Plug the two line cords into the wall jacks. Double check that you have not reversed the L1/L2 and L3/L4 cord connections.
12.Plug the AC power cord adapter into a standard 120V AC wall outlet. The display shows “ Check Clock & ID”. Refer to the programming section to program the clock and change the extension ID.
13.Ensure that all cords are positioned to prevent tripping and rubbing which could create a potential elec- trical hazard.
12