Synchronizing the Positions of the Pen Tip and Pointer
Make the necessary adjustments so that when the pen nib is brought near the LCD screen, the pointer displays properly in the area where the pen nib is placed (parallactic adjusting).
*When using an analog RGB input type of LCD pen tablet, please refer to “Blurring and Protrusion of the Picture from the LCD Panel” on P. 14 and make any necessary adjustments to the screen.
*When using multiple tablets, see page 24.
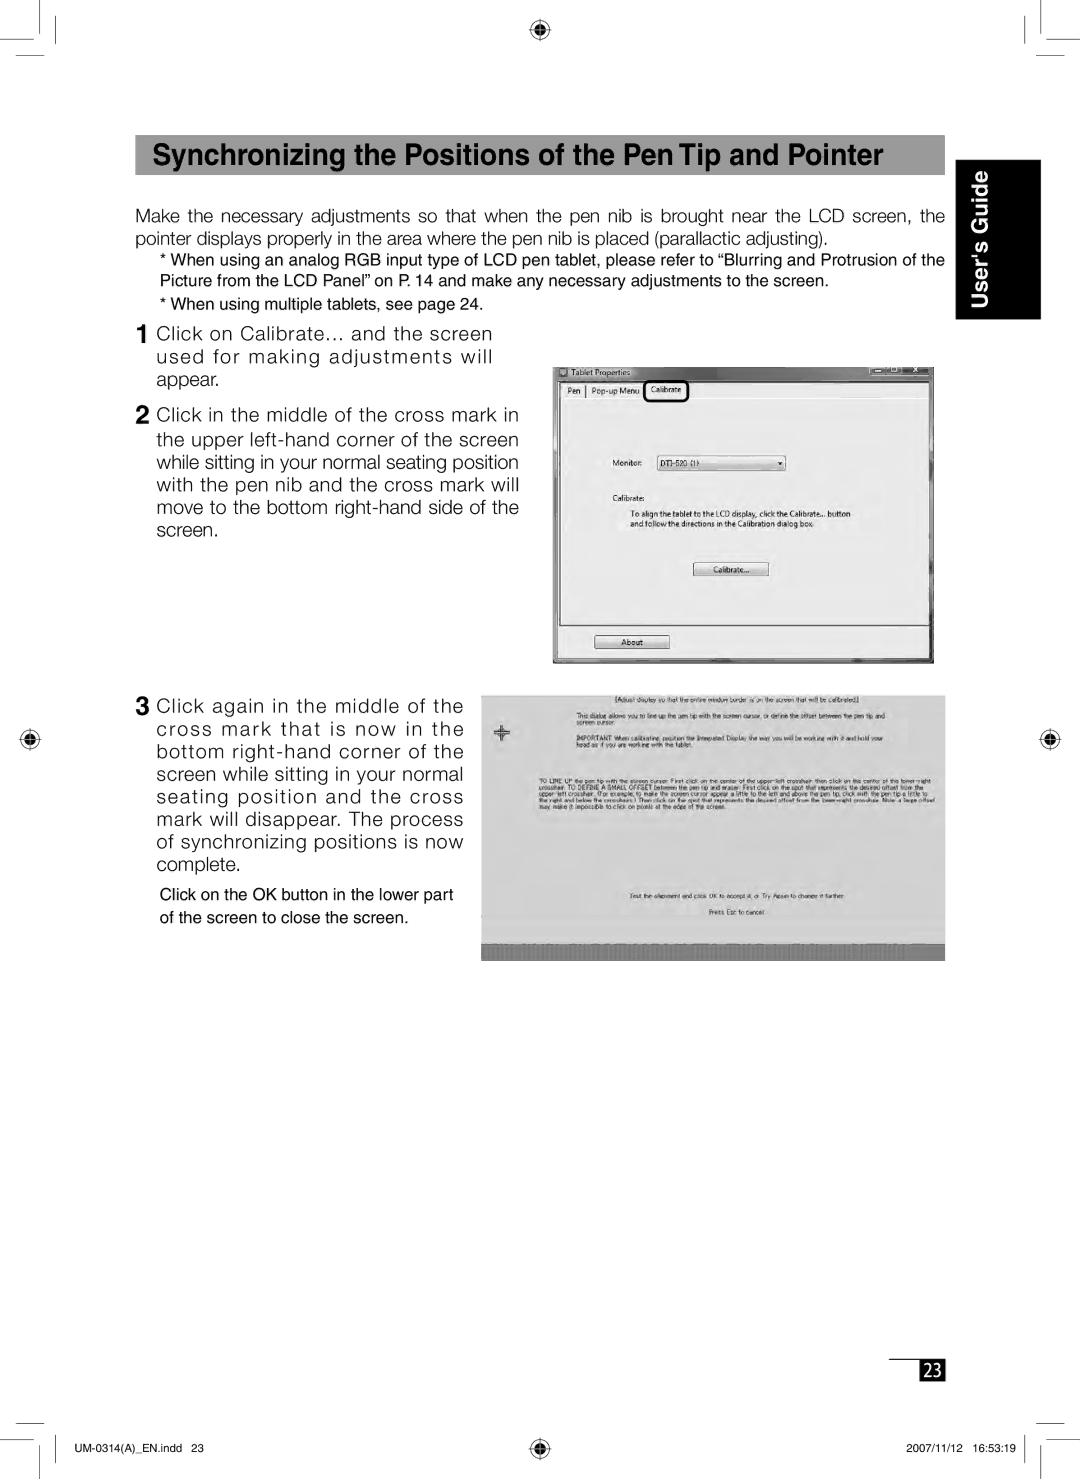
1Click on Calibrate... and the screen used for making adjustments will appear.
2Click in the middle of the cross mark in the upper
3Click again in the middle of the cross mark that is now in the bottom
Click on the OK button in the lower part of the screen to close the screen.
User's Guide
23
2007/11/12 16:53:19