
GGG390LXS, GGG390LXQ, GGG388LXB, GGG388LXQ, GGE388LXQ specifications
The Whirlpool GGG390LXB, GGG388LXS, GGE388LXS, GGE388LXQ, and GGG388LXQ are noteworthy gas ranges that combine reliability, performance, and innovative technologies for an enriching cooking experience. With an emphasis on convenience and user-friendly design, these models cater to both novice cooks and seasoned chefs.One of the standout features of these ranges is their powerful burners, offering a consistent and precise flame for various cooking methods. The high-output burners are specifically designed to handle everything from simmering delicate sauces to searing steaks, ensuring versatility in meal preparation. The various heat outputs provide options for different cooking styles, from rapid boiling to slow simmering.
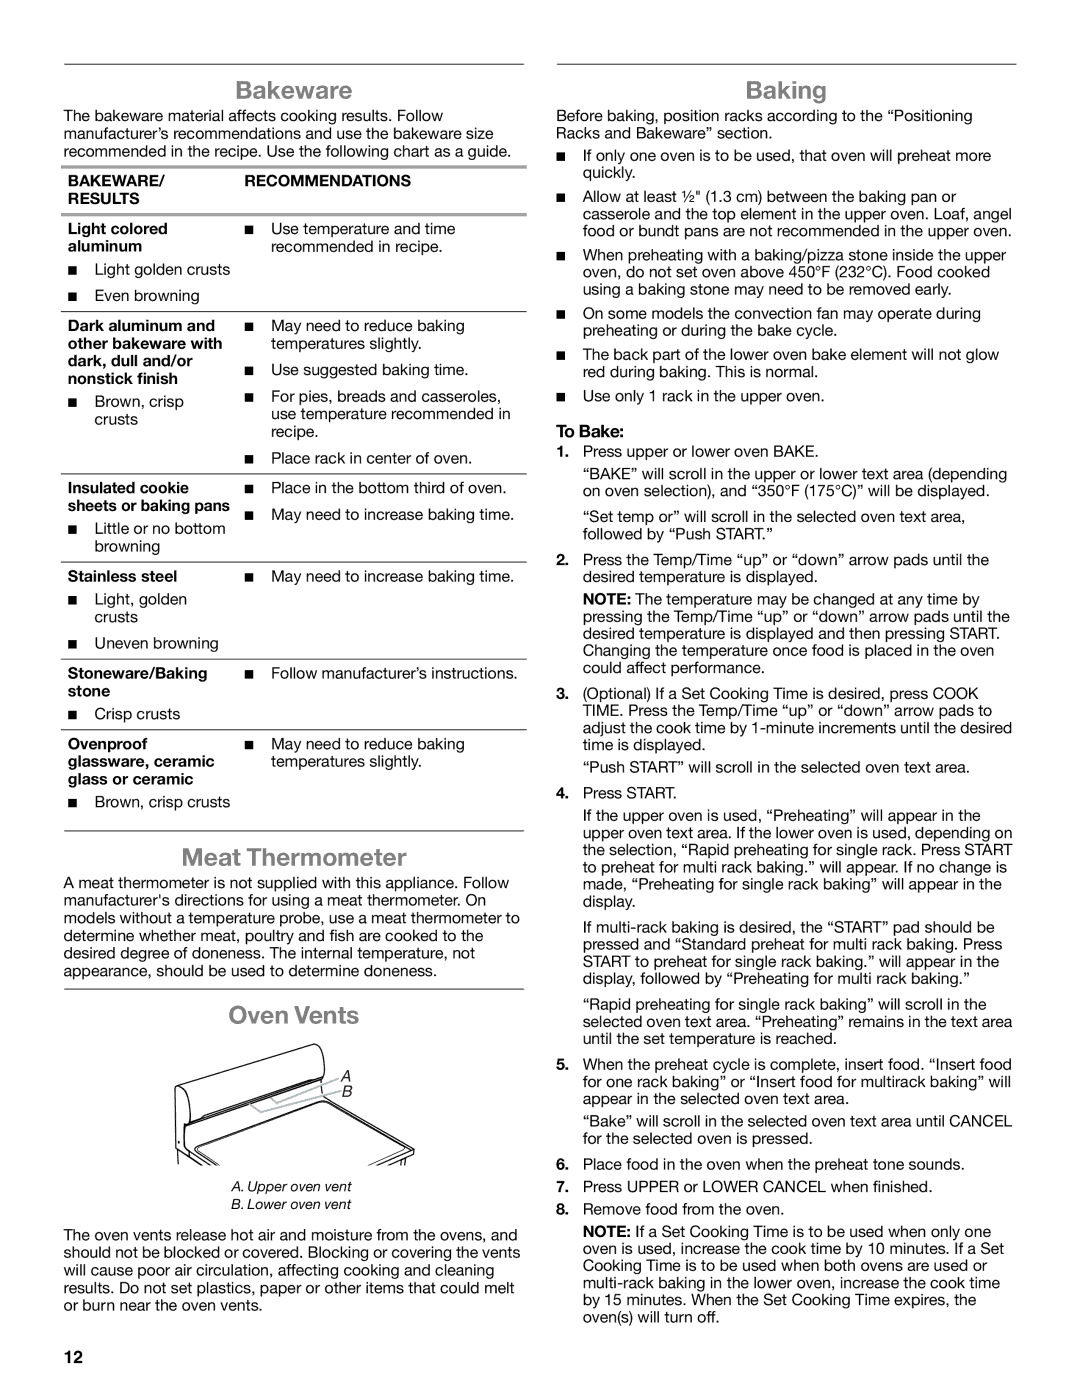
In addition to powerful burners, these models come equipped with a spacious oven that ensures even baking and roasting. The True Convection technology enhances heat circulation within the oven, promoting uniform cooking results on multiple racks. Whether baking cookies or roasting a holiday turkey, users can expect consistent results every time.
Another impressive aspect of these Whirlpool gas ranges is their cleaning technologies. The self-cleaning feature, available in select models, makes maintenance effortless by using high temperatures to burn away food residue. This not only saves time but also ensures that the oven remains in peak condition for years of cooking.
The design of these ranges also reflects modern aesthetics. With sleek finishes and intuitive controls, they blend seamlessly with a variety of kitchen styles. The recessed cooktop offers additional safety and makes it easier to clean up spills. Furthermore, the durable construction ensures longevity, making these ranges a wise investment for any kitchen.
Safety is also a priority in the Whirlpool GGG390LXB, GGG388LXS, GGE388LXS, GGE388LXQ, and GGG388LXQ models. Features like burners with automatic reignition and oven lock controls provide peace of mind during cooking, making the experience safer for families with children.
In summary, the Whirlpool gas ranges GGG390LXB, GGG388LXS, GGE388LXS, GGE388LXQ, and GGG388LXQ offer a blend of power, convenience, and style. With features designed to enhance cooking efficiency and ease of use, these appliances stand out in today’s demanding kitchen environments, catering to the needs of diverse culinary tasks. Whether you’re preparing everyday meals or gourmet dishes, these ranges are poised to deliver exceptional results.