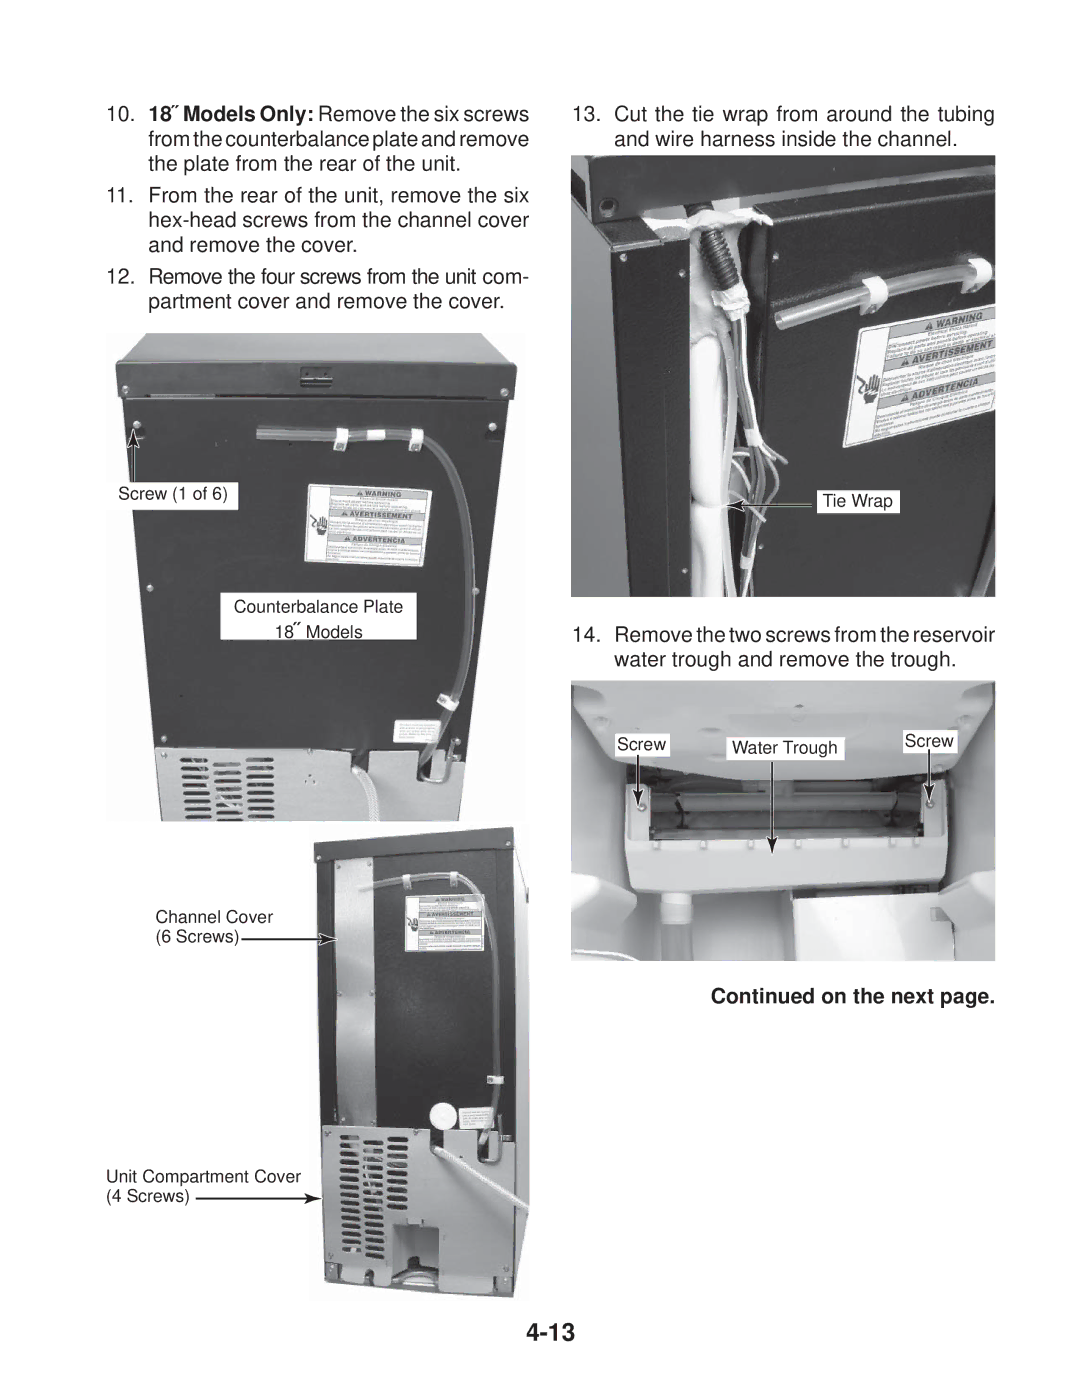
KUIA15PLL*11, KUIA18PNL*11, KUIA15NLH*11, KUIA15PRL*11, KUIA15NRH*11 specifications
Whirlpool is renowned for its innovative and reliable kitchen appliances, and the KUIA series of undercounter ice makers stands as a testament to this reputation. Models such as the KUIA18NNJ*11, KUIA15NRH*11, KUIA15PRL*11, KUIA15NLH*11, and KUIA18PNL*11 offer a blend of style, functionality, and cutting-edge technology designed to enhance your culinary experience.One of the standout features of these models is their ice production capacity. With the ability to produce a significant amount of clear, bullet-shaped ice, these undercounter ice makers are perfect for entertaining guests or keeping beverages chilled. Some models can produce up to 50 pounds of ice per day, ensuring that you will never run out of ice during gatherings or parties.
The units also boast a compact design, making them an ideal choice for kitchens with limited space. Their sleek and modern aesthetic fits seamlessly with a variety of kitchen styles, and the stainless steel finishes offer durability as well as easy cleaning. Depending on the model, options like a black or panel-ready front allow for customizable integration into your cabinetry.
Technologically, these ice makers feature advanced energy-efficient designs, which help to reduce electricity usage while maintaining high performance. Many models are equipped with a self-cleaning function that simplifies maintenance and ensures the ice produced is always fresh and clean, free from impurities or odors.
Furthermore, the intuitively designed control panel provides user-friendly operation, allowing you to easily set and adjust ice production settings according to your needs. The models also come with a built-in drainage system that aids in efficient water use and prevents overflow.
Whirlpool has incorporated sound-dampening technology in these units to minimize noise during operation, allowing for a quieter kitchen environment. The ice makers are designed to operate efficiently, ensuring that they provide a continuous supply of ice without causing disruptions.
In conclusion, the Whirlpool KUIA18NNJ*11, KUIA15NRH*11, KUIA15PRL*11, KUIA15NLH*11, and KUIA18PNL*11 models exemplify the brand's commitment to quality and innovation. With robust ice production capabilities, stylish designs, energy-efficient features, and user-friendly controls, these undercounter ice makers are an outstanding choice for any modern kitchen, ensuring that you are always prepared to serve drinks chilled and ready for enjoyment.

