USING YOUR RANGE
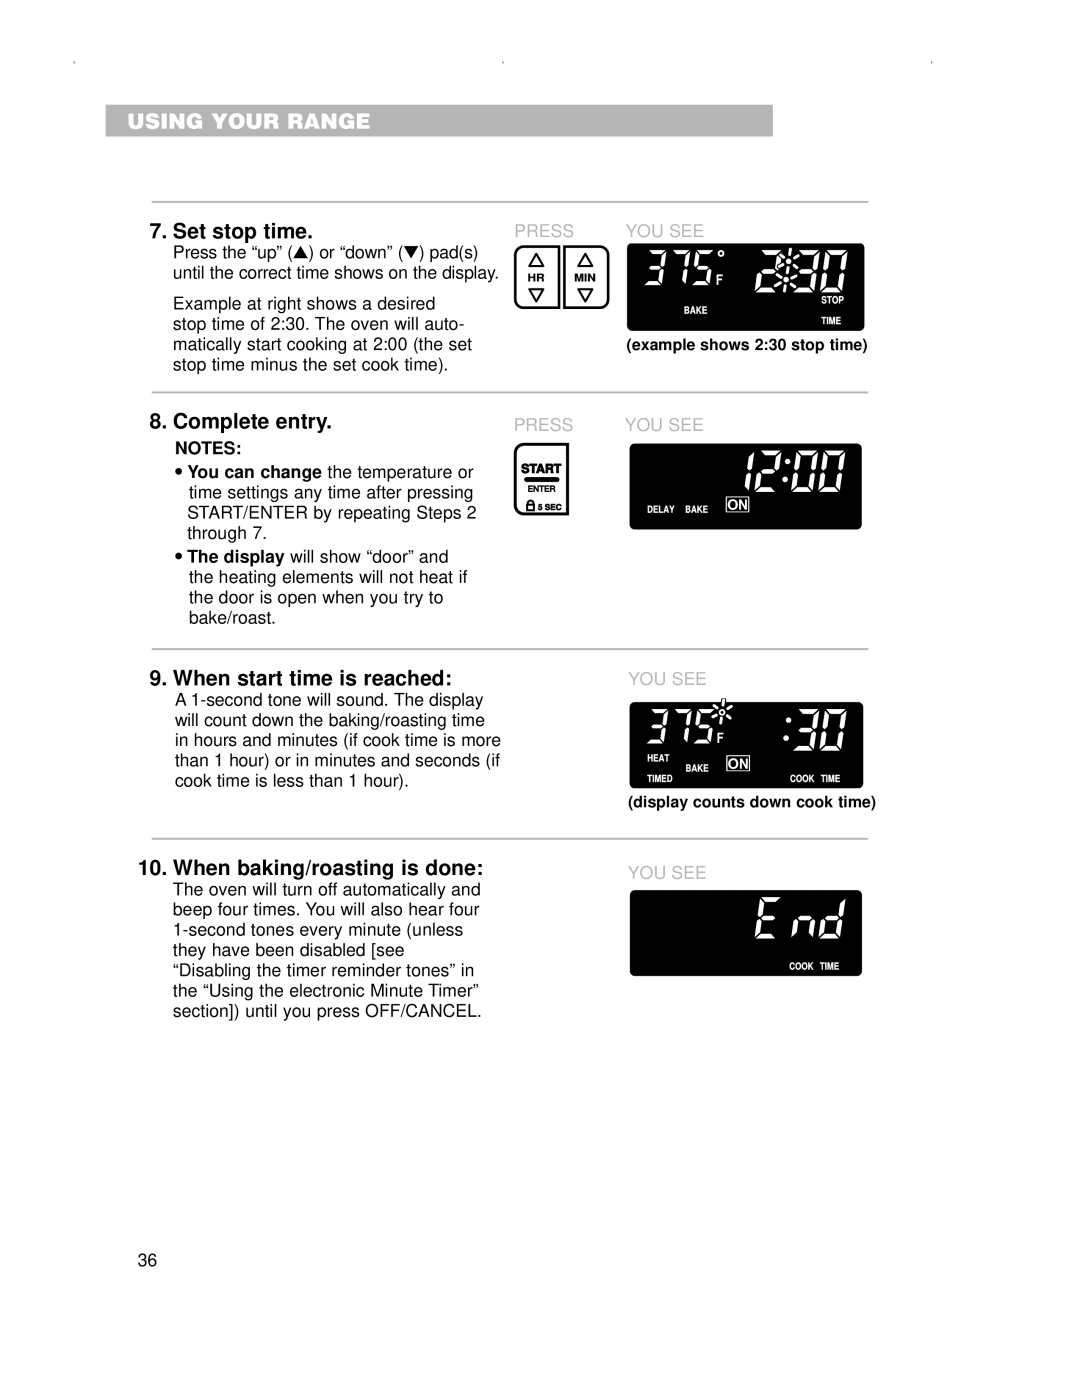
7. Set stop time. | PRESS | YOU SEE | |
| Press the “up”s( ) or “down”t( ) pad(s) |
|
|
| until the correct time shows on the display. | HR MIN | F |
| Example at right shows a desired |
| STOP |
|
| BAKE | |
| stop time of 2:30. The oven will auto- |
| TIME |
|
|
| |
| matically start cooking at 2:00 (the set |
| (example shows 2:30 stop time) |
| stop time minus the set cook time). |
|
|
|
|
|
|
8. Complete entry. | PRESS | YOU SEE | ||
NOTES: |
|
|
|
|
• You can change the temperature or | START |
| ||
time settings any time after pressing |
| ENTER |
|
|
START/ENTER by repeating Steps 2 |
| 5 SEC | DELAY BAKE ON | |
|
|
|
| |
through 7. |
|
|
|
|
•The display will show “door” and the heating elements will not heat if the door is open when you try to bake/roast.
9. When start time is reached: | YOU SEE |
| |
A |
|
| |
will count down the baking/roasting time |
| F | |
in hours and minutes (if cook time is more | BAKE | ||
than 1 hour) or in minutes and seconds (if | ON | ||
cook time is less than 1 hour). | HEAT |
| |
TIMED | COOK TIME | ||
|
(display counts down cook time)
10. When baking/roasting is done: | YOU SEE |
The oven will turn off automatically and |
|
beep four times. You will also hear four |
|
| |
they have been disabled [see |
|
“Disabling the timer reminder tones” in |
|
the “Using the electronic Minute Timer” |
|
section]) until you press OFF/CANCEL. |
|
COOK TIME
36