REPLACEMENT INSTALLATION
REMOVE OLD THERMOSTAT
1.Shut off electricity at the main fuse box until installation is complete. Verify power is off with a voltmeter.
2.Remove the front cover of the old thermo- stat. With wires still attached, remove wall plate from the wall.
3.If the old thermostat has a wall mounting plate, remove the thermostat and the wall mounting plate as an assembly.
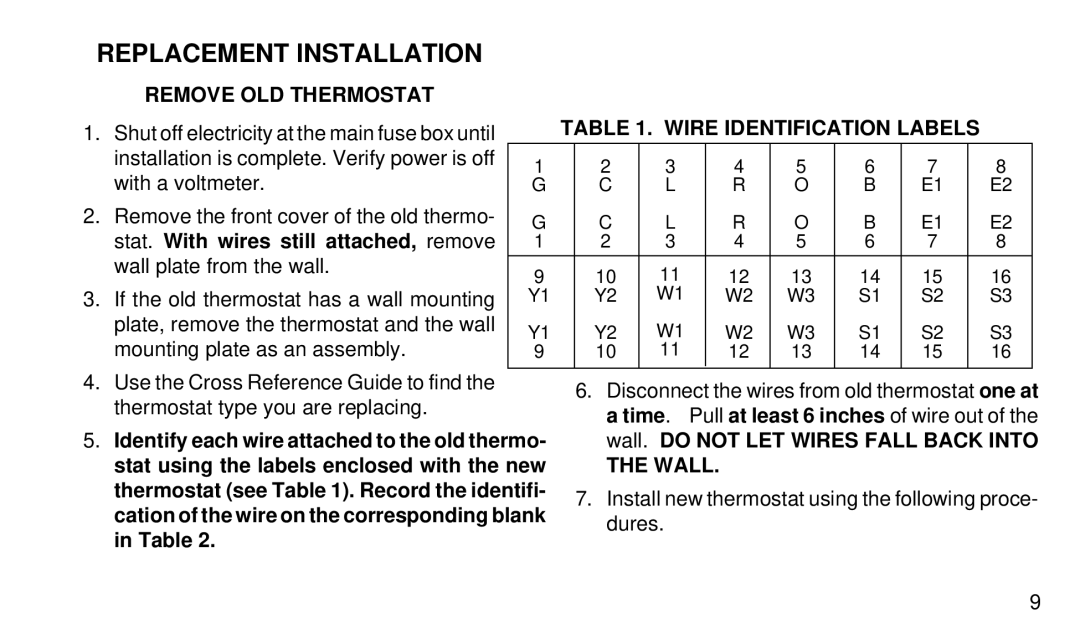
TABLE 1. WIRE IDENTIFICATION LABELS
1 | 2 | 3 | 4 | 5 | 6 | 7 | 8 |
G | C | L | R | O | B | E1 | E2 |
G | C | L | R | O | B | E1 | E2 |
1 | 2 | 3 | 4 | 5 | 6 | 7 | 8 |
9 | 10 | 11 | 12 | 13 | 14 | 15 | 16 |
Y1 | Y2 | W1 | W2 | W3 | S1 | S2 | S3 |
Y1 | Y2 | W1 | W2 | W3 | S1 | S2 | S3 |
9 | 10 | 11 | 12 | 13 | 14 | 15 | 16 |
|
|
|
|
|
|
|
|
4.Use the Cross Reference Guide to find the thermostat type you are replacing.
5.Identify each wire attached to the old thermo- stat using the labels enclosed with the new thermostat (see Table 1). Record the identifi- cation of the wire on the corresponding blank in Table 2.
6.Disconnect the wires from old thermostat one at a time. Pull at least 6 inches of wire out of the wall. DO NOT LET WIRES FALL BACK INTO
THE WALL.
7.Install new thermostat using the following proce- dures.
9
