ASSEMBLY
Overview
ASSEMBLY
Inventory your package carefully with the list below. For missing parts, contact Woodstock International, Inc. at
Box Contents
W1723 Planer Unit or W1724 Planer Unit on Cabinet a. W1723 & W1724 Extension Roller Assembly:
(2)Extension Roller
b. W1723 & W1724 Handwheel and Hardware Bag:
(1)Handwheel
(1) | Hex Nut |
(1) | Flat Washer 10mm |
(1) | Direction Label |
c. W1723 & W1724 Tool Bag: | |
(1) | Handwheel Handle |
(1) | 3mm Allen Wrench |
(1) | 4mm Allen Wrench |
(1) | 5mm Allen Wrench |
(1) | 6mm Allen Wrench |
(1) | 8mm & 10mm Combo Wrench |
(1) | 12mm & 14mm Combo Wrench |
(1) (W1724) | |
(1) (W1724) Spiral Cutterhead Alignment Tool | |
d. W1723 Main Hardware Bag: | |
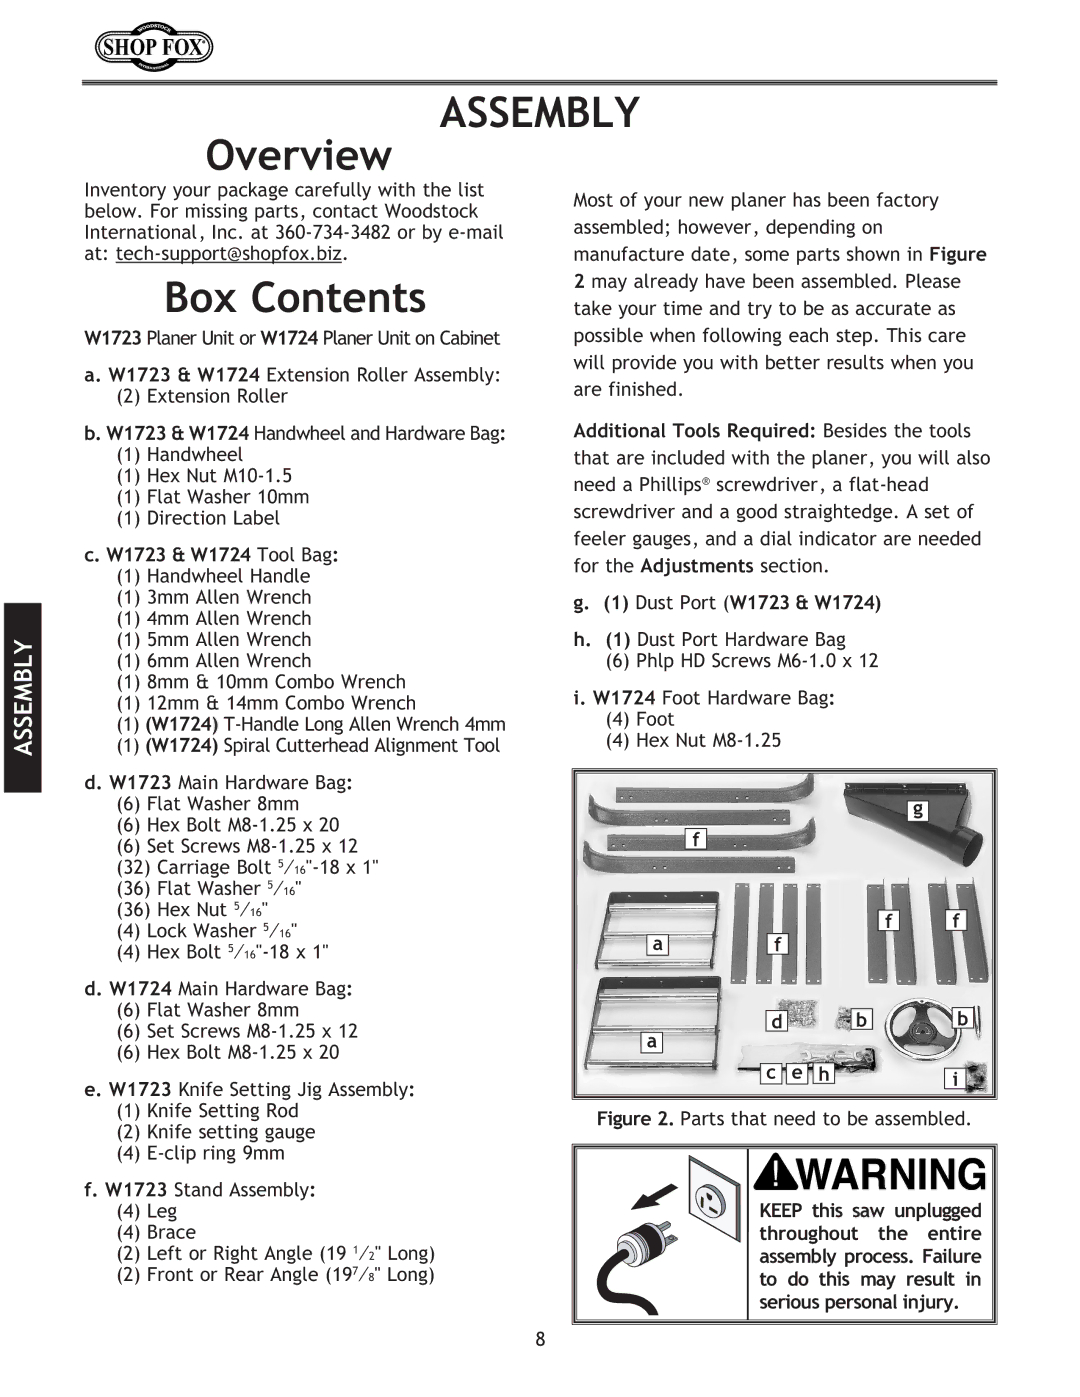
Most of your new planer has been factory assembled; however, depending on manufacture date, some parts shown in Figure 2 may already have been assembled. Please take your time and try to be as accurate as possible when following each step. This care will provide you with better results when you are finished.
Additional Tools Required: Besides the tools that are included with the planer, you will also need a Phillips® screwdriver, a
g.(1) Dust Port (W1723 & W1724)
h.(1) Dust Port Hardware Bag
(6)Phlp HD Screws
i.W1724 Foot Hardware Bag:
(4)Foot
(4) Hex Nut
(6) Flat Washer 8mm |
(6)Hex Bolt
(6)Set Screws
(32)Carriage Bolt
(36)Flat Washer 5⁄16"
(36)Hex Nut 5⁄16"
(4)Lock Washer 5⁄16"
(4)Hex Bolt
(6)Flat Washer 8mm
(6) | Set Screws |
(6) | Hex Bolt |
e. W1723 Knife Setting Jig Assembly: | |
(1) | Knife Setting Rod |
a
a
f
f
d
c ![]()
![]() e
e ![]()
![]() h
h
g
f |
| f |
b |
| b |
i
(2) Knife setting gauge |
(4)
(4)Leg
(4) Brace
(2)Left or Right Angle (19 1⁄2" Long)
(2)Front or Rear Angle (197⁄8" Long)
Figure 2. Parts that need to be assembled.
KEEP this saw unplugged throughout the entire assembly process. Failure to do this may result in serious personal injury.
8
