Reference: Procedures for adding Channel Label Icons/Custom Channel Labels
Adding Channel Icons and Labels in the 2-5-4 + Menu Mode
Editing/Adding Channel ICONs and/or Labels
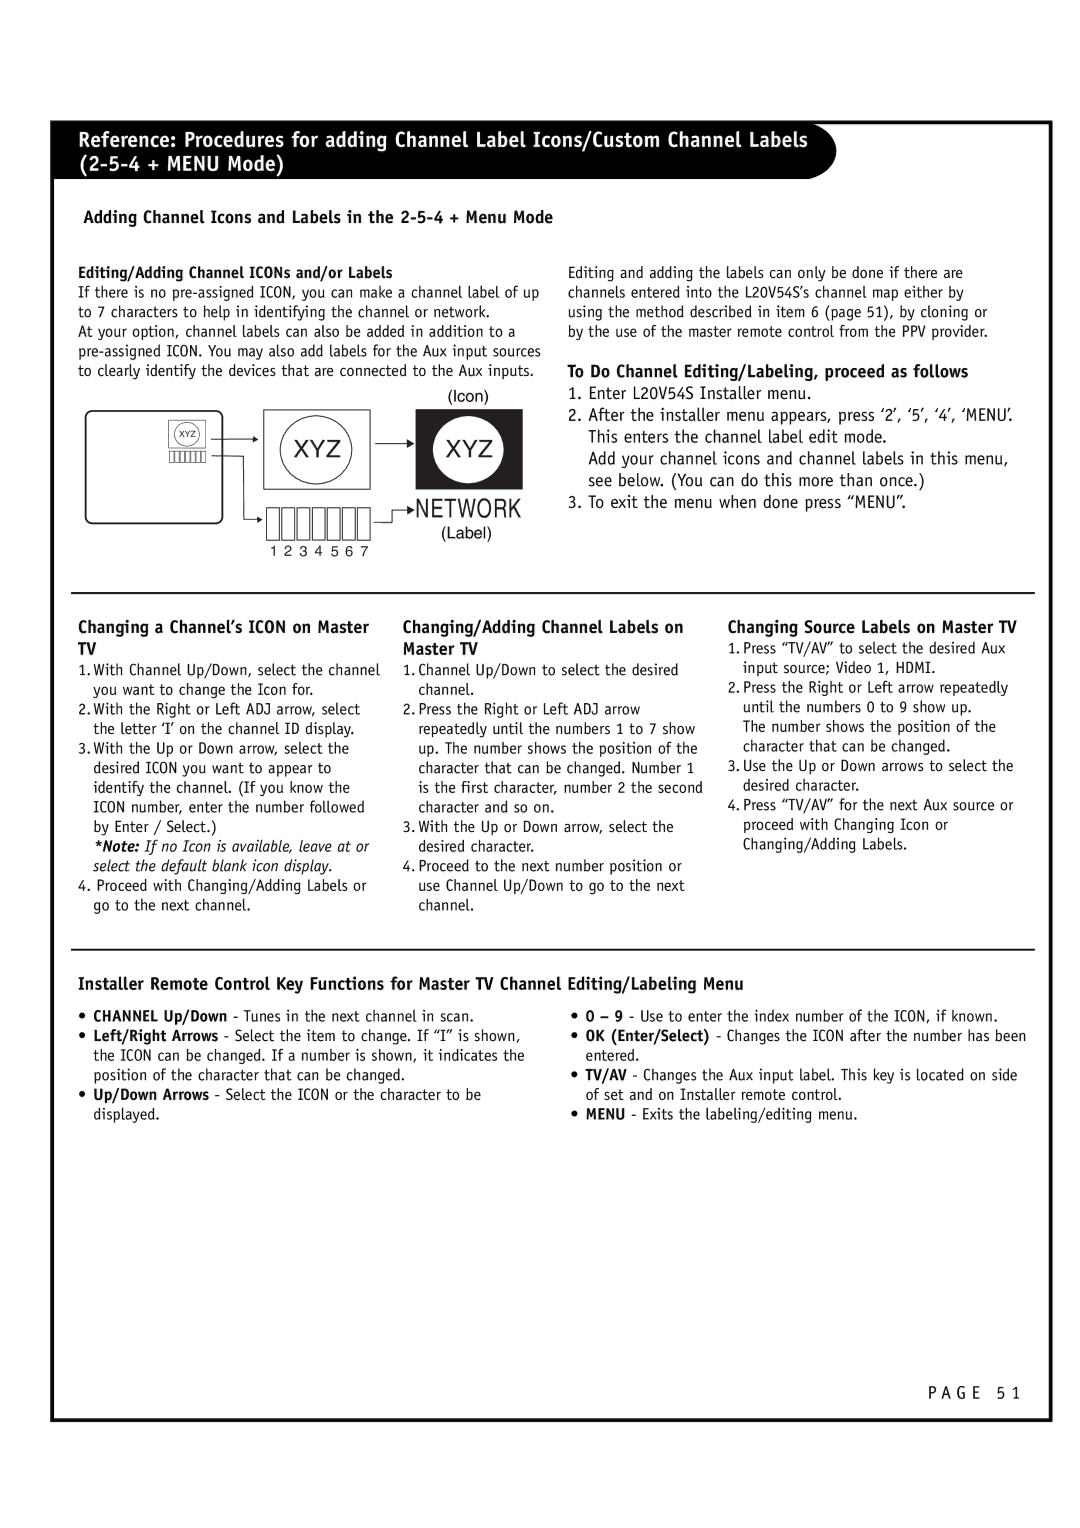
If there is no
At your option, channel labels can also be added in addition to a
| (Icon) |
XYZ | XYZ |
XYZ |


 NETWORK
(Label)
1 2 3 4 5 6 7
Editing and adding the labels can only be done if there are channels entered into the L20V54S’s channel map either by using the method described in item 6 (page 51), by cloning or by the use of the master remote control from the PPV provider.
To Do Channel Editing/Labeling, proceed as follows
1.Enter L20V54S Installer menu.
2.After the installer menu appears, press ‘2’, ‘5’, ‘4’, ‘MENU’. This enters the channel label edit mode.
Add your channel icons and channel labels in this menu, see below. (You can do this more than once.)
3.To exit the menu when done press “MENU”.
Changing a Channel’s ICON on Master
TV
1.With Channel Up/Down, select the channel you want to change the Icon for.
2.With the Right or Left ADJ arrow, select the letter ‘I’ on the channel ID display.
3.With the Up or Down arrow, select the desired ICON you want to appear to identify the channel. (If you know the ICON number, enter the number followed by Enter / Select.)
*Note: If no Icon is available, leave at or select the default blank icon display.
4.Proceed with Changing/Adding Labels or go to the next channel.
Changing/Adding Channel Labels on Master TV
1.Channel Up/Down to select the desired channel.
2.Press the Right or Left ADJ arrow repeatedly until the numbers 1 to 7 show up. The number shows the position of the character that can be changed. Number 1 is the first character, number 2 the second character and so on.
3.With the Up or Down arrow, select the desired character.
4.Proceed to the next number position or use Channel Up/Down to go to the next channel.
Changing Source Labels on Master TV
1.Press “TV/AV” to select the desired Aux input source; Video 1, HDMI.
2.Press the Right or Left arrow repeatedly until the numbers 0 to 9 show up.
The number shows the position of the character that can be changed.
3.Use the Up or Down arrows to select the desired character.
4.Press “TV/AV” for the next Aux source or proceed with Changing Icon or Changing/Adding Labels.
Installer Remote Control Key Functions for Master TV Channel Editing/Labeling Menu
•CHANNEL Up/Down - Tunes in the next channel in scan.
•Left/Right Arrows - Select the item to change. If “I” is shown, the ICON can be changed. If a number is shown, it indicates the position of the character that can be changed.
•Up/Down Arrows - Select the ICON or the character to be displayed.
•0 – 9 - Use to enter the index number of the ICON, if known.
•OK (Enter/Select) - Changes the ICON after the number has been entered.
•TV/AV - Changes the Aux input label. This key is located on side of set and on Installer remote control.
•MENU - Exits the labeling/editing menu.
