Hitachi CP-X265 Searching an input signal, Selecting an aspect ratio, Selecting an input signal

Page 19

Operating

Selecting an input signal (continued)

1. Press the VIDEO button on the remote control to select an input for video signal.

Each time you press the button, the projector switches its video input port as below.

COMPONENT VIDEO S-VIDEO VIDEO

VIDEO RGB SEARCH

ASPECT

AUTO BLANK

If the VIDEO button is pushed (when switching from RGB to VIDEO signals) when TURN ON is selected for the AUTO SEARCH item in the OPTION menu the projector will check the COMPONENT VIDEO port first. If no input is detected at the port, projector will begin to check other ports in above order.

Searching an input signal

1. Press the SEARCH button on the remote control.

VIDEO

RGB SEARCH

The projector will start to check its input ports in order to

ASPECT

AUTO BLANK


find any input signals.

When an input is found, the projector will stop searching and display the image. If no signal is found, the projector will return to the state selected before the operation.

RGB IN 1 RGB IN 2 COMPONENT VIDEO S-VIDEO VIDEO

Selecting an aspect ratio

1. Press the ASPECT button on the remote control.

Each time you press the button, the projector switches the mode for aspect ratio in turn.

For an RGB signal

NORMAL 4:3 16:9 SMALL

For a video signal, s-video signal or component video signal 4:3 16:9 14:9 SMALL


VIDEO RGB

SEARCH


ASPECT


AUTO

BLANK


MAGNIFY

HOME

PAGE UP

VOLUME

ON


For a no signal

4:3 (fixed)

The NORMAL mode keeps the original aspect ratio of the signal.

Performing the automatic adjustment initializes the aspect ratio setting.
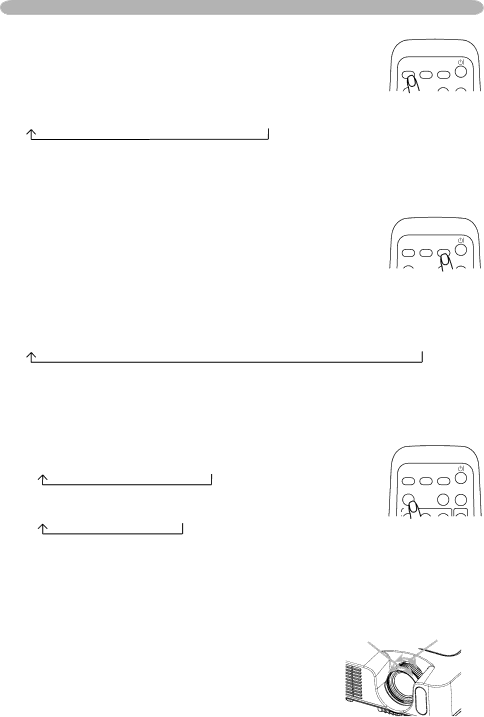
Adjusting the zoom and focus

Focus ring

Zoom ring

1.

Use the zoom ring to adjust the screen size.


2.

Use the focus ring to focus the picture.


19

Image 19
Contents Thank you for purchasing this projector About this manualTrademark acknowledgment Content About contents of package Fastening the lens cover Projector Part namesBottom side Used for Ethernet When utilizingPorts See below Rear-Left sideControl buttons Remote controlSetting up 169 Down ArrangementElevator feet Elevator button Adjusting the projectors elevatorHow to attach Using the Security BarSecurity Bar Anti-theft chain or wire sold separately About Plug-and-Play capability Connecting your devicesExamples of connection with a computer Connecting to a NetworkUSB P R Examples of connection with a VCR/DVD playerComponent video out Component video cable P BAC inlet Connector Power cord Connecting power supplyPutting batteries Remote controlChanging the signal setting for the projectors remote sensor Using the remote controlOff. Attach the lens cover Power on/offTurning on the power Turning off the powerTemporarily muting the sound Adjusting the volumeSelecting an input signal OperatingSelecting an aspect ratio Searching an input signalAdjusting the zoom and focus Selecting an input signal For a component video signal Using the automatic adjustment featureAdjusting the position  For a video signal or s-video signalCorrecting the keystone distortions Using the magnify featureTemporarily blanking the screen Freezing the screenMove pointer Available function Remote control operationOperating the computer screen USB mouse and keyboard controlEasy Menu Multifunctional settingsUsing the menu function Menu button Enter button Cursor buttons Reset buttonEasy Menu Easy Menu Gamma Adjust the level using the buttonsPicture Menu Light ó DarkColor Temp Picture Menu~Note~ MY MemoryPosition PhaseImage Menu Over ScanImage Menu For a video signal or s-video signalAuto Adjust For a component video signalColor Space Input MenuProgressive Video NRFrame Lock Input MenuComponent Video FormatCustom Resolution Setup Menu Normal ó Hinvert ó Vinvert ó H&VINVERT Setup MenuUsing the buttons / switches the mode for mirror status VolumeMenu Position Screen MenuBlank Start UP Screen MenuMyScreen Lock Message Auto Search Option MenuAuto on MY Button Option MenuAuto OFF Lamp TimeFilter Message ServiceFAN Speed GhostInformation Factory ResetRemote Freq Use the / button to change the Projectors remote sensorSecurity Using Security FeaturesInputting the Password Changing the PasswordSetting the Password Using the MyScreen Password FunctionDescription If you have forgotten your Password Turning on the MyScreen Password FunctionTurning the Password off Using the PIN Lock FunctionRegistering the PIN Code If you have forgotten your PIN Code Turning Off the PIN Lock FunctionSetting the Transition Detector Password Using the Transition Detector FunctionTurning On the Transition Detector Function Setting the Transition Detector off Dhcp Network MenuIP Address Network Menu Network Functions Lamp MaintenanceLamp cover Case of replacement by yourselfLamp Type number = CP-X256 DT00757, CP-X265 DT00751Type number = NJ22222 Air filterHandle Filter cover Air filter’s knob Air filterTake the old battery out Replacing Internal Clock batteryWill come up. Remove the battery Put a new battery Page Related messages TroubleshootingThere is no input signal Internal temperature is risingRegarding the indicator lamps Regarding the indicator lamps Signal source does not correctly work Electrical power cord is not pluggedPower switch is not set to the on position Signal cables are not correctly connectedColor Space setting is not suitable Volume is adjusted to an extremely low levelAudio setting is not correct Color settings are not correctly adjustedLamp is approaching the end of its product Lifetime Not properly adjustedEither the focus and/or horizontal phase settings are Whisper function is workingSpecifications Warranty and after-serviceSpecifications