Woodstock W1829 manual

Page 2

This manual provides critical safety instructions on the proper setup, operation, maintenance, and service of this machine/tool. Save this document, refer to it often, and use it to instruct other operators.

Failure to read, understand and follow the instructions in this manual may result in fire or serious personal injury—including amputation, electrocution, or death.

The owner of this machine/tool is solely responsible for its safe use. This responsibility includes but is not limited to proper installation in a safe environment, personnel training and usage authorization, proper inspection and maintenance, manual availability and compre- hension, application of safety devices, cutting/sanding/grinding tool integrity, and the usage of personal protective equipment.

The manufacturer will not be held liable for injury or property damage from negligence, improper training, machine modifications or misuse.

Some dust created by power sanding, sawing, grinding, drilling, and other construction activities contains chemicals known to the State of California to cause cancer, birth defects or other reproductive harm. Some examples of these chemicals are:

Lead from lead-based paints.

Crystalline silica from bricks, cement and other masonry products.

Arsenic and chromium from chemically-treated lumber.

Your risk from these exposures varies, depending on how often you do this type of work. To reduce your exposure to these chemicals: Work in a well ventilated area, and work with approved safety equip- ment, such as those dust masks that are specially designed to filter out microscopic particles.

Image 2
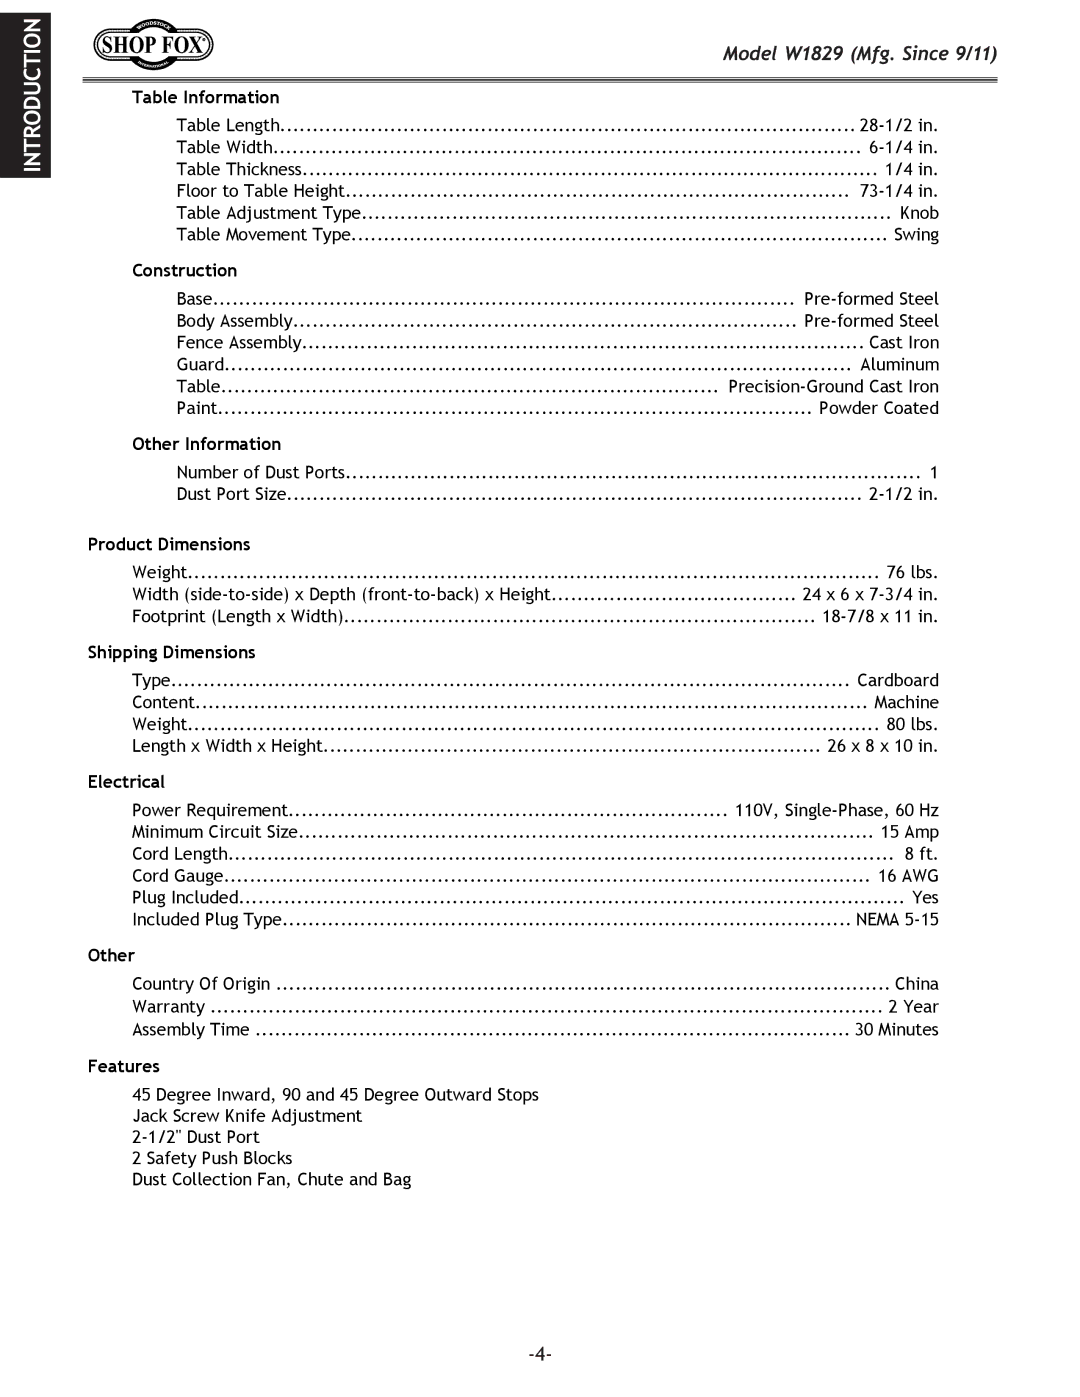
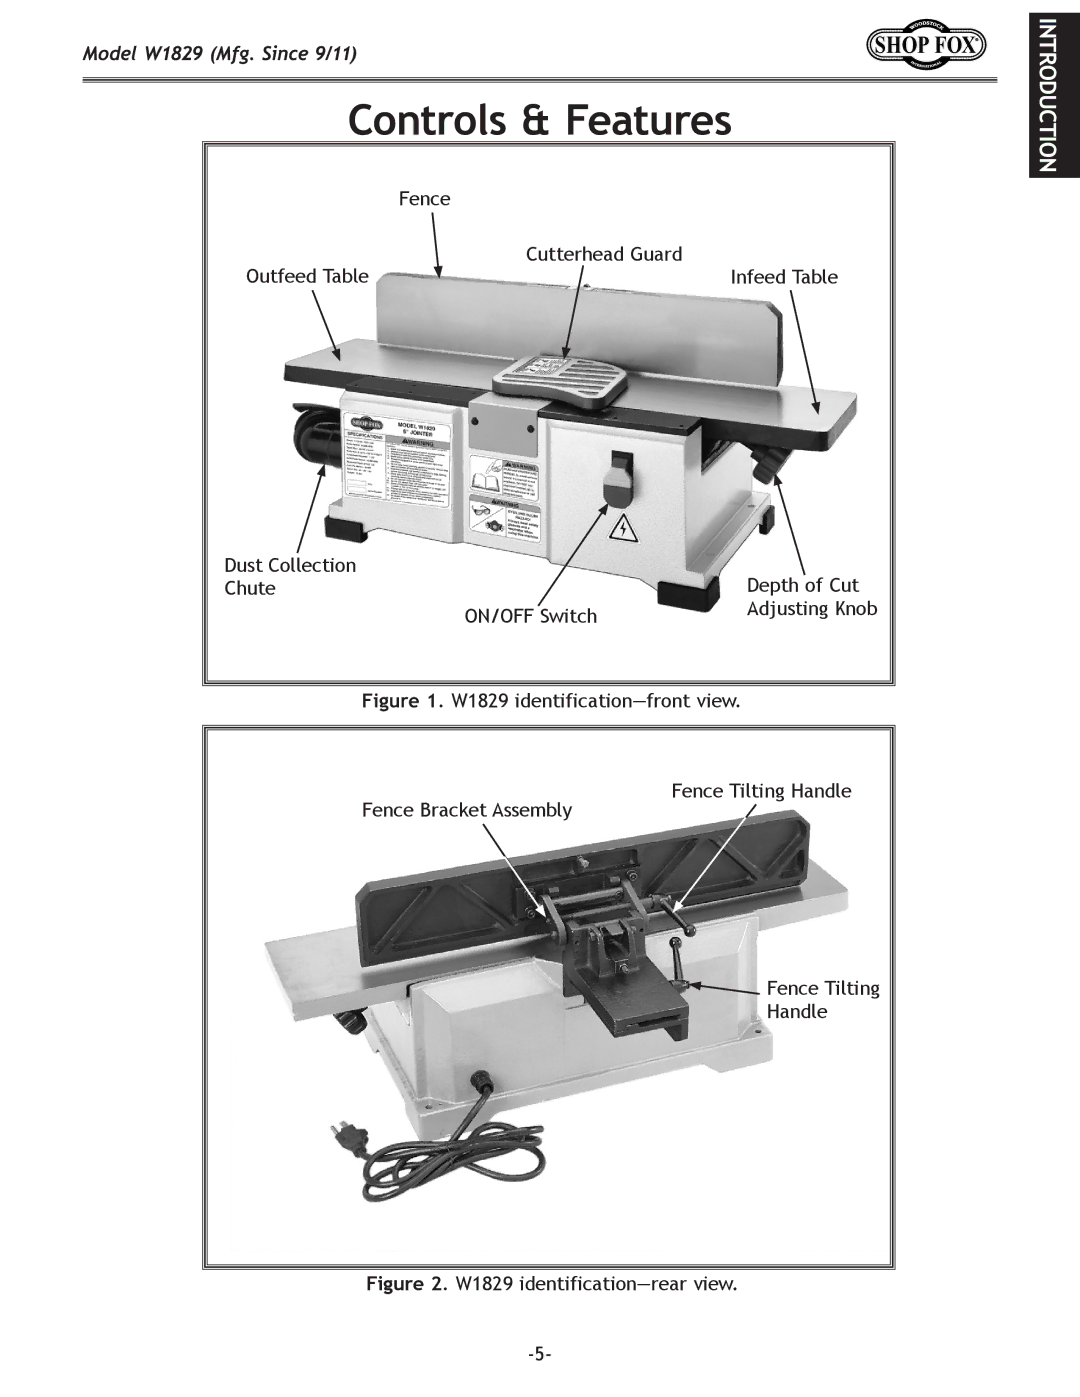
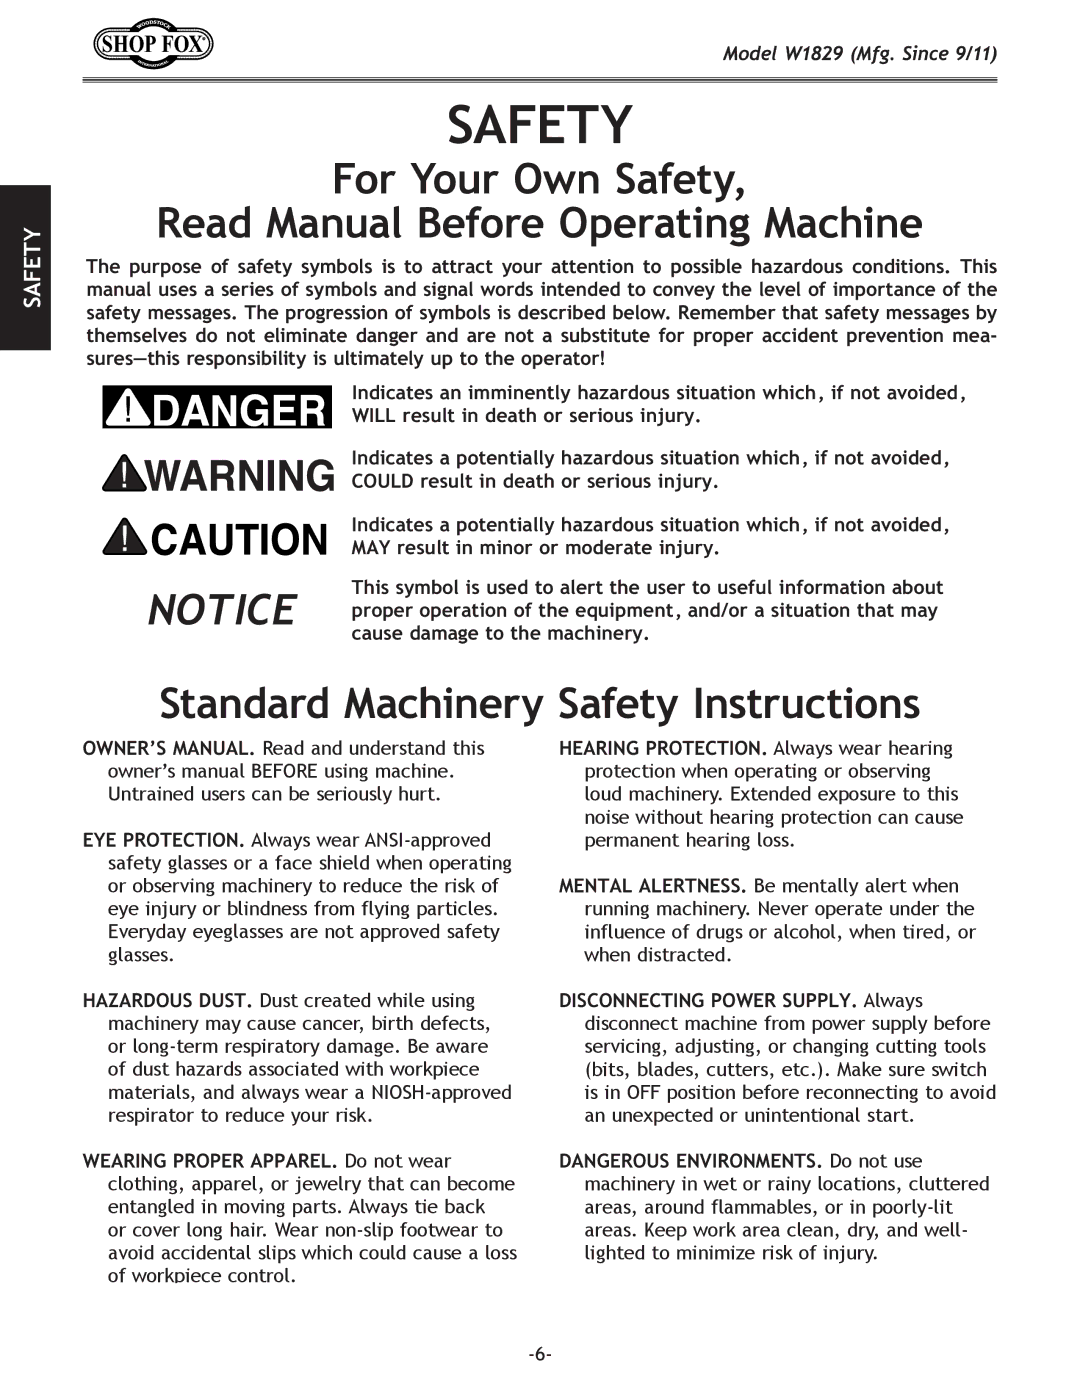
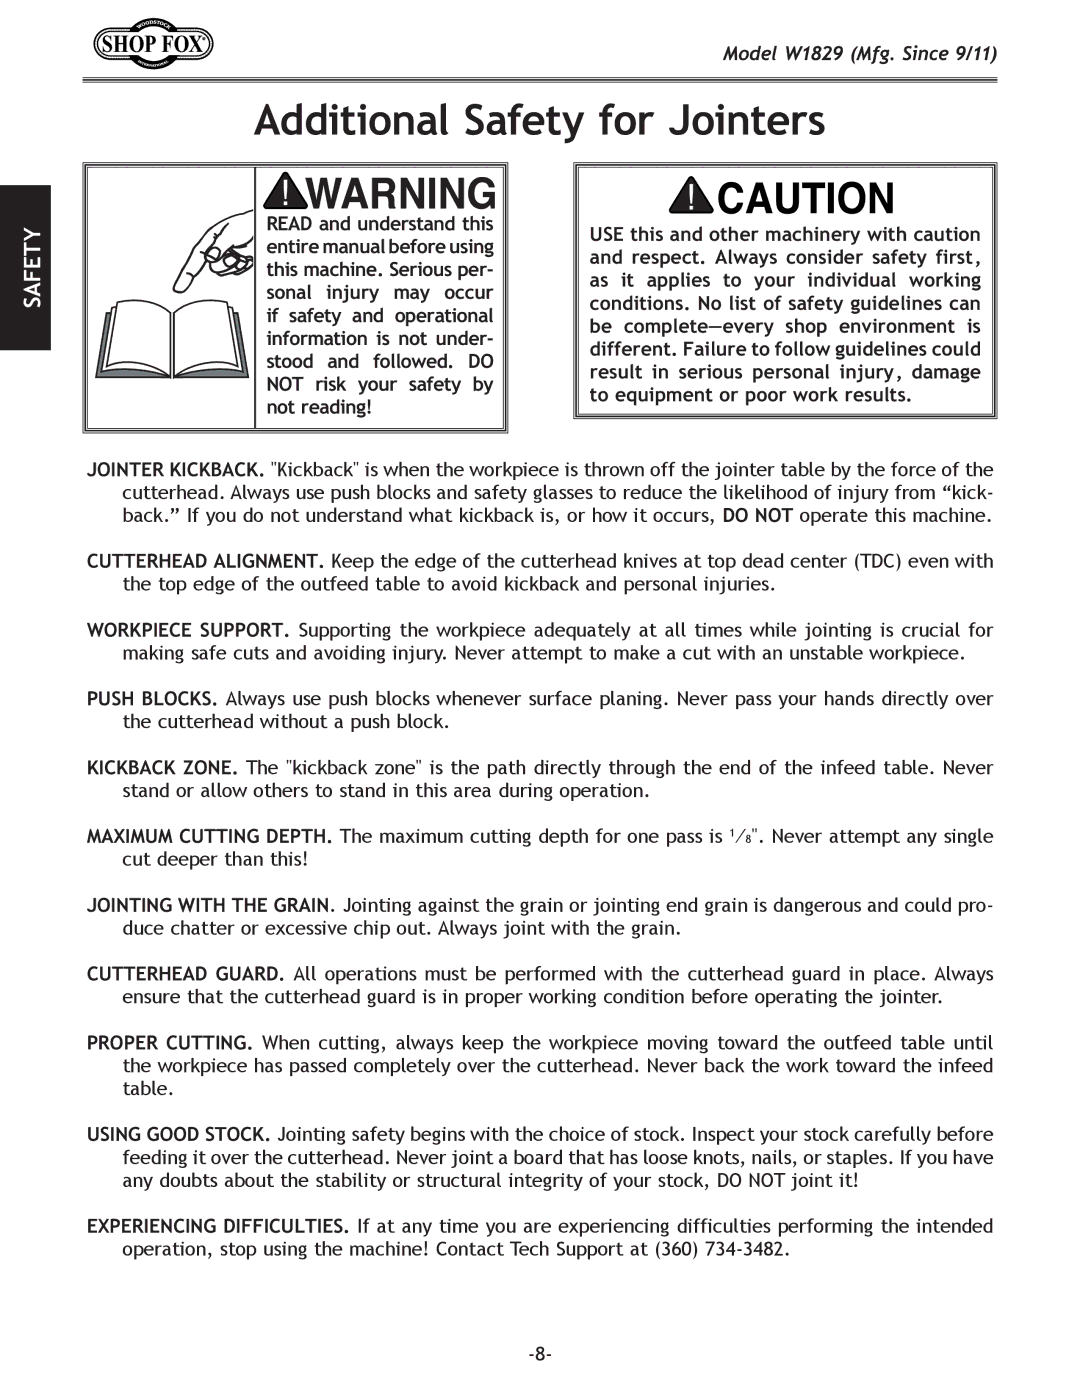
Contents OWNERS MANUAL Page Contents About Your Machine IntroductionWoodstock Technical Support Model W1829 Model W1829 Mfg. Since 9/11 Controls & Features W1829 identification-rear viewSafety Standard Machinery Safety InstructionsSafety Additional Safety for Jointers Full-Load Current Rating ElectricalCircuit Requirements Circuit Requirements forFor 110V Connection Grounding RequirementsExtension Cords Inventory SetupUnpacking Jointer Inventory Figures QtyMachine Placement Cleaning Machine Machine dimensionsBench Mounting Example of a direct mountAssembly To assemble the jointer, do these stepsFence positioned over Jointer tables Dust Collection Recommended AdjustmentsTo install the dust port and collection bag, do these steps Recommended CFM at Dust PortPower Connection Connecting PowerTest Run To test run the machine, do these stepsBasic Controls OperationsGeneral Correct setting for grain Alignment Stock Inspection RequirementsSquaring Stock Surface plane on the jointerSurface Planing JointerEdge Jointing To edge joint on the jointer, do these stepsBevel Cutting To bevel cut on the jointer, do these stepsD3640-Shop Fox Tool Table Plus AccessoriesD3319-6 Replacement Jointer Knives Set W1218A-RotacatorD2675-Safety Glasses D2676-Adjustable Safety Glasses W1041-3 x 2 1⁄2 Adapters W1044-4 x 2 1⁄2 AdaptersTable & Base MaintenanceCleaning BeltsMotor & Electrical ServiceTroubleshooting Operation Checking Knife Height Checking/Adjusting Knife HeightAdjusting Knife height Tools Needed QtyLaceration injuries may occur. Use KnivesReplacing Knives Cutterhead clamp screw LocationSetting Fence Angle Stops Setting 90 Fence Angle StopSetting 45 Inward Stop Checking the inward 45º stop Inward Stop BoltSetting 45 Outward Stop Outward stop bolt detailBelt Replacement To realign or replace the cutterhead belt, do these stepsMotor Brush Replacement To replace motor brushes, do these stepsElectrical Safety Instructions Wiring Diagram Color KEYWiring Diagram 110 VACParts MainParts List DescriptionLabels Parts Woodstock international inc. p.o. box Bellingham, Wa Warranty High Quality Machines and Tools