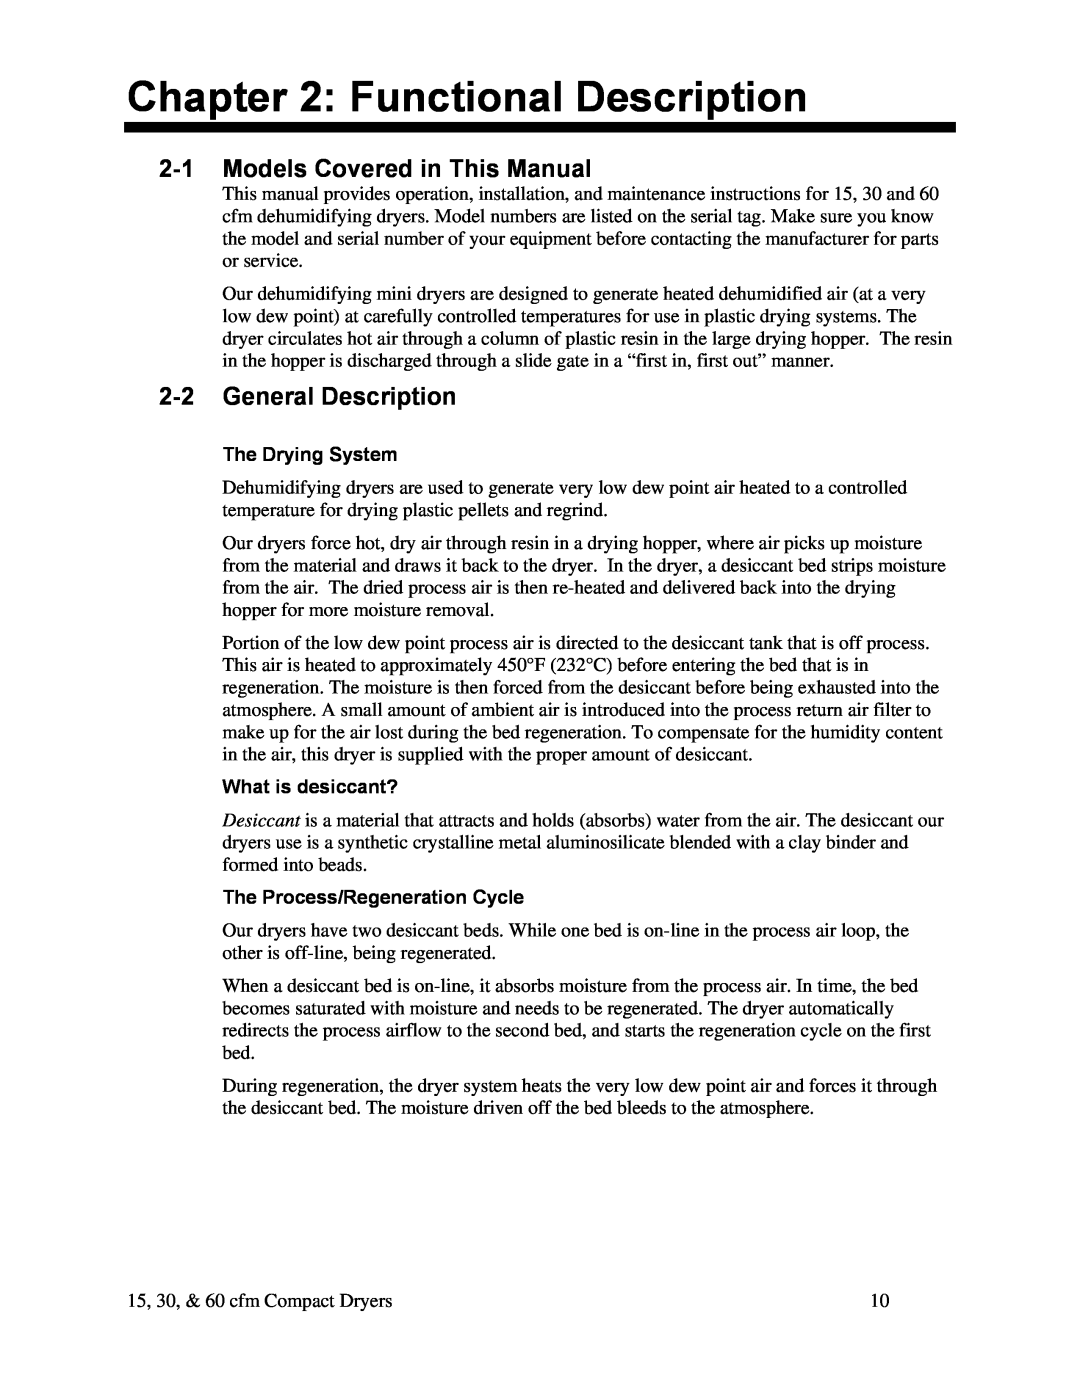
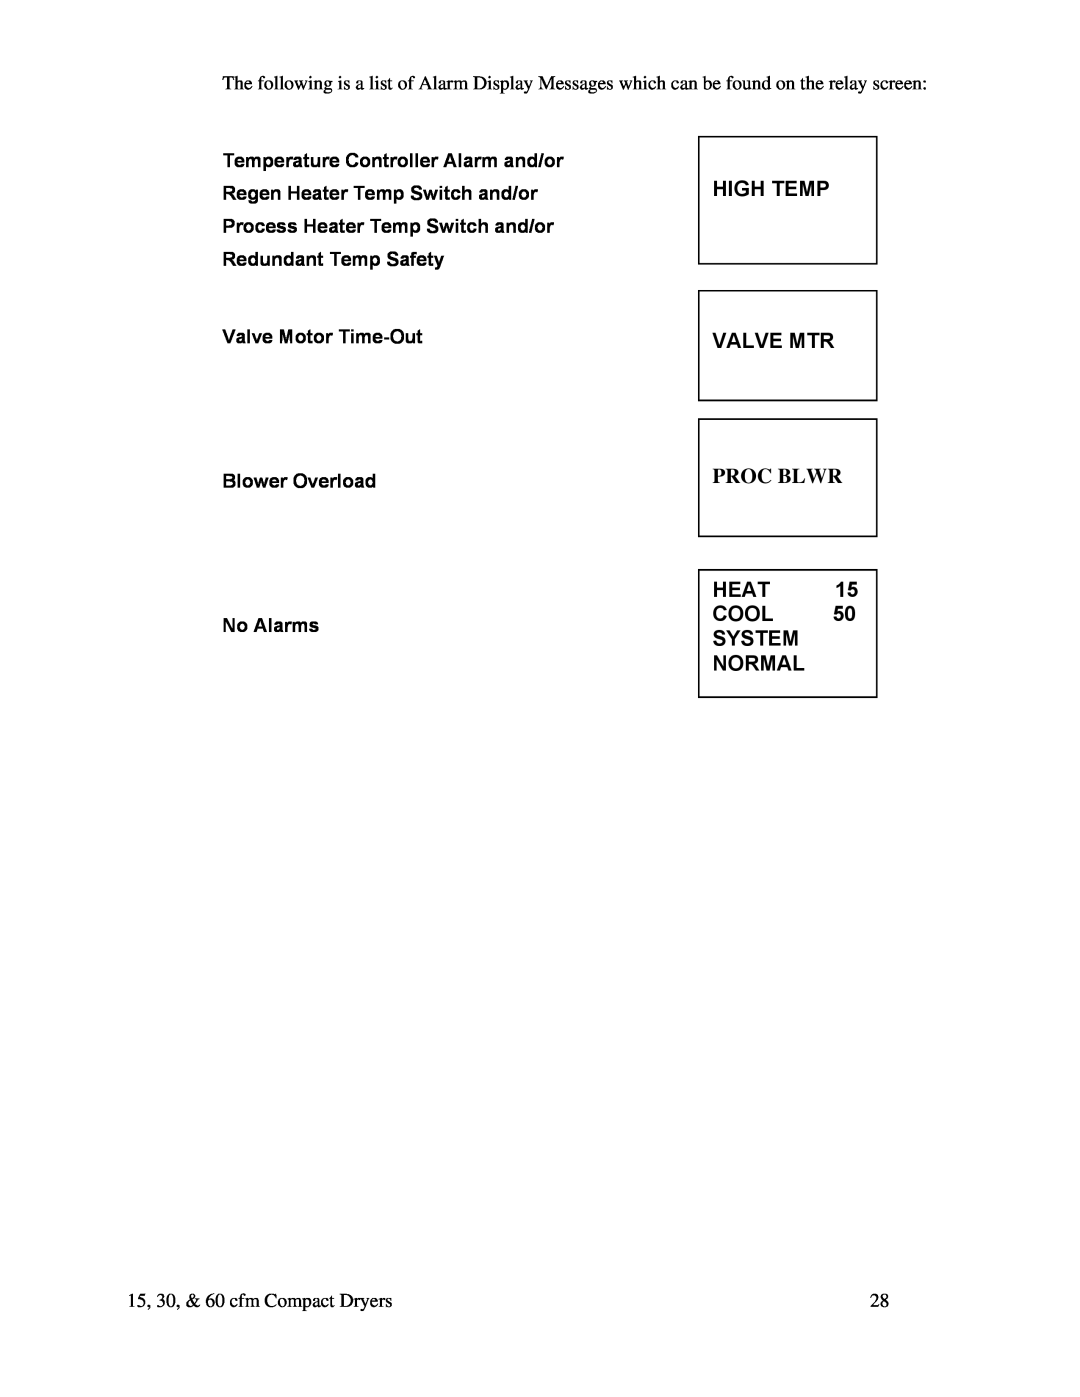
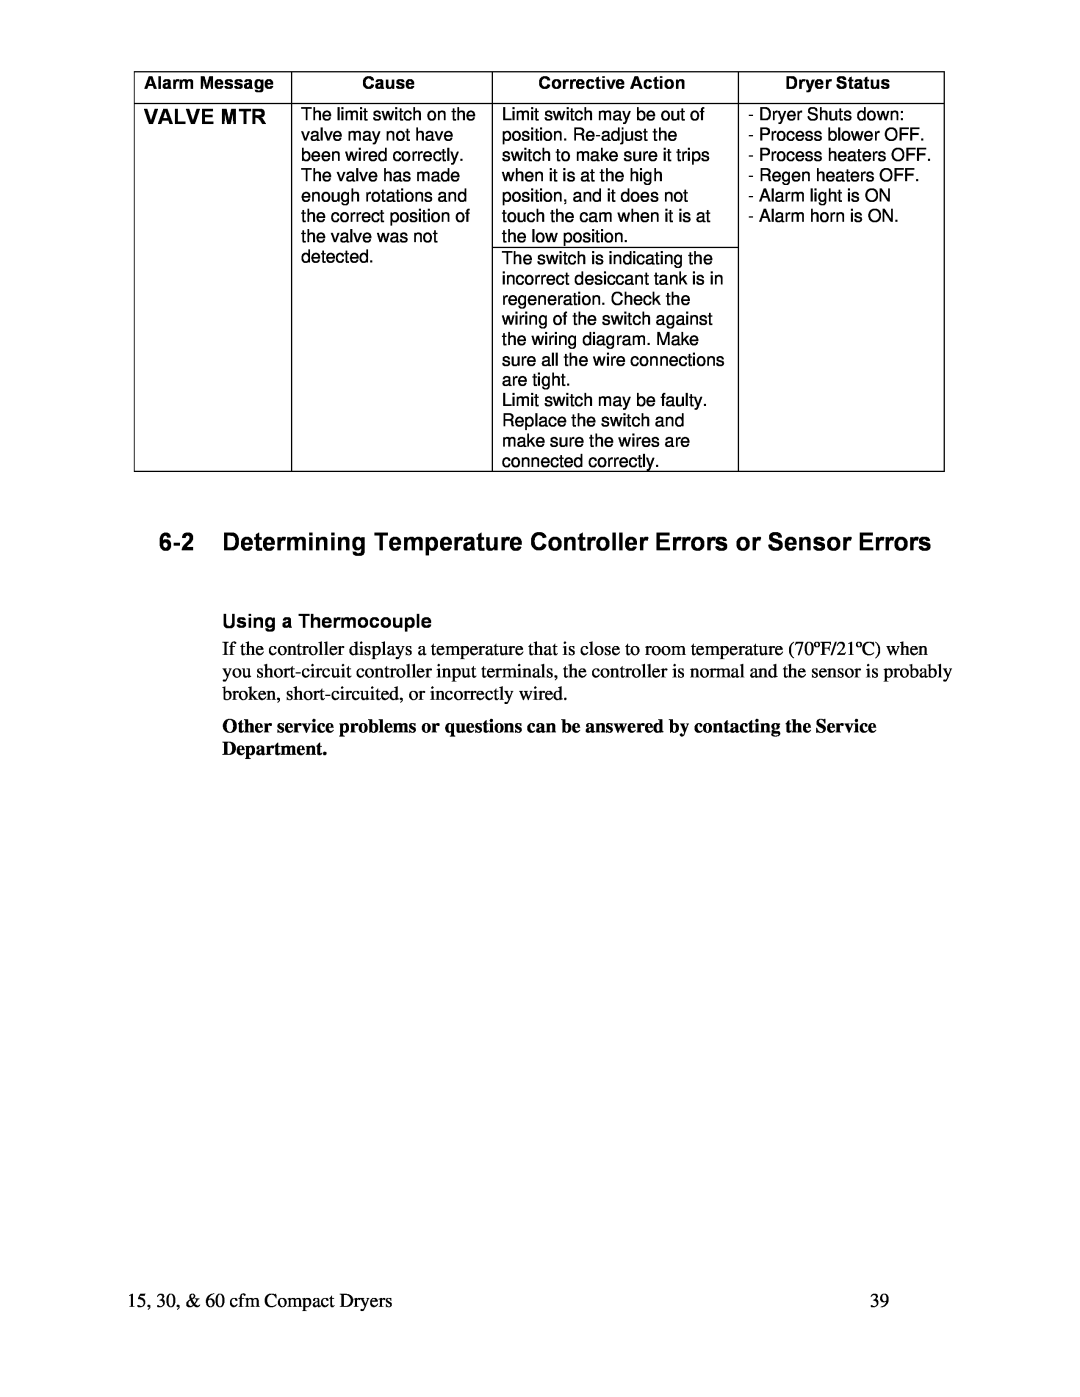
Drying Hopper Air Trap Considerations
Our exclusive air trap assembly on the top of the drying hopper prevents ambient air from contaminating the material being dried. To ensure that your unit will operate at peak efficiency, do the following:
•Keep the material level at the mid point of the air trap
This can be achieved by utilizing a hopper loader or vacuum conveying system to supply material to the drying system.
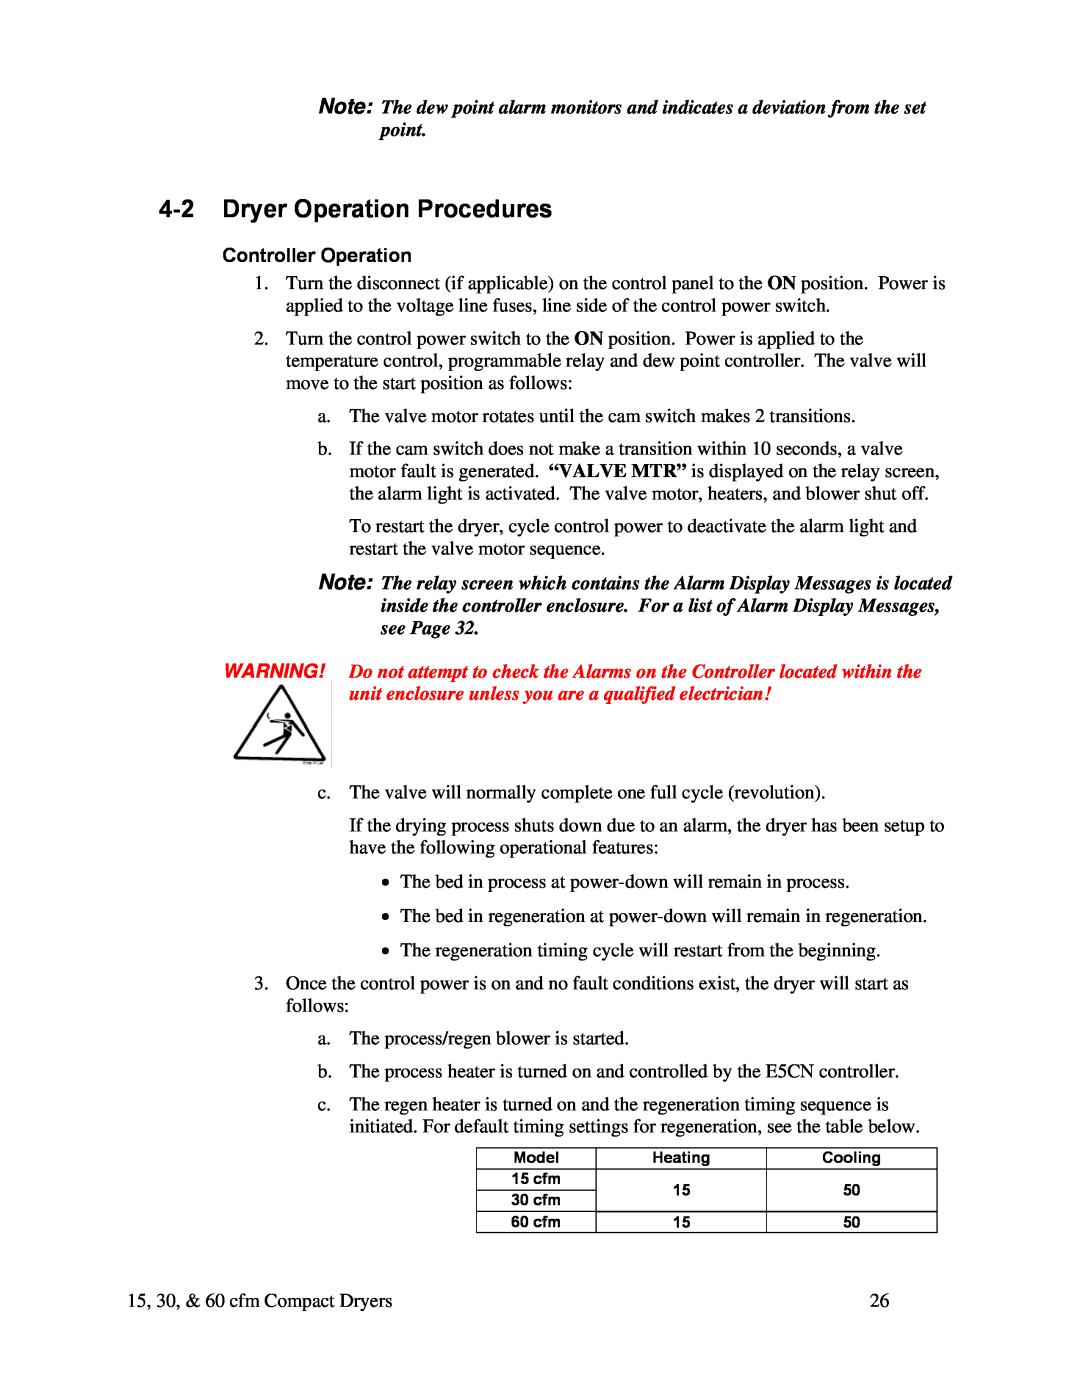
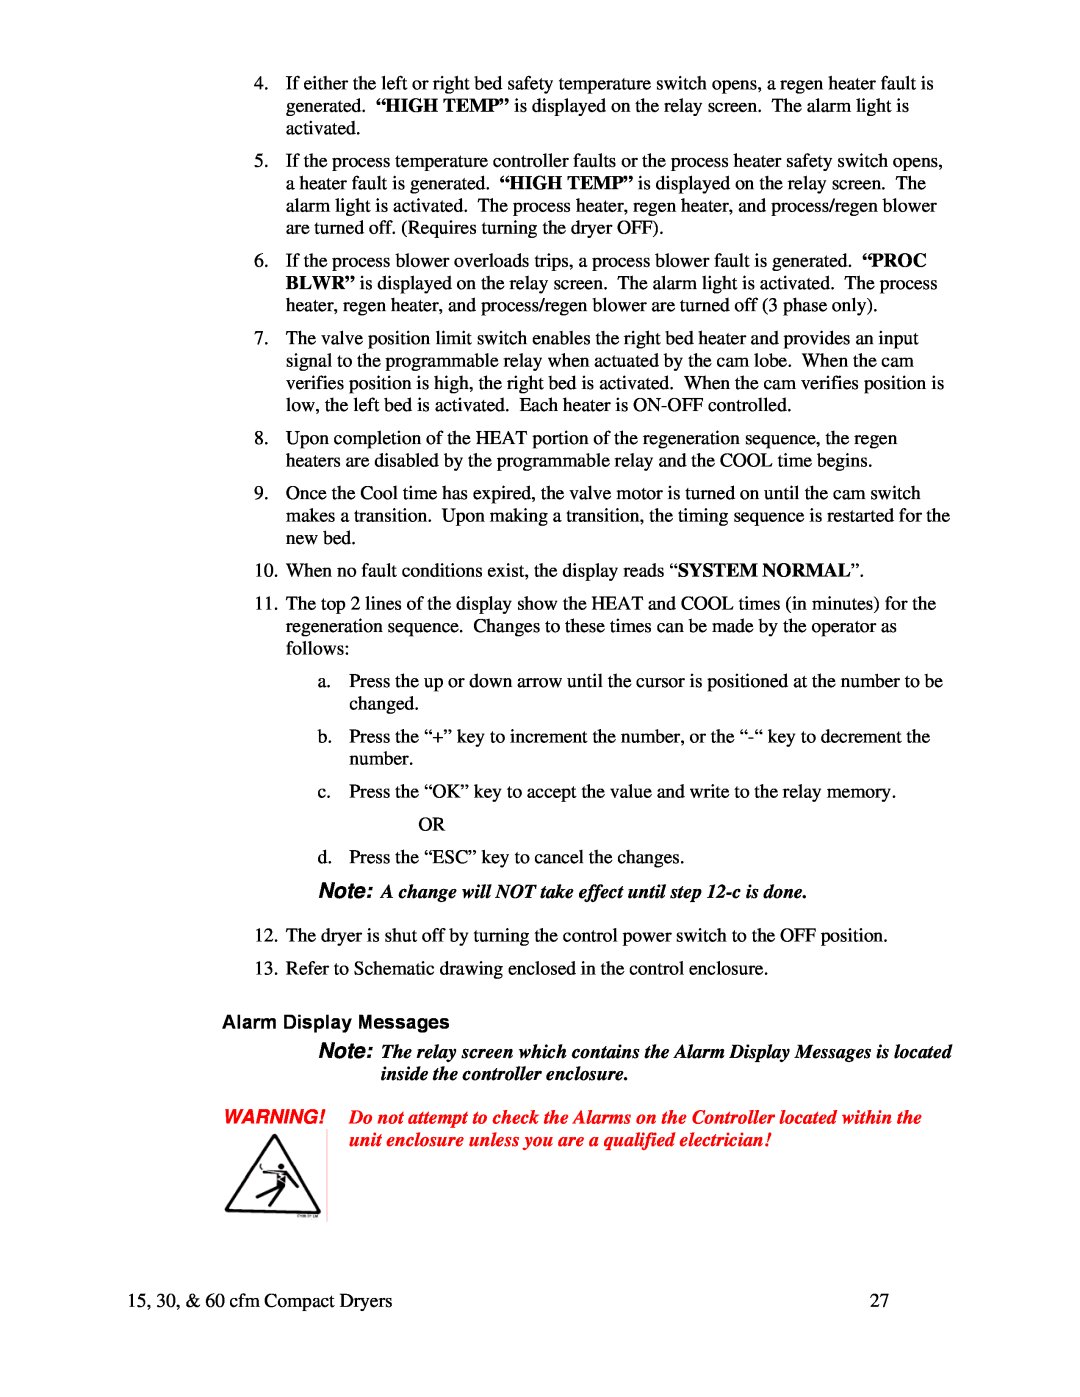
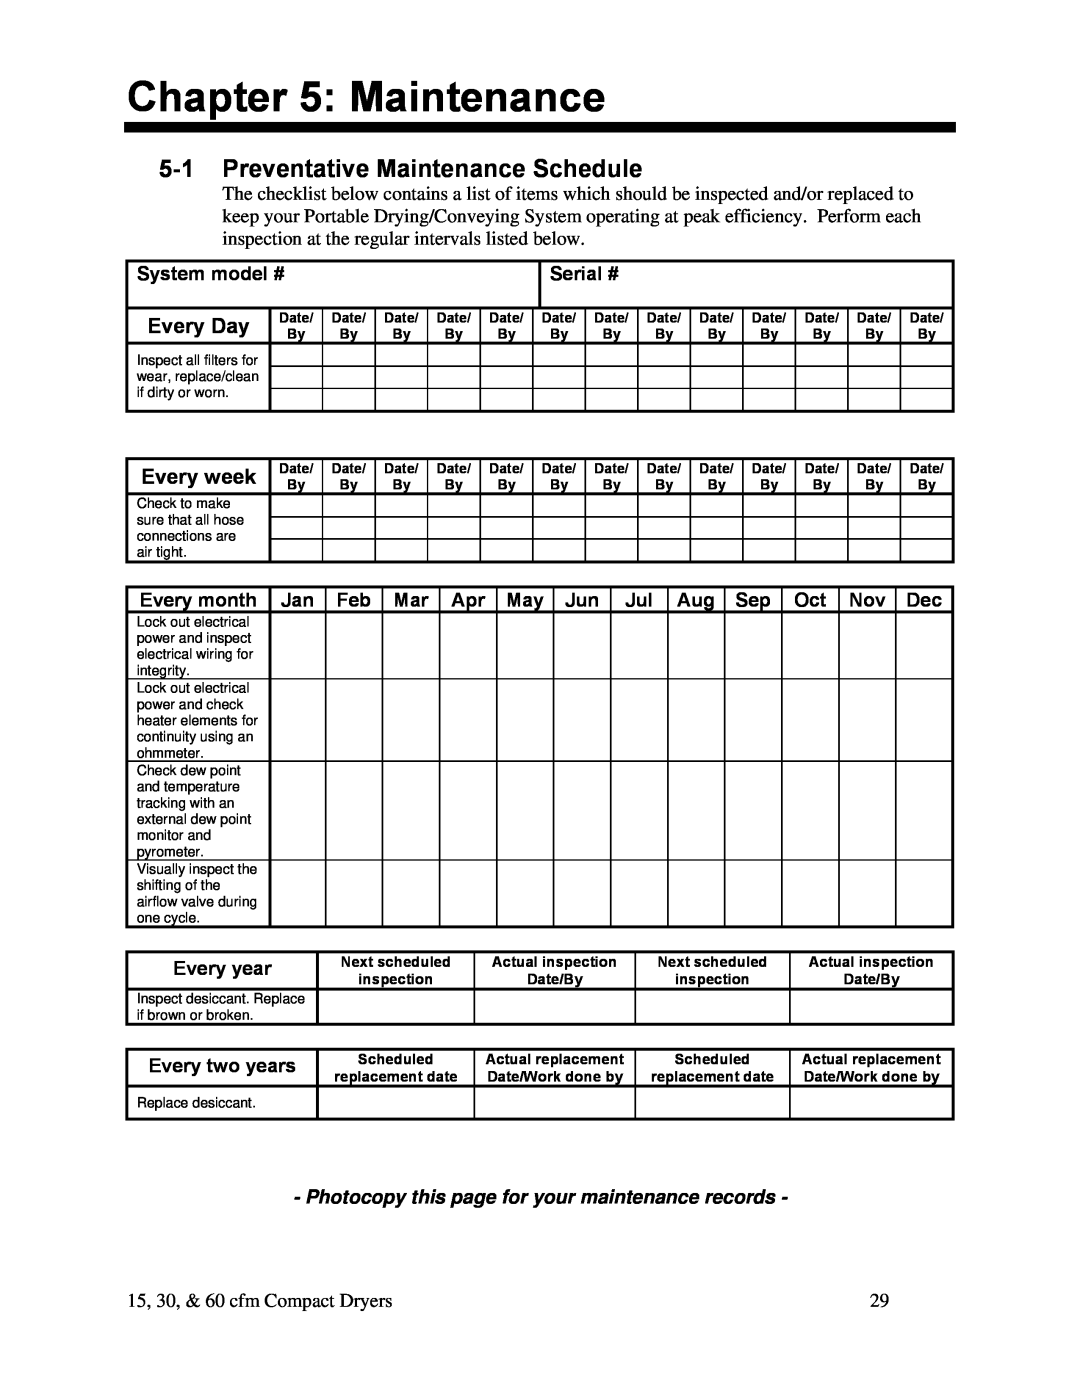
Optional Aftercooler
Installing Water Lines
(Hose and Hose Clamp)
When installing the water lines, ensure that the aftercooler utilizes either tower, chilled or city water up to 85°F (29°C). Recommended flow rate is three (3 gpm) gallons per minute (11 liters per minute).
3-5 Initial Start-up
Pre-Startup Checks
;Check the process and return hoses for tight connections.
;Check all companion equipment, such as the drying hopper; verify that the loading system is ready for operation.
;Verify that all dryer electrical connections are tight.
Caution! Clean the
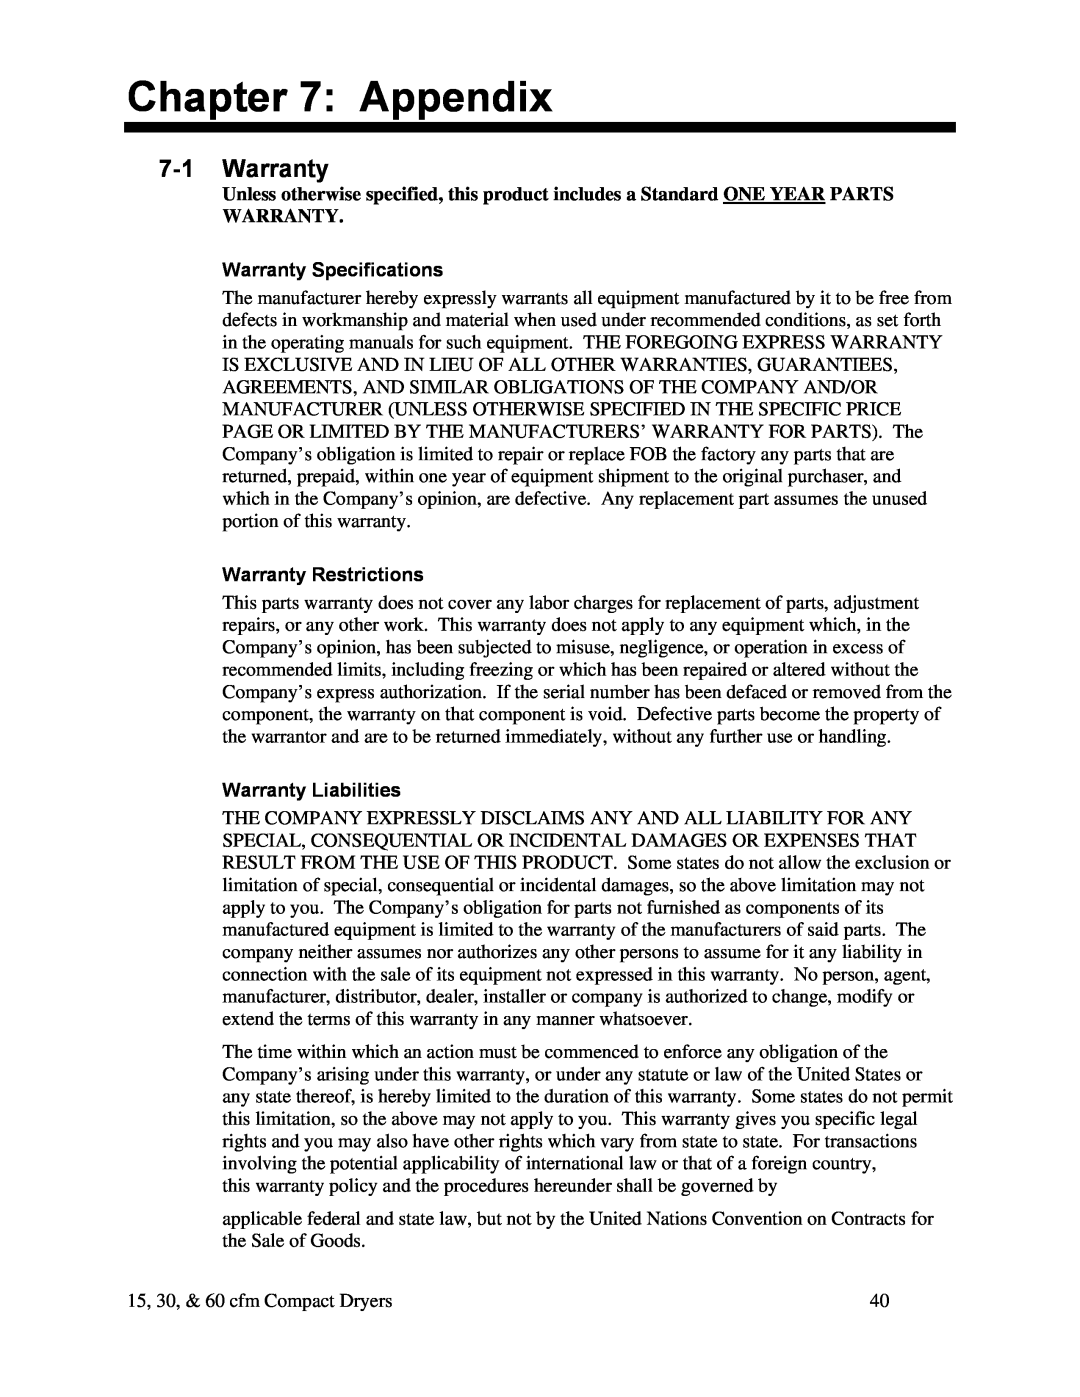
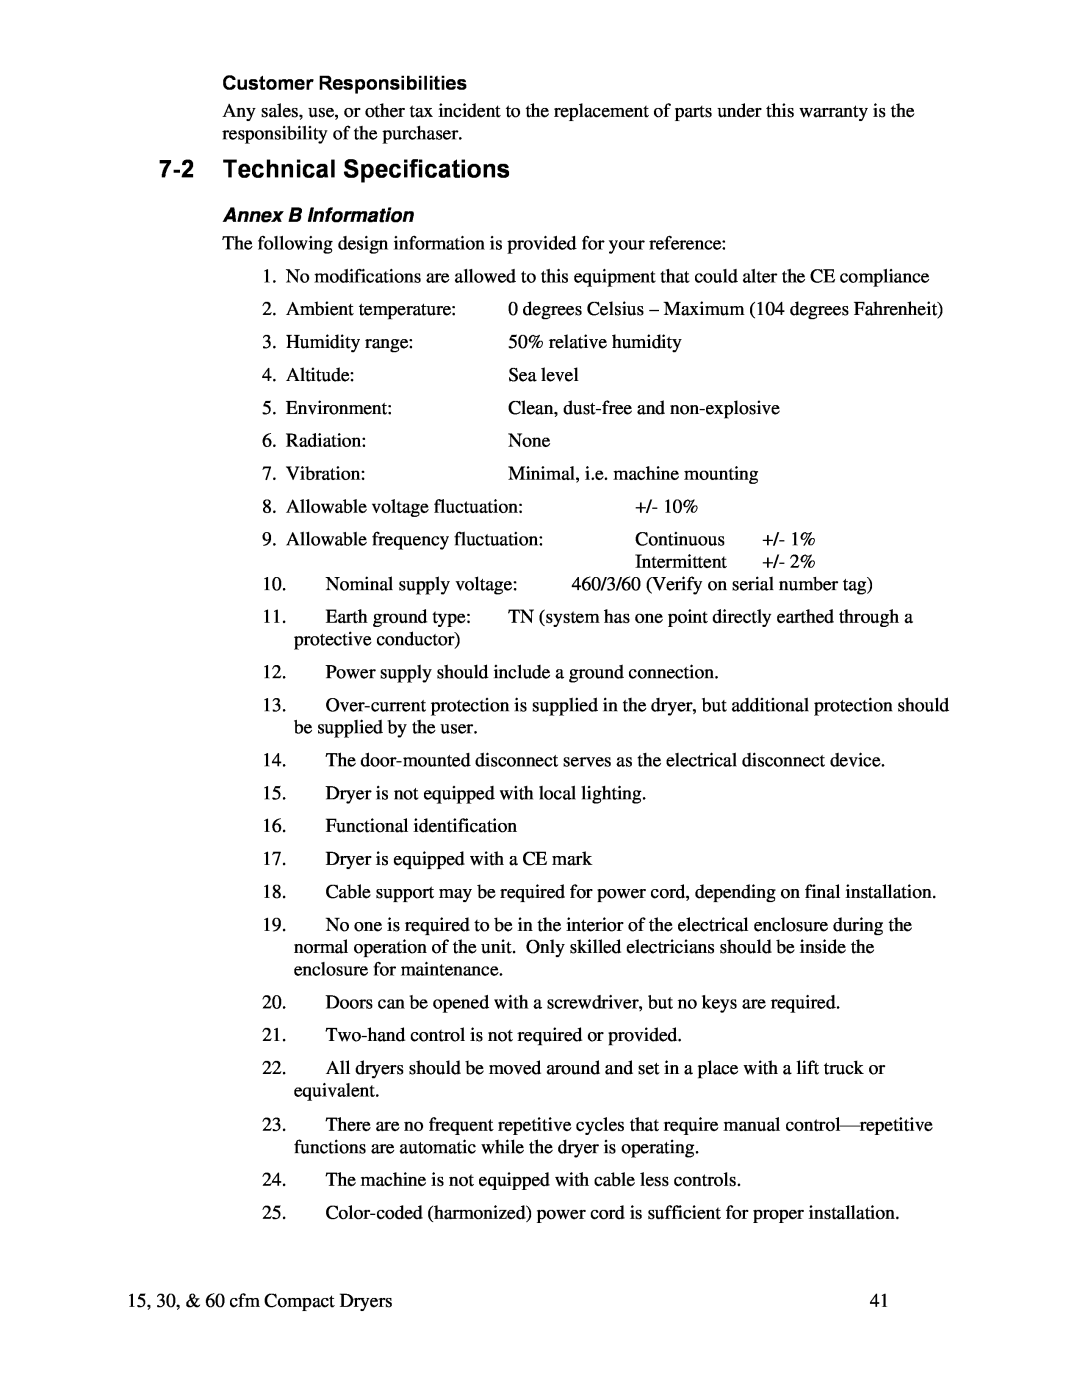
Failure to clean the hopper fouls the desiccant and voids your warranty!
;Verify that the dryer’s thermocouple is properly connected in the center of the drying hopper’s delivery tube.
;Verify that the temperature control has been configured for your specified scale (ºF or ºC).
Starting Up the Dryer
1.Turn on (energize) the disconnect switch in your power drop, then turn on the disconnect switch on the dryer (3 phase only).
2.Turn the system ON/OFF switch to ON to start the dryer.
3.Close the slidegate at the bottom of the drying hopper. Make sure that the blowers turn in the right direction.
4.Fill the drying hopper with material. Dryer performance is compromised if hopper is not full!
5.If your dryer has a
15, 30, & 60 cfm Compact Dryers | 18 |
