42CHAPTER 2: INSTALLING THE SWITCH 7750
Connecting the | To connect the ground wire: |
Ground Wire |
|
1 | Wear an antistatic wrist strap. |
2 | Remove the screw from the grounding hole in the switch chassis. |
3 | Set the ground wire connector around the grounding screw. |
4 | Fasten the grounding screw in the hole on the chassis. |
5 | Connect the other end of the ground wire to the grounding bar of the switch. |
| If you install the switch in a cabinet, 3Com recommends that the ground wire of |
| the switch be connected to the grounding bar of the cabinet. |
| WARNING: The resistance between switch chassis and the ground should be less |
| than 1 ohm. |
|
|
Connecting and | The Switch 7750 requires power connection from the AC or DC power source and |
Configuring Power | from the PoE power rack. |
Connecting AC Power To connect AC power cords:
Cords
1Power off all the related parts of the switch before connecting the AC power cord
2Plug the power cords into the sockets in the switch and attach the retention clips to the power cord plugs.
3Plug the other end of the cords into a socket strip with surge protector. Connect the strip to the power source in the room.
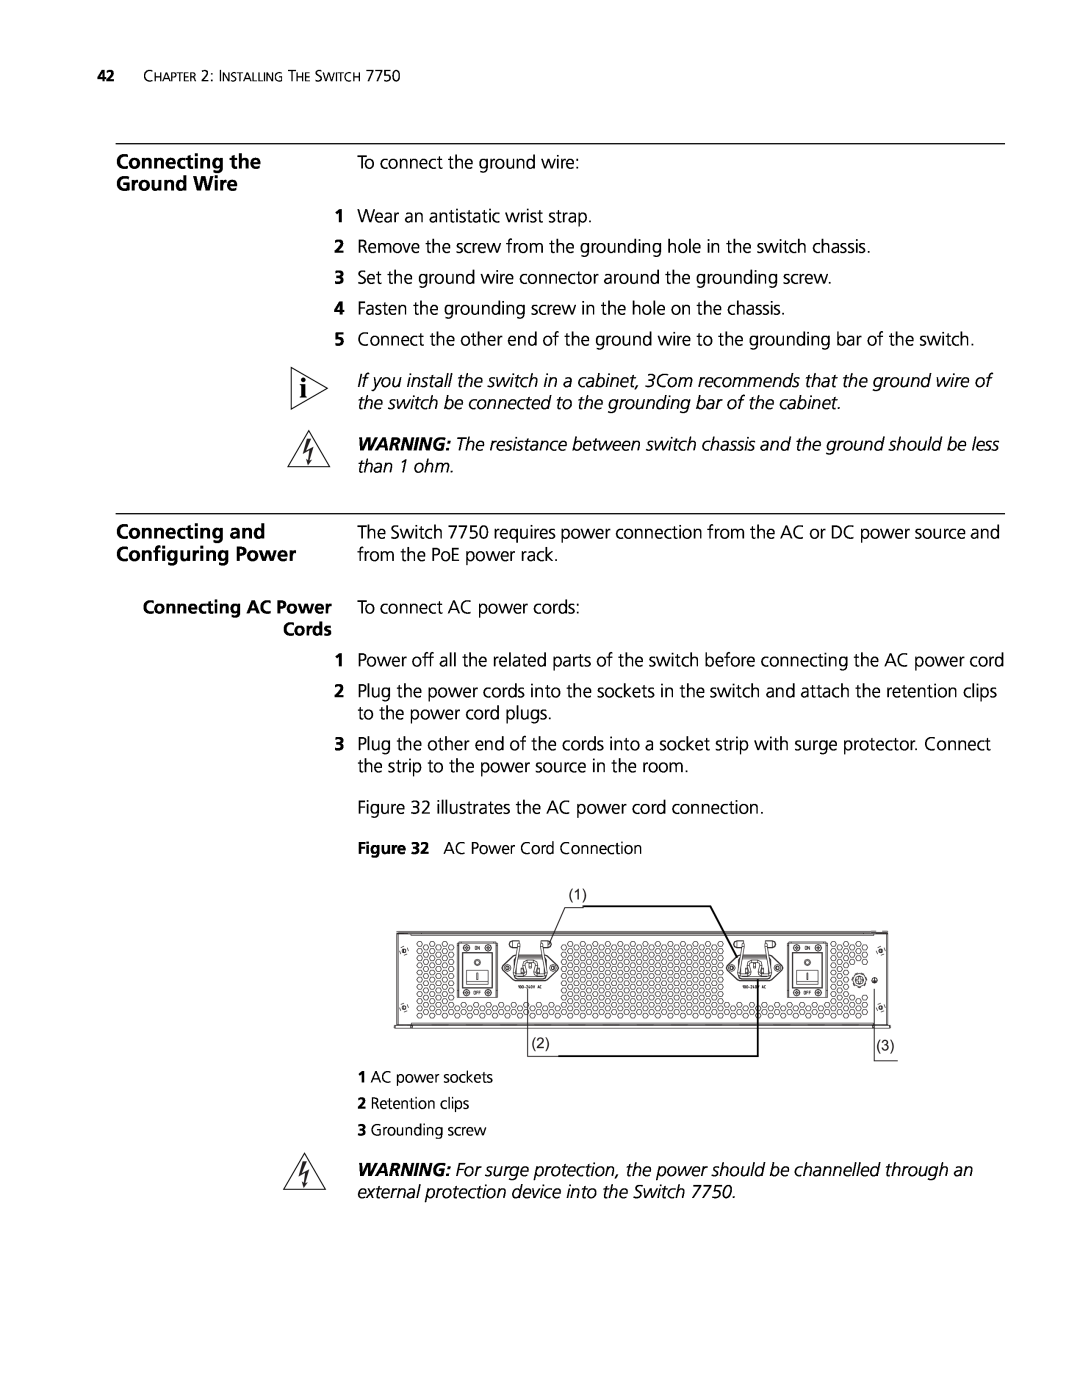
Figure 32 illustrates the AC power cord connection.
Figure 32 AC Power Cord Connection
1 AC power sockets
2 Retention clips
3 Grounding screw
WARNING: For surge protection, the power should be channelled through an external protection device into the Switch 7750.