18CHAPTER 2: INSTALLING THE SYSTEM
Installing the System in a Distribution Rack
You can mount the CoreBuilder 9400 system into a
48.26mm
Install your distribution rack near an easily accessible power outlet. You can power down the system only by removing the power cord from the power source.
To prepare the system and distribution rack for installing the CoreBuilder 9400 system:
1See Appendix C for distribution rack requirements.
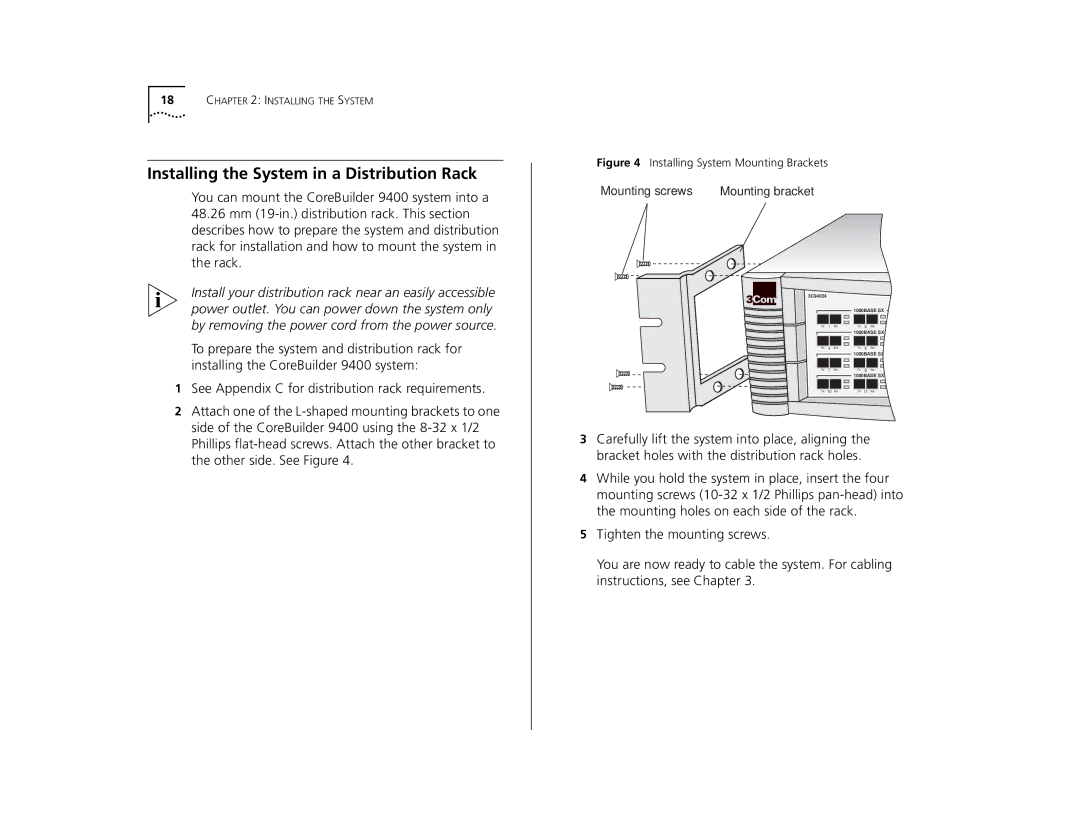
2Attach one of the
Figure 4 Installing System Mounting Brackets
Mounting screws | Mounting bracket | |||
|
|
|
|
|
|
|
|
|
|
|
|
|
|
|
|
|
|
|
|
|
|
|
|
|
|
|
|
|
|
|
|
|
|
|
|
|
|
|
|
|
|
|
|
|
|
|
|
|
|
|
|
|
|
|
|
|
|
|
|
|
|
|
|
|
3C94024 |
|
|
|
|
|
|
|
|
| 1000BASE SX |
| ||
TX | 1 | RX | TX | 2 | RX | TX |
|
|
| 1000BASE SX |
| ||
TX | 4 | RX | TX | 5 | RX | TX |
|
|
| 1000BASE SX |
| ||
TX | 7 | RX | TX | 8 | RX | TX |
|
|
| 1000BASE SX |
| ||
TX | 10 | RX | TX | 11 | RX | TX |
3Carefully lift the system into place, aligning the bracket holes with the distribution rack holes.
4While you hold the system in place, insert the four mounting screws
5Tighten the mounting screws.
You are now ready to cable the system. For cabling instructions, see Chapter 3.