12.Locating Buried Sheath Faults And Earth Return Faults
(3M™ Dynatel™ Models 2573 and 2573-iD only)
Note: Remove (disconnect) both the
A. Transmitter Setup
Note: Do not make any connections while the transmitter is on. Fault location will not work unless the
Note: This method only works on direct buried cables/conductors. It will not work if the cables/conductors are faulted inside of a conduit, such as a PVC conduit.
Step 1. Attach the red clip to the
Step 2. Place the ground rod behind the transmitter and in parallel with the target path. Step 3. Connect the black clip to the ground rod behind the transmitter.
Step 4. Press and hold On/Off [1] to perform a battery test.
Step 5. Press on
−− The resistance of the fault will be displayed in ohms on the transmitter Digital Display
−− Resistance less than 50KΩ = Significant fault exists
−− Resistance 50KΩ to 1.0MΩ = High resistance fault exists (May or may not cause problems yet, but gets worse with time.)
−− Resistance greater than 1.0MΩ = No significant fault exists
Note: The fault locating limit is 2.0MΩ, although the transmitter's
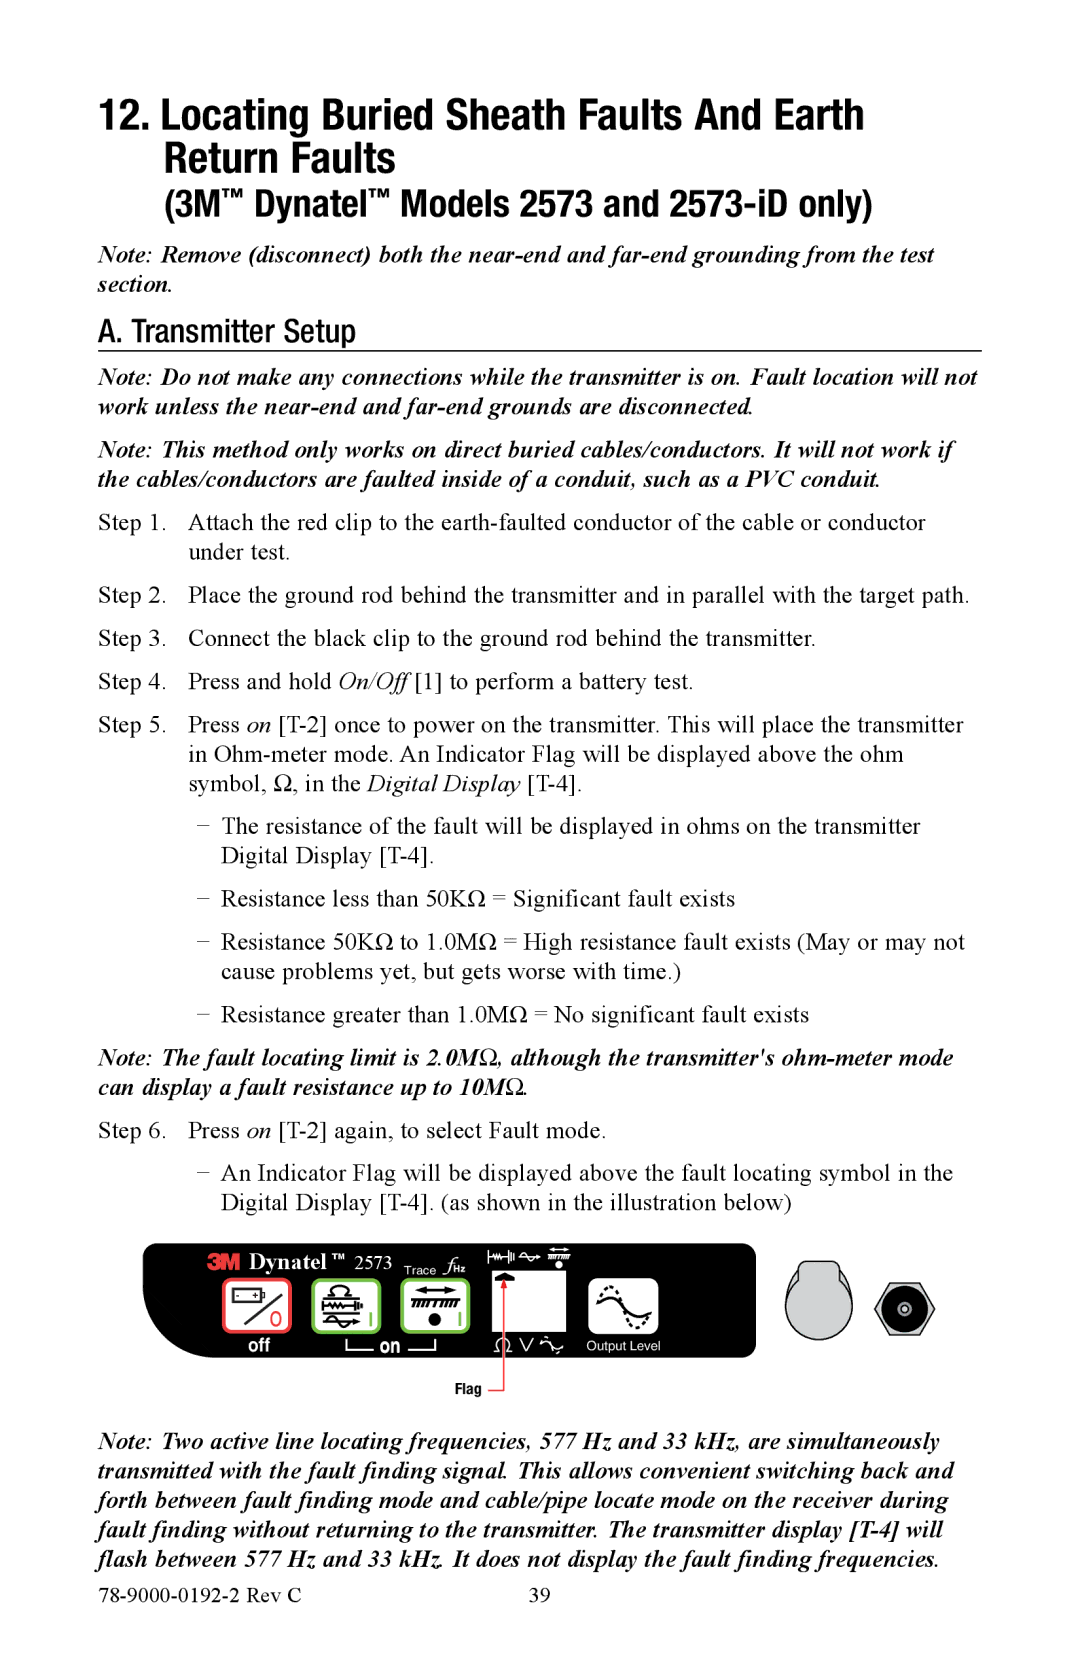
Step 6. Press on
−− An Indicator Flag will be displayed above the fault locating symbol in the Digital Display
![]() Dynatel TM 2573 Trace
Dynatel TM 2573 Trace ![]()
- + o | on |
off |
Flag
Output Level
Note: Two active line locating frequencies, 577 Hz and 33 kHz, are simultaneously transmitted with the fault finding signal. This allows convenient switching back and forth between fault finding mode and cable/pipe locate mode on the receiver during fault finding without returning to the transmitter. The transmitter display
39 |
