Removing the Switch Cover
1.See “Removing the Battery Pack” on page 42.
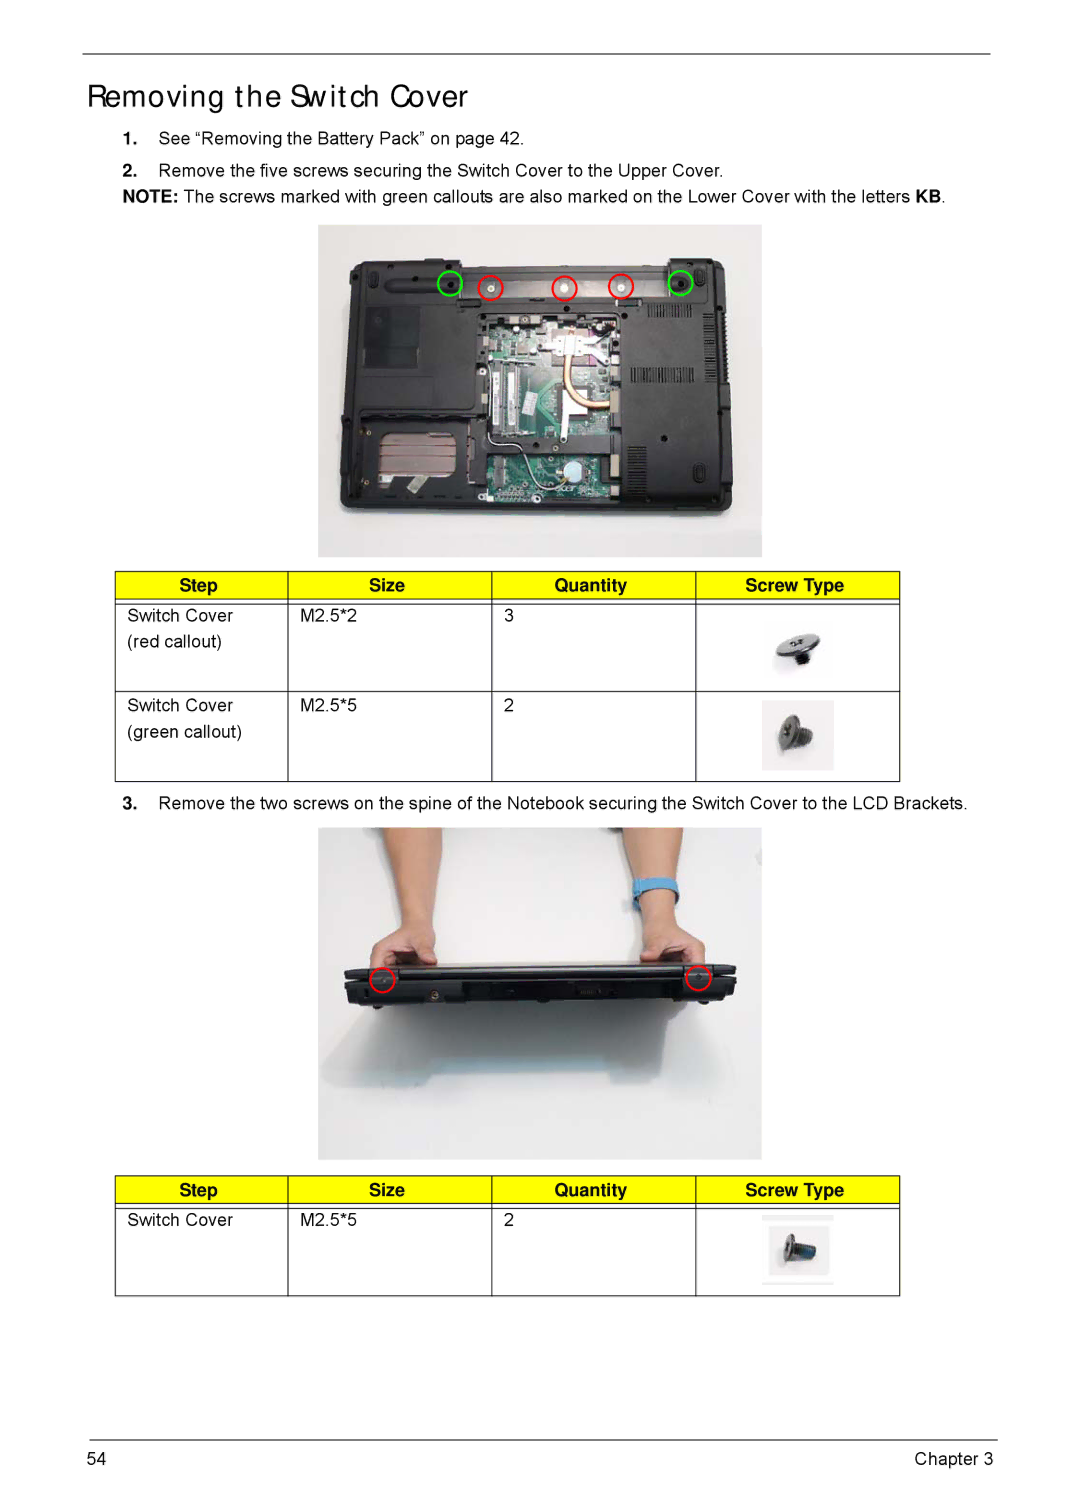
2.Remove the five screws securing the Switch Cover to the Upper Cover.
NOTE: The screws marked with green callouts are also marked on the Lower Cover with the letters KB.
Step | Size | Quantity | Screw Type |
|
|
|
|
Switch Cover | M2.5*2 | 3 |
|
(red callout) |
|
|
|
|
|
|
|
Switch Cover | M2.5*5 | 2 |
|
(green callout) |
|
|
|
|
|
|
|
3.Remove the two screws on the spine of the Notebook securing the Switch Cover to the LCD Brackets.
Step |
| Size | Quantity | Screw Type |
|
|
|
|
|
Switch Cover | M2.5*5 |
| 2 |
|
|
|
|
|
|
54 | Chapter 3 |