124 | Appendix B: System rack installation guide |
4Attach the mounting brackets and the cable carrier to the rack with nine M6xL10 screws.
Note: You need to insert the locating ring into the rack mount hole first before securing the mounting bracket with the screws. Refer to the next figure.
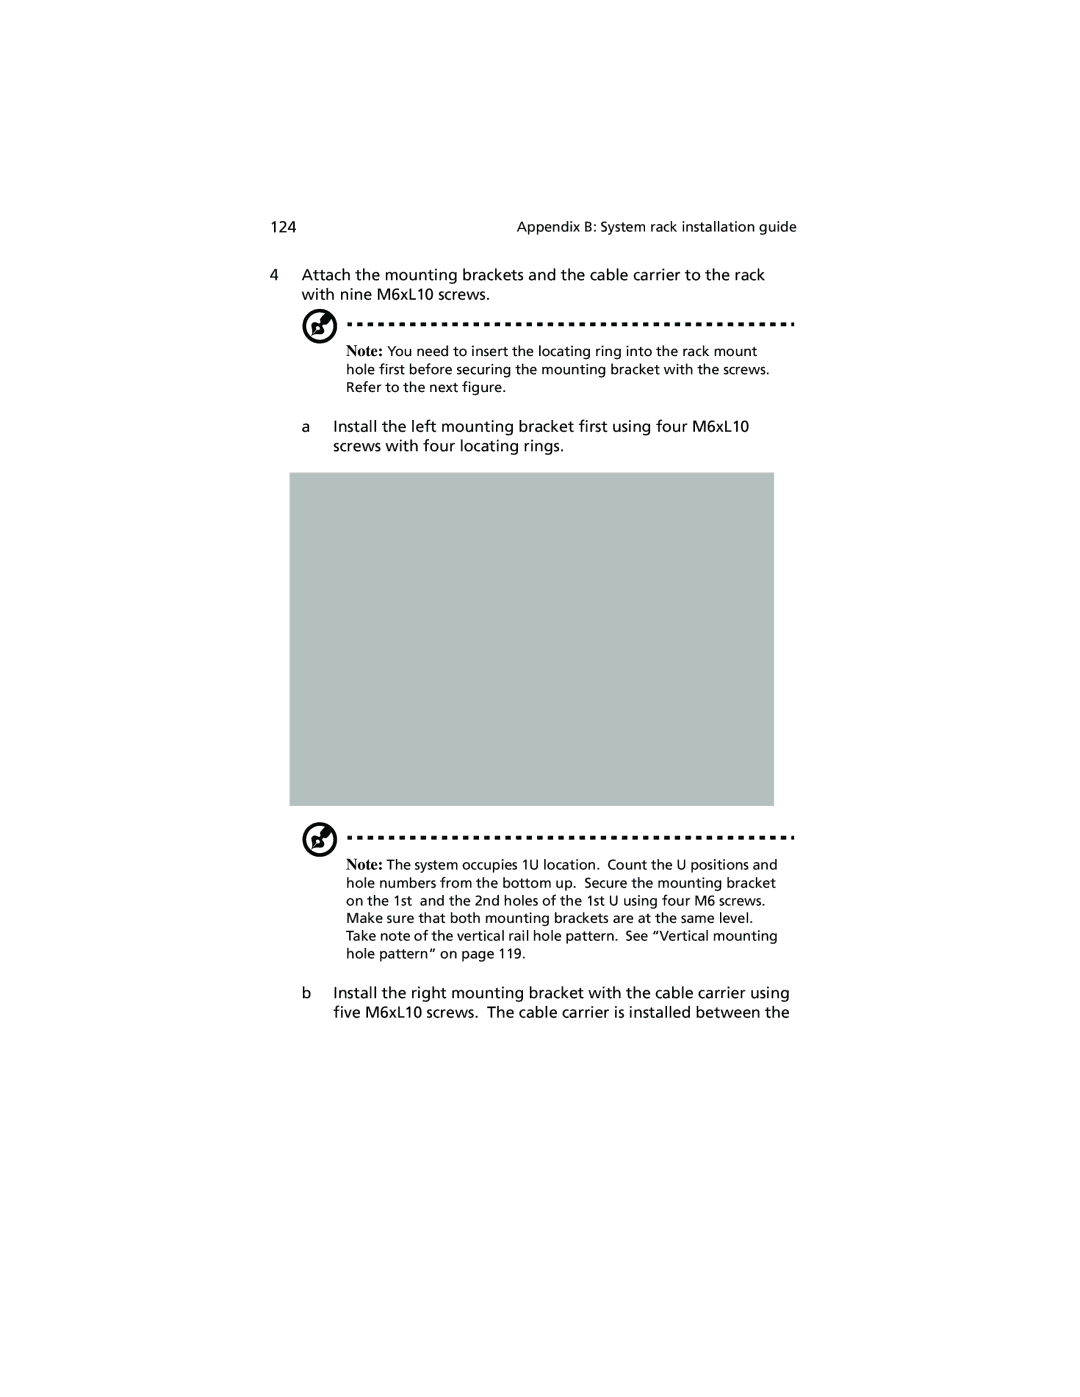
aInstall the left mounting bracket first using four M6xL10 screws with four locating rings.
Note: The system occupies 1U location. Count the U positions and hole numbers from the bottom up. Secure the mounting bracket on the 1st and the 2nd holes of the 1st U using four M6 screws.
Make sure that both mounting brackets are at the same level. Take note of the vertical rail hole pattern. See “Vertical mounting hole pattern” on page 119.
bInstall the right mounting bracket with the cable carrier using five M6xL10 screws. The cable carrier is installed between the