14
CHAPTER 3
Using the RTU
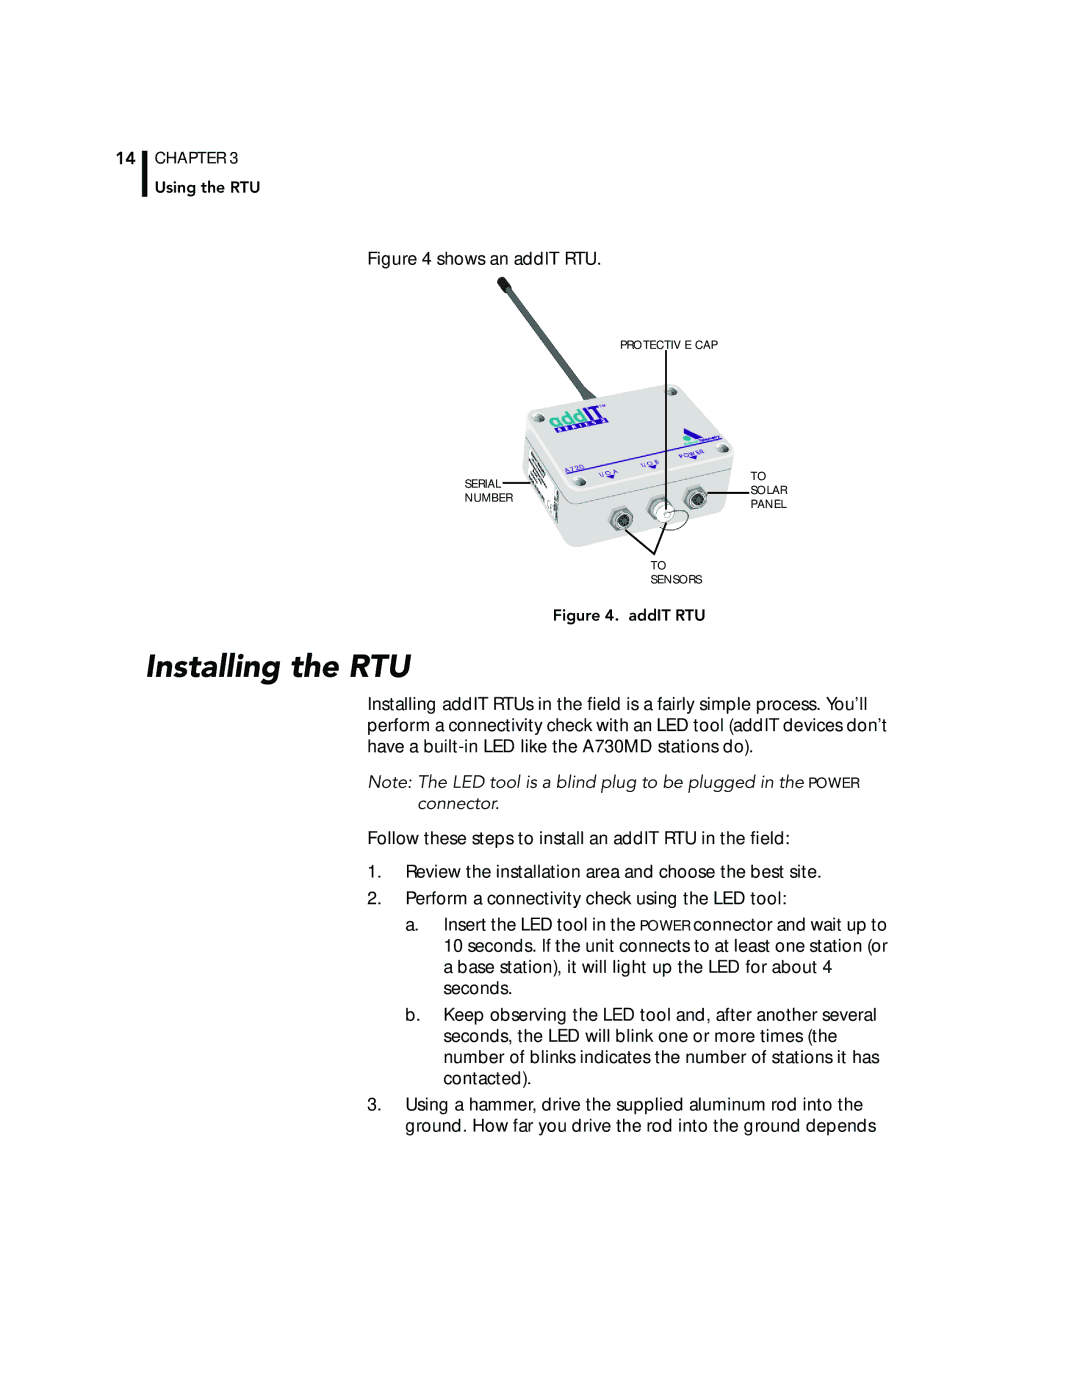
Figure 4 shows an addIT RTU.
PROTECTIV E CAP
SERIAL NUMBER
TO SOLAR PANEL
TO
SENSORS
Figure 4. addIT RTU
Installing the RTU
Installing addIT RTUs in the field is a fairly simple process. You’ll perform a connectivity check with an LED tool (addIT devices don’t have a
Note: The LED tool is a blind plug to be plugged in the POWER connector.
Follow these steps to install an addIT RTU in the field:
1.Review the installation area and choose the best site.
2.Perform a connectivity check using the LED tool:
a.Insert the LED tool in the POWER connector and wait up to 10 seconds. If the unit connects to at least one station (or a base station), it will light up the LED for about 4 seconds.
b.Keep observing the LED tool and, after another several seconds, the LED will blink one or more times (the number of blinks indicates the number of stations it has contacted).
3.Using a hammer, drive the supplied aluminum rod into the ground. How far you drive the rod into the ground depends