24
CHAPTER 4
Performing Advanced Functions
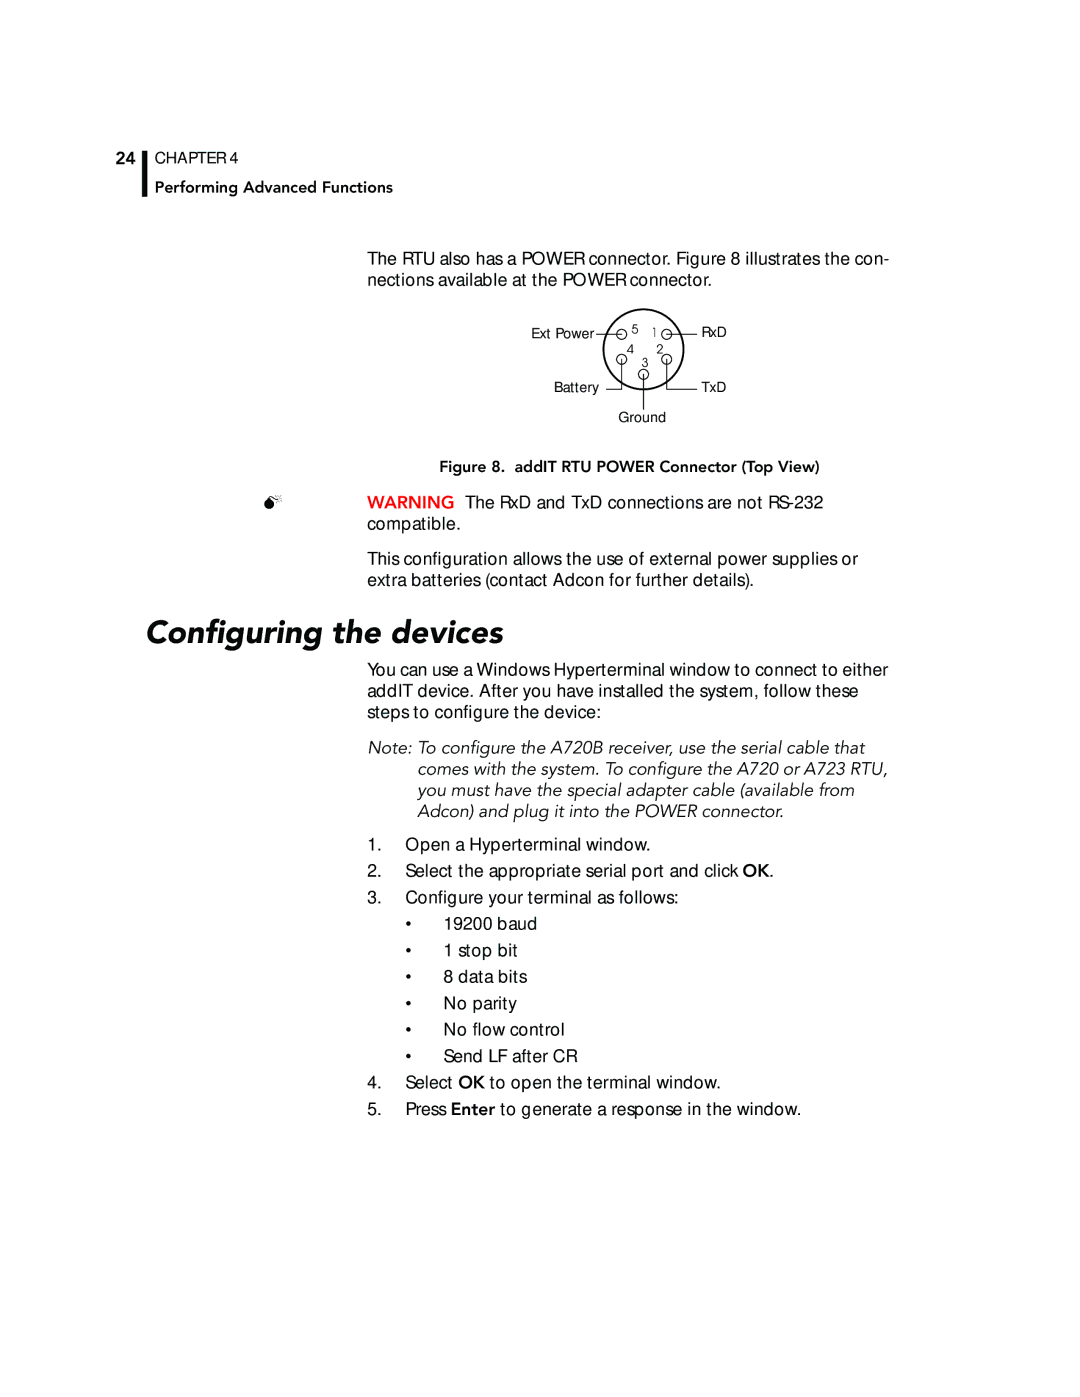
The RTU also has a POWER connector. Figure 8 illustrates the con- nections available at the POWER connector.
Ext Power | 5 | 1 |
| 4 | 2 |
|
| 3 |
Battery |
|
|
| Ground | |
RxD
TxD
Figure 8. addIT RTU POWER Connector (Top View)
WARNING The RxD and TxD connections are not
This configuration allows the use of external power supplies or extra batteries (contact Adcon for further details).
Configuring the devices
You can use a Windows Hyperterminal window to connect to either addIT device. After you have installed the system, follow these steps to configure the device:
Note: To configure the A720B receiver, use the serial cable that comes with the system. To configure the A720 or A723 RTU, you must have the special adapter cable (available from Adcon) and plug it into the POWER connector.
1.Open a Hyperterminal window.
2.Select the appropriate serial port and click OK.
3.Configure your terminal as follows:
•19200 baud
•1 stop bit
•8 data bits
•No parity
•No flow control
•Send LF after CR
4.Select OK to open the terminal window.
5.Press Enter to generate a response in the window.