Configuring OSPF | OSPF Application Example |
|
|
|
|
Step 2: Enable OSPF
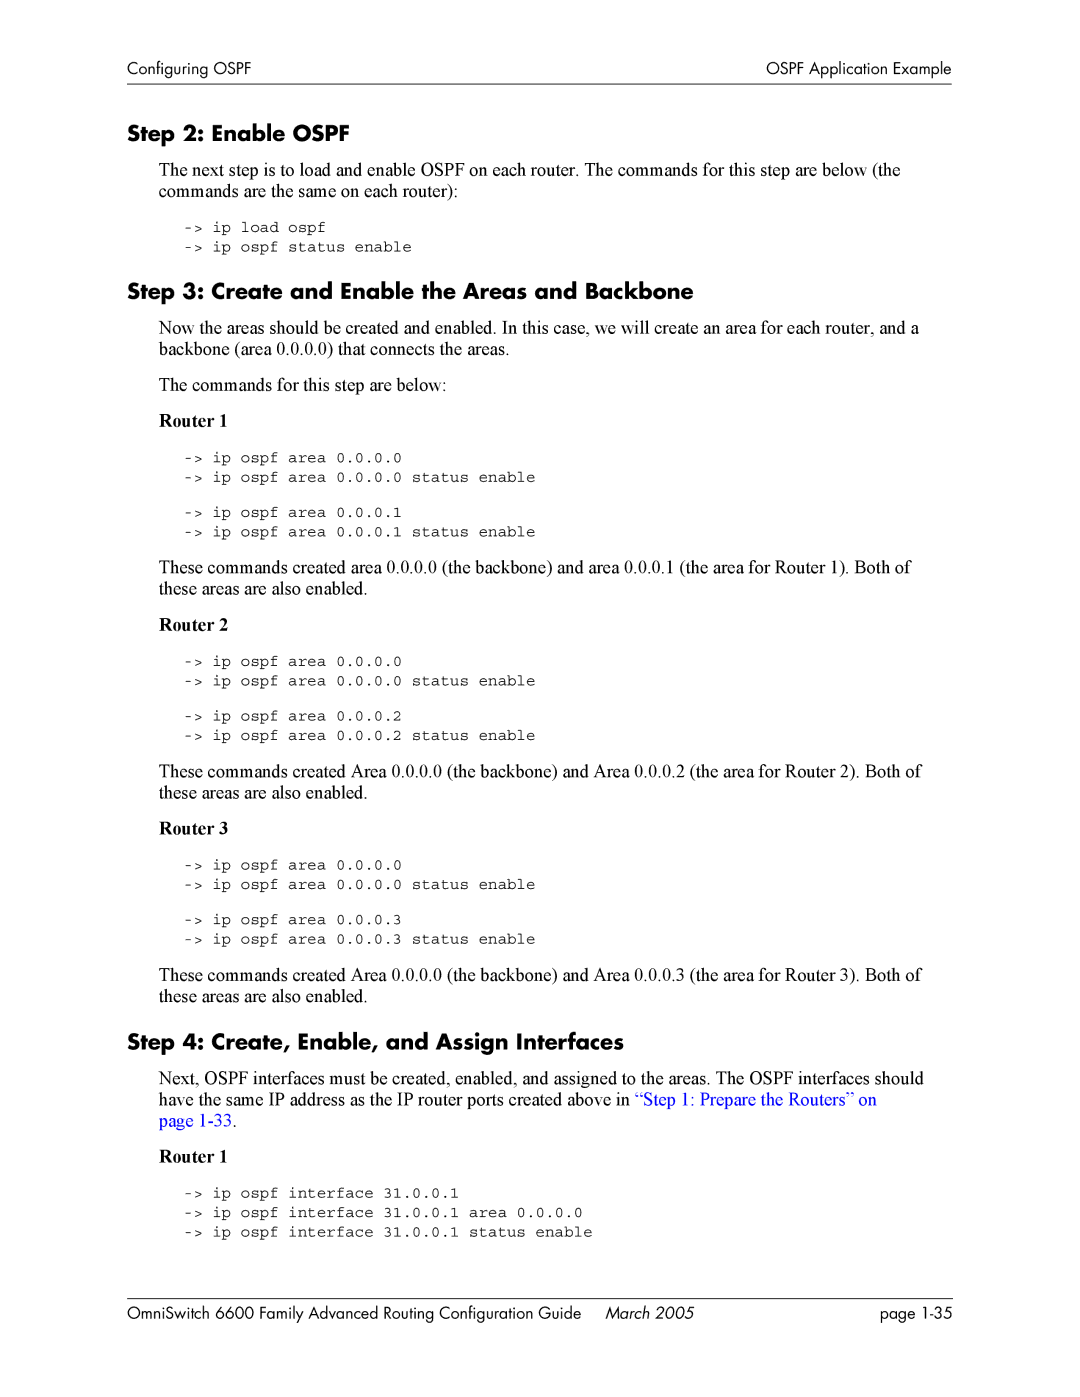
The next step is to load and enable OSPF on each router. The commands for this step are below (the commands are the same on each router):
Step 3: Create and Enable the Areas and Backbone
Now the areas should be created and enabled. In this case, we will create an area for each router, and a backbone (area 0.0.0.0) that connects the areas.
The commands for this step are below:
Router 1
These commands created area 0.0.0.0 (the backbone) and area 0.0.0.1 (the area for Router 1). Both of these areas are also enabled.
Router 2
These commands created Area 0.0.0.0 (the backbone) and Area 0.0.0.2 (the area for Router 2). Both of these areas are also enabled.
Router 3
These commands created Area 0.0.0.0 (the backbone) and Area 0.0.0.3 (the area for Router 3). Both of these areas are also enabled.
Step 4: Create, Enable, and Assign Interfaces
Next, OSPF interfaces must be created, enabled, and assigned to the areas. The OSPF interfaces should have the same IP address as the IP router ports created above in “Step 1: Prepare the Routers” on page
Router 1
OmniSwitch 6600 Family Advanced Routing Configuration Guide March 2005 | page |
