9102/3 Mounting Options | Shelf Mounting Options |
1.5.2.3 Attaching the Extension Brackets and Rear Brackets
Caution: Two persons are required to mount the 9102/3, with one person in front of and another person behind the unit.
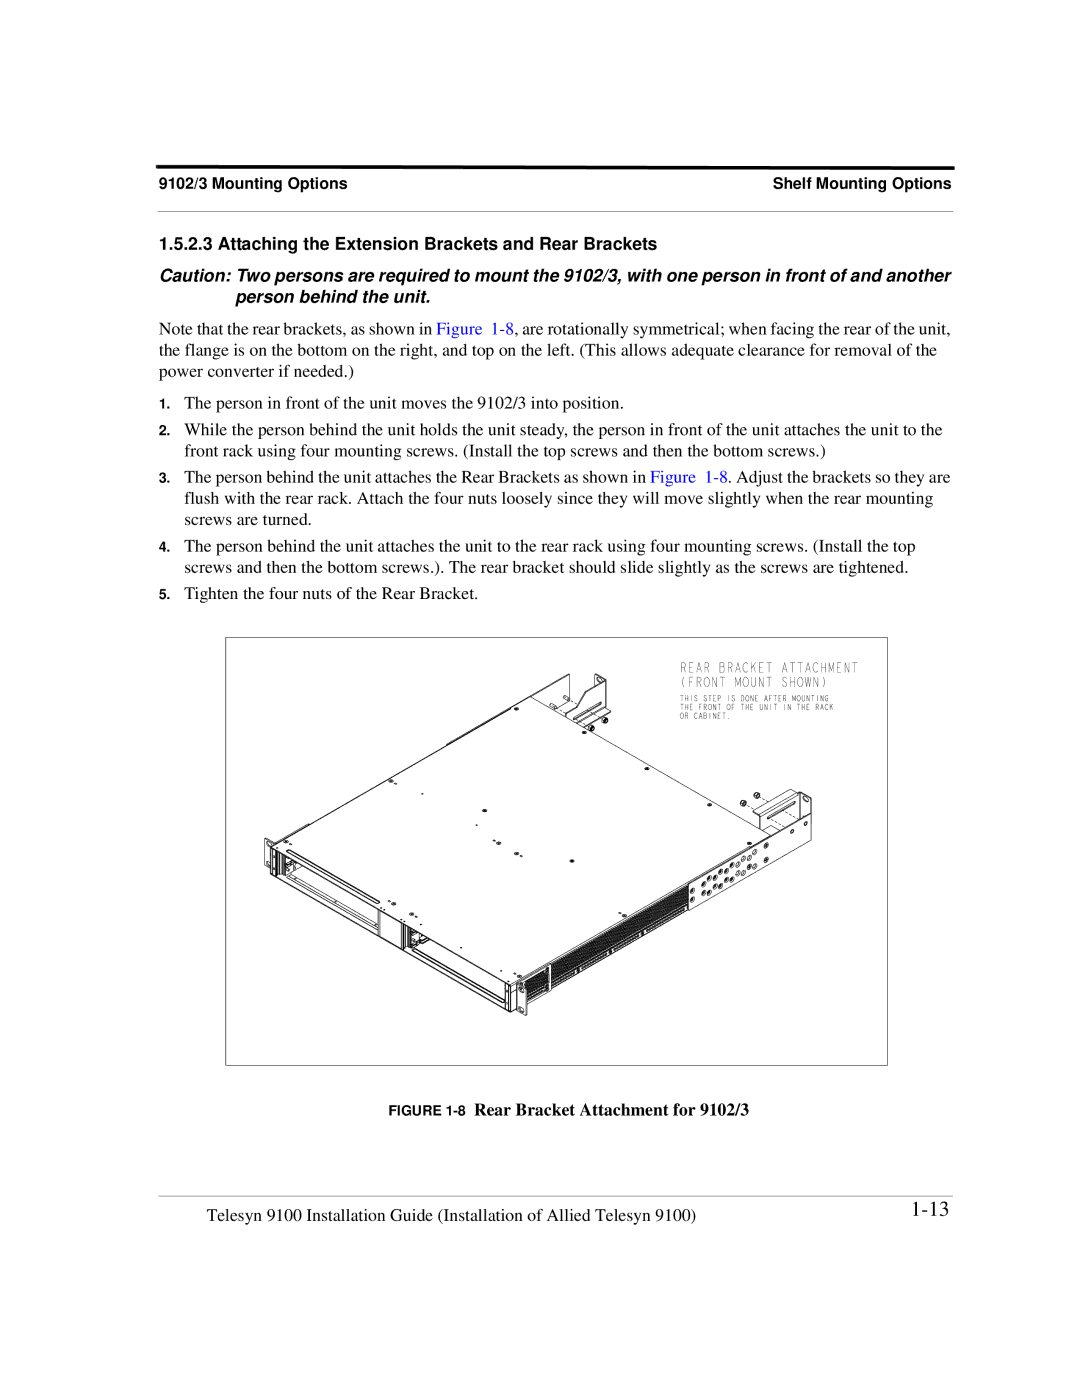
Note that the rear brackets, as shown in Figure
1.The person in front of the unit moves the 9102/3 into position.
2.While the person behind the unit holds the unit steady, the person in front of the unit attaches the unit to the front rack using four mounting screws. (Install the top screws and then the bottom screws.)
3.The person behind the unit attaches the Rear Brackets as shown in Figure
4.The person behind the unit attaches the unit to the rear rack using four mounting screws. (Install the top screws and then the bottom screws.). The rear bracket should slide slightly as the screws are tightened.
5.Tighten the four nuts of the Rear Bracket.
FIGURE 1-8 Rear Bracket Attachment for 9102/3
Telesyn 9100 Installation Guide (Installation of Allied Telesyn 9100) |