Chapter 1 | Setting Up the CoreModule 420 |
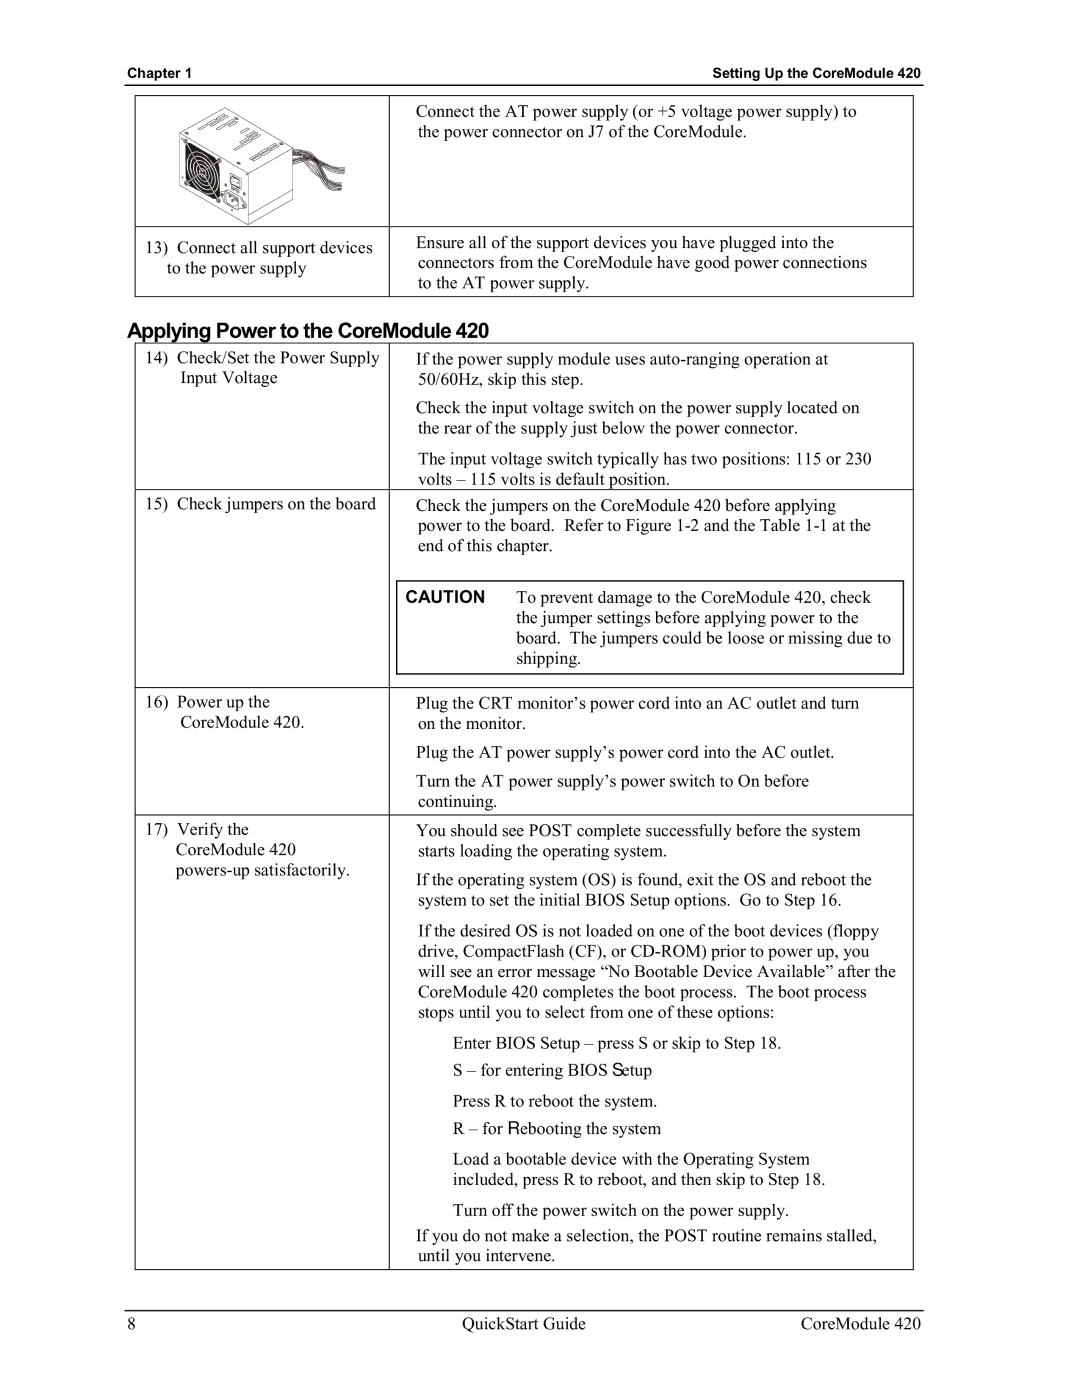
•Connect the AT power supply (or +5 voltage power supply) to
the power connector on J7 of the CoreModule.
13) Connect all support devices | • Ensure all of the support devices you have plugged into the | |
connectors from the CoreModule have good power connections | ||
to the power supply | ||
to the AT power supply. | ||
|
Applying Power to the CoreModule 420
14) Check/Set the Power Supply | • | If the power supply module uses |
Input Voltage |
| 50/60Hz, skip this step. |
| • | Check the input voltage switch on the power supply located on |
|
| the rear of the supply just below the power connector. |
The input voltage switch typically has two positions: 115 or 230 volts – 115 volts is default position.
15)Check jumpers on the board • Check the jumpers on the CoreModule 420 before applying power to the board. Refer to Figure
| CAUTION | To prevent damage to the CoreModule 420, check |
|
|
| the jumper settings before applying power to the |
|
|
| board. The jumpers could be loose or missing due to |
|
|
| shipping. |
|
|
|
| |
|
|
| |
16) Power up the | • Plug the CRT monitor’s power cord into an AC outlet and turn |
| |
CoreModule 420. | on the monitor. |
| |
| • Plug the AT power supply’s power cord into the AC outlet. |
| |
| • Turn the AT power supply’s power switch to On before |
| |
| continuing. |
|
|
|
|
| |
17) Verify the | • You should see POST complete successfully before the system |
| |
CoreModule 420 | starts loading the operating system. |
| |
• If the operating system (OS) is found, exit the OS and reboot the |
| ||
|
| ||
| system to set the initial BIOS Setup options. Go to Step 16. |
| |
| If the desired OS is not loaded on one of the boot devices (floppy |
| |
| drive, CompactFlash (CF), or |
| |
| will see an error message “No Bootable Device Available” after the |
| |
| CoreModule 420 completes the boot process. The boot process |
| |
| stops until you to select from one of these options: |
| |
| ♦ Enter BIOS Setup – press S or skip to Step 18. |
| |
| S – for entering BIOS Setup |
| |
| ♦ Press R to reboot the system. |
| |
| R – for Rebooting the system |
| |
| ♦ Load a bootable device with the Operating System |
| |
| included, press R to reboot, and then skip to Step 18. |
| |
| ♦ Turn off the power switch on the power supply. |
| |
| • If you do not make a selection, the POST routine remains stalled, |
| |
| until you intervene. |
| |
8 | QuickStart Guide | CoreModule 420 |