4.0 Installation
4.3.2 Enable UPS
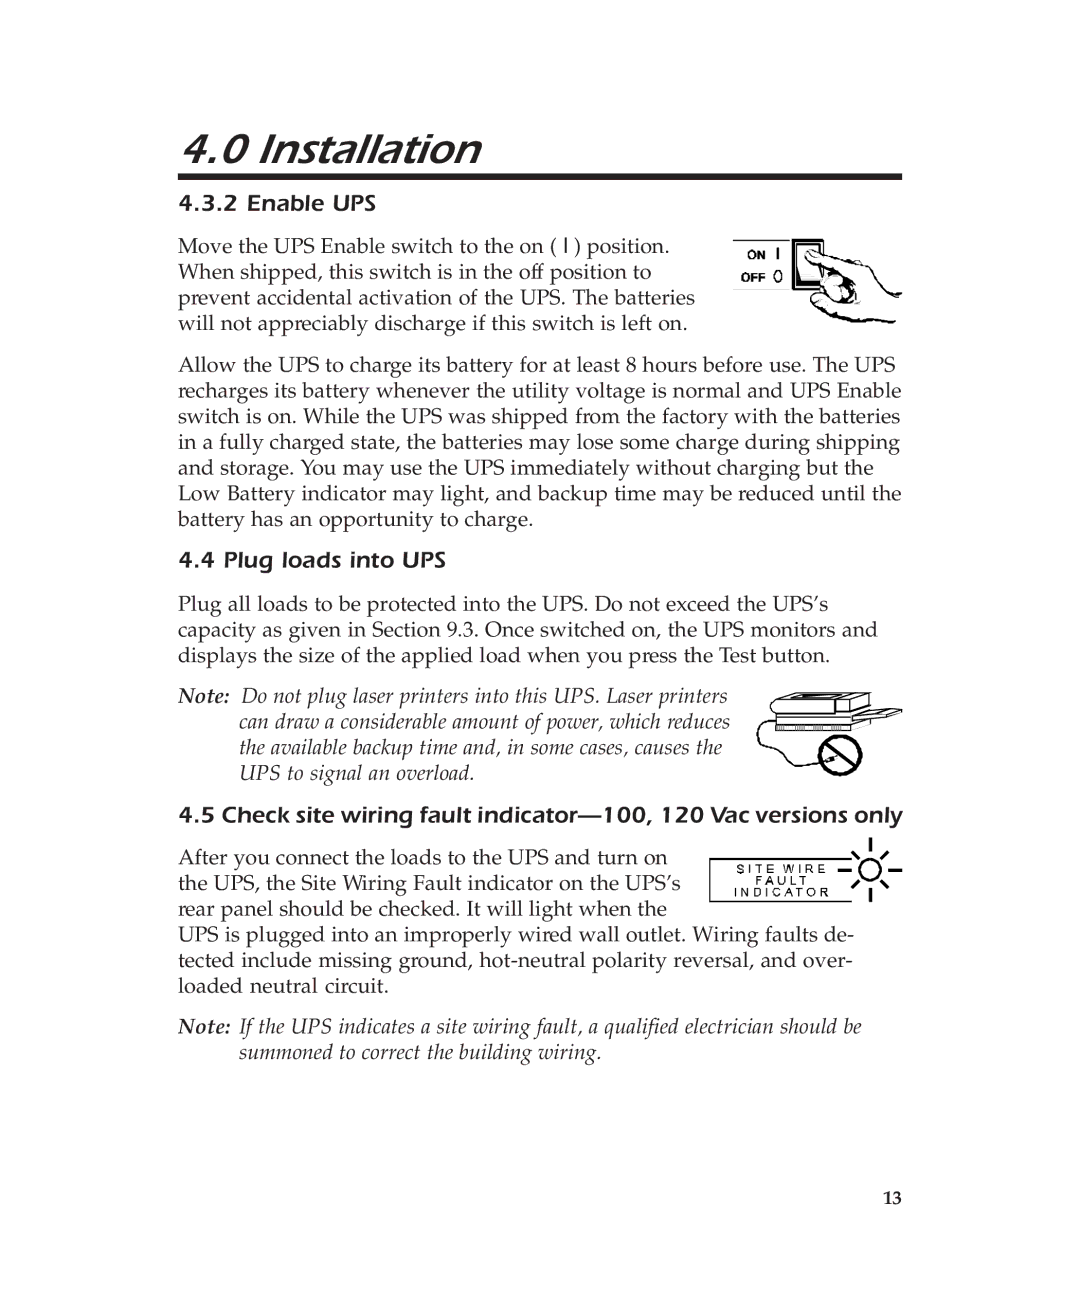
Move the UPS Enable switch to the on ( I ) position. When shipped, this switch is in the off position to prevent accidental activation of the UPS. The batteries will not appreciably discharge if this switch is left on.
Allow the UPS to charge its battery for at least 8 hours before use. The UPS recharges its battery whenever the utility voltage is normal and UPS Enable switch is on. While the UPS was shipped from the factory with the batteries in a fully charged state, the batteries may lose some charge during shipping and storage. You may use the UPS immediately without charging but the Low Battery indicator may light, and backup time may be reduced until the battery has an opportunity to charge.
4.4 Plug loads into UPS
Plug all loads to be protected into the UPS. Do not exceed the UPS’s capacity as given in Section 9.3. Once switched on, the UPS monitors and displays the size of the applied load when you press the Test button.
Note: Do not plug laser printers into this UPS. Laser printers can draw a considerable amount of power, which reduces the available backup time and, in some cases, causes the UPS to signal an overload.
4.5 Check site wiring fault
After you connect the loads to the UPS and turn on the UPS, the Site Wiring Fault indicator on the UPS’s rear panel should be checked. It will light when the
UPS is plugged into an improperly wired wall outlet. Wiring faults de- tected include missing ground,
Note: If the UPS indicates a site wiring fault, a qualified electrician should be summoned to correct the building wiring.
13