19
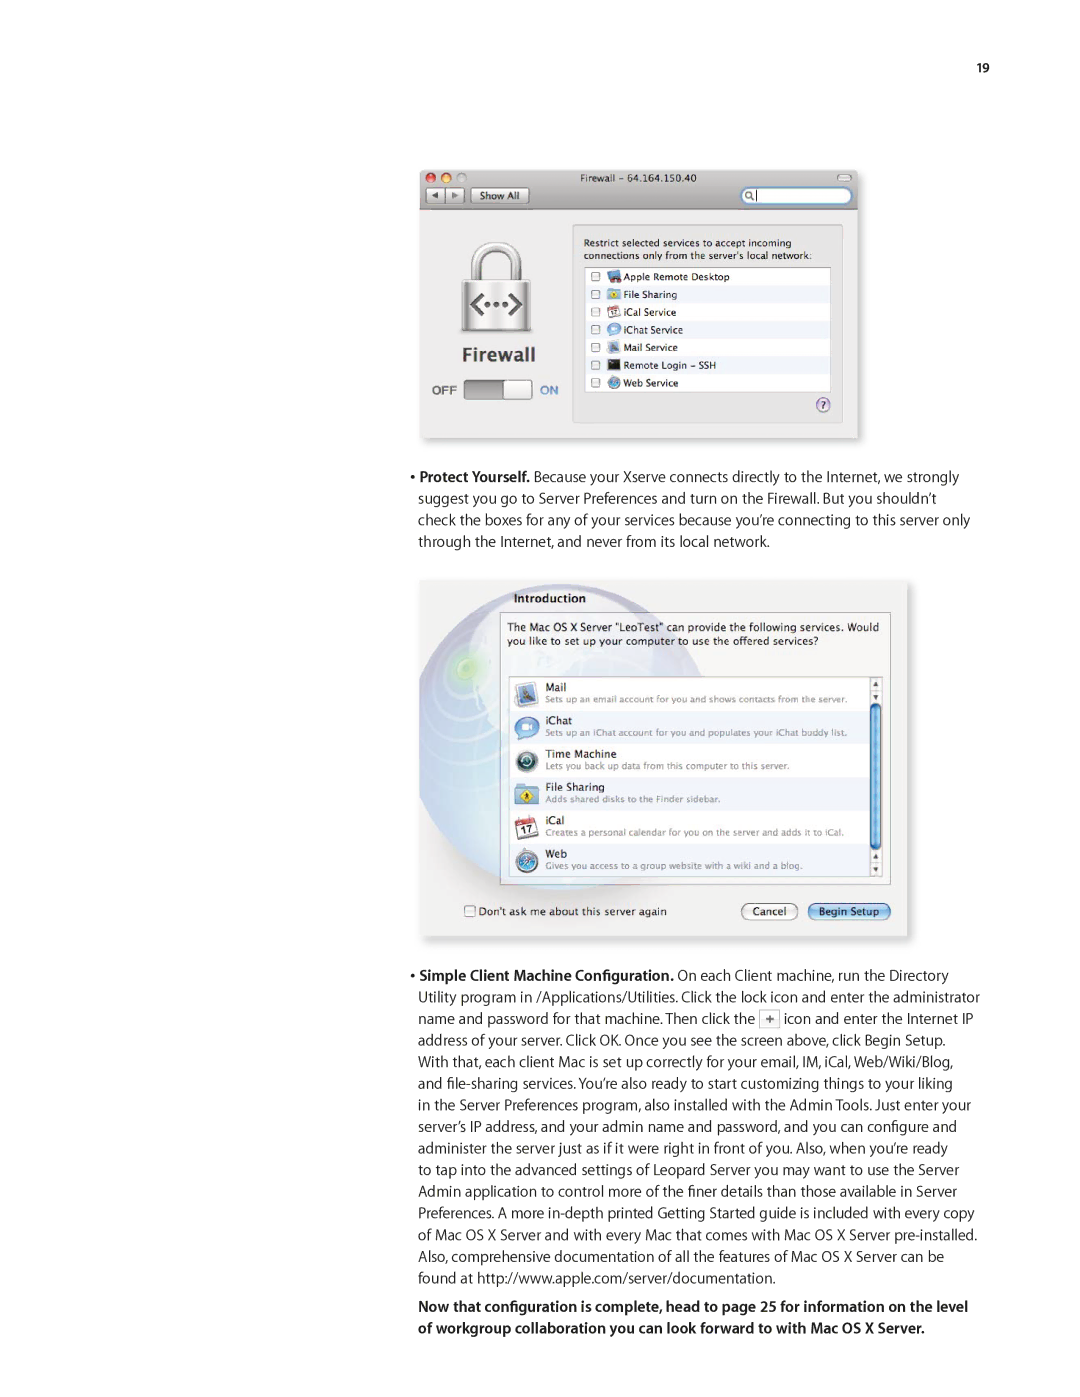
•Protect Yourself. Because your Xserve connects directly to the Internet, we strongly suggest you go to Server Preferences and turn on the Firewall. But you shouldn’t check the boxes for any of your services because you’re connecting to this server only through the Internet, and never from its local network.
•Simple Client Machine Configuration. On each Client machine, run the Directory Utility program in /Applications/Utilities. Click the lock icon and enter the administrator
name and password for that machine. Then click the ![]() icon and enter the Internet IP address of your server. Click OK. Once you see the screen above, click Begin Setup. With that, each client Mac is set up correctly for your email, IM, iCal, Web/Wiki/Blog, and
icon and enter the Internet IP address of your server. Click OK. Once you see the screen above, click Begin Setup. With that, each client Mac is set up correctly for your email, IM, iCal, Web/Wiki/Blog, and
Now that configuration is complete, head to page 25 for information on the level of workgroup collaboration you can look forward to with Mac OS X Server.
