| Take Apart |
|
|
|
| Drive Rails - 23 | |||
|
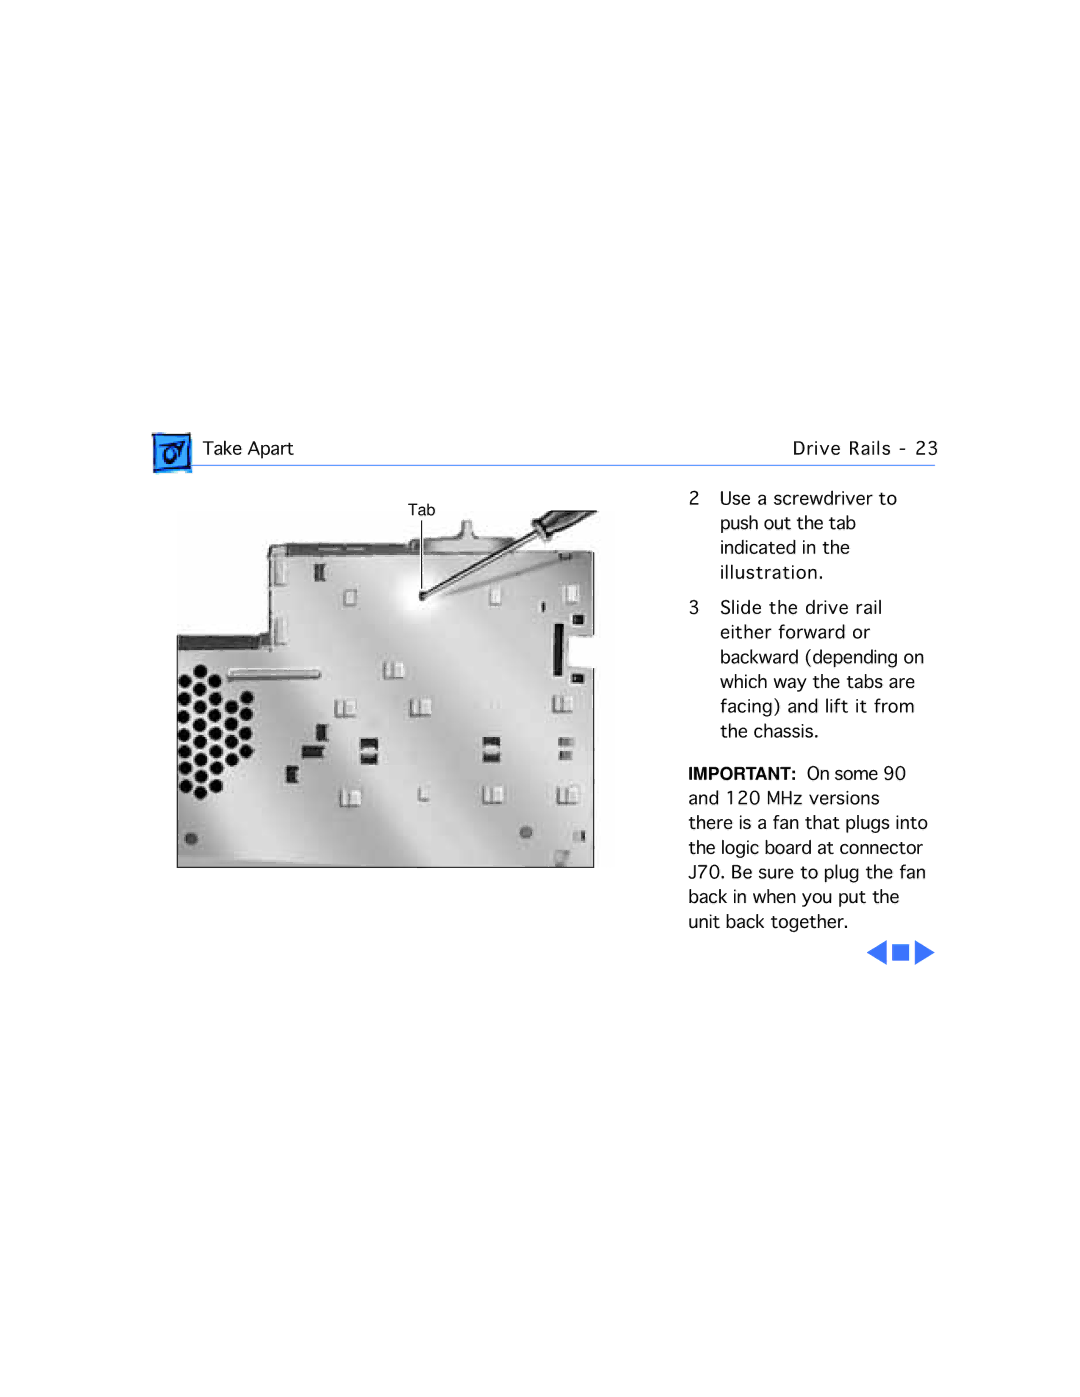
| Tab |
|
| 2 Use a screwdriver to |
| |||
|
|
|
| push out the tab | |||||
|
|
|
| ||||||
|
|
|
|
|
| ||||
|
|
|
|
|
| indicated in the | |||
|
|
|
|
|
| illustration. | |||
|
|
|
|
|
| 3 Slide the drive rail | |||
|
|
|
|
|
| either forward or | |||
|
|
|
|
|
| backward (depending on | |||
|
|
|
|
|
| which way the tabs are | |||
|
|
|
|
| |||||
|
|
|
|
|
| facing) and lift it from | |||
|
|
|
|
|
| the chassis. | |||
|
|
|
|
|
| IMPORTANT: On some 90 | |||
|
|
|
|
|
| and 120 MHz versions | |||
|
|
|
|
|
| there is a fan that plugs into | |||
|
|
|
|
|
| the logic board at connector | |||
|
|
|
|
|
| J70. Be sure to plug the fan | |||
|
|
|
|
| |||||
|
|
|
|
|
| back in when you put the | |||
|
|
|
|
|
| unit back together. | |||
|
|
|
|
|
|
|
|
|
|
|
|
|
|
|
|
|
|
|
|