Expanding Your Rig
Installing a Blank Template into the DS-1
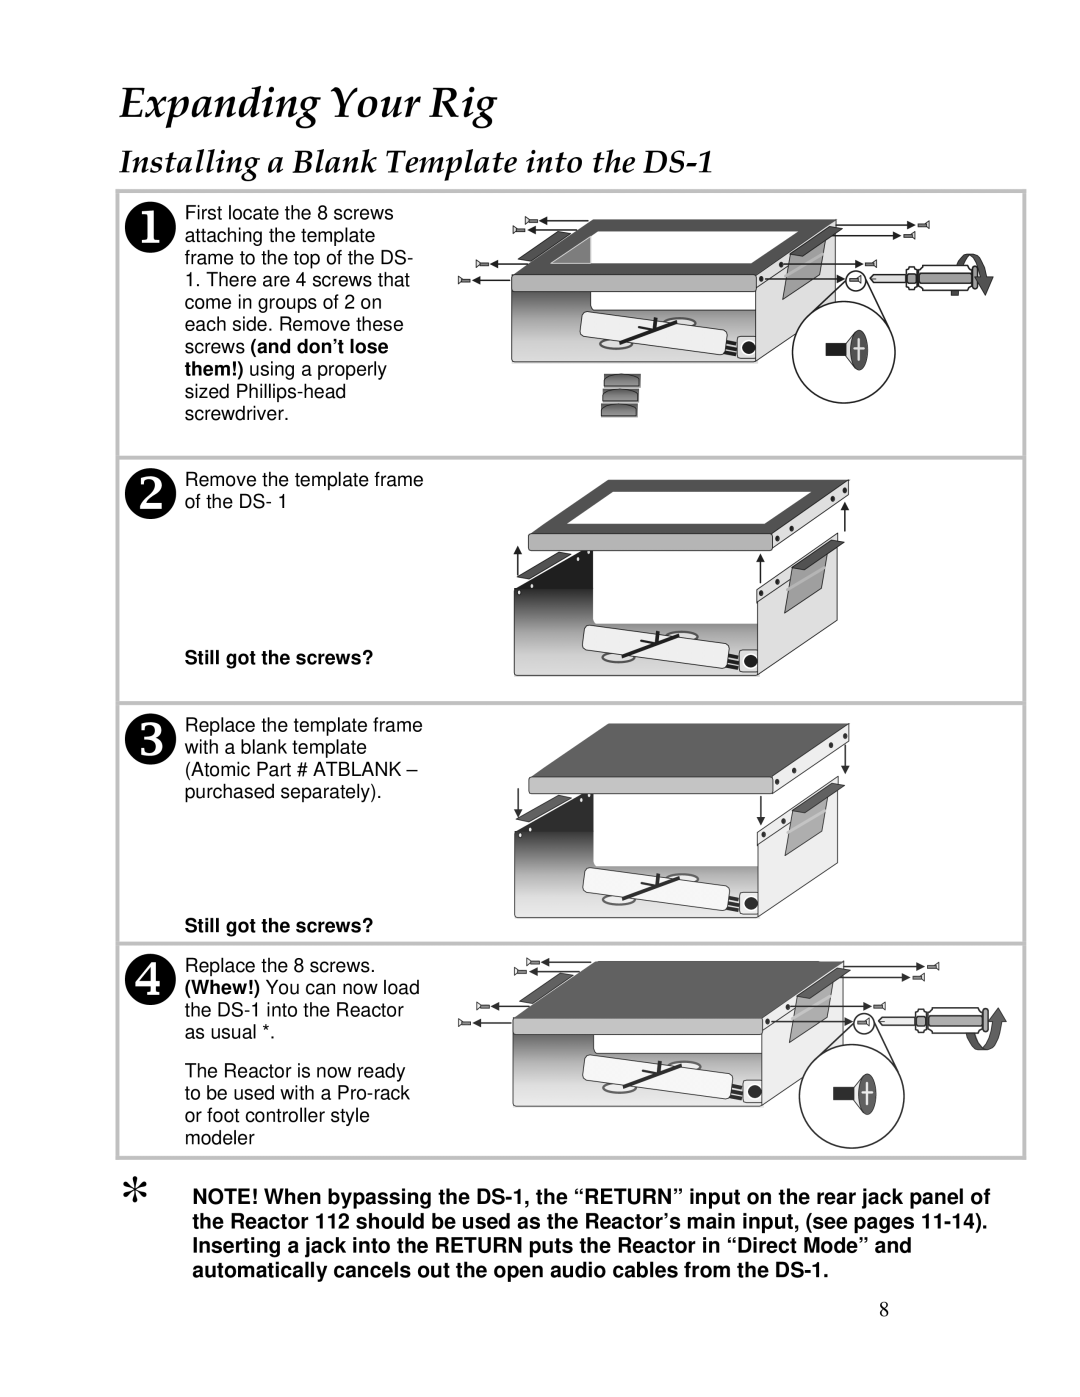
XFirst locate the 8 screws attaching the template frame to the top of the DS- 1. There are 4 screws that come in groups of 2 on each side. Remove these screws (and don’t lose them!) using a properly sized
YRemove the template frame of the DS- 1
Still got the screws?
ZReplace the template frame with a blank template (Atomic Part # ATBLANK –
purchased separately).
Still got the screws?
[Replace the 8 screws. (Whew!) You can now load the
The Reactor is now ready to be used with a
*NOTE! When bypassing the
8