Avaya B179 SIP Conference Phone | User Guide |
SETTINGS
Settings when connecting external equipment (Aux)
The Avaya B179 can be connected to a wireless headset or an external PA system. An optional PA interface box is required for PA system connection.
Select MENU > SETTINGS > BASIC > AUX PORT (6,1,6).
Select the PA option to activate features for external microphone mixer and PA system.
Do not select the PA option unless a PA system is connected. This option turns off the internal microphone and internal speakers. The HEADSET option may be selected whether or not a headset is connected.
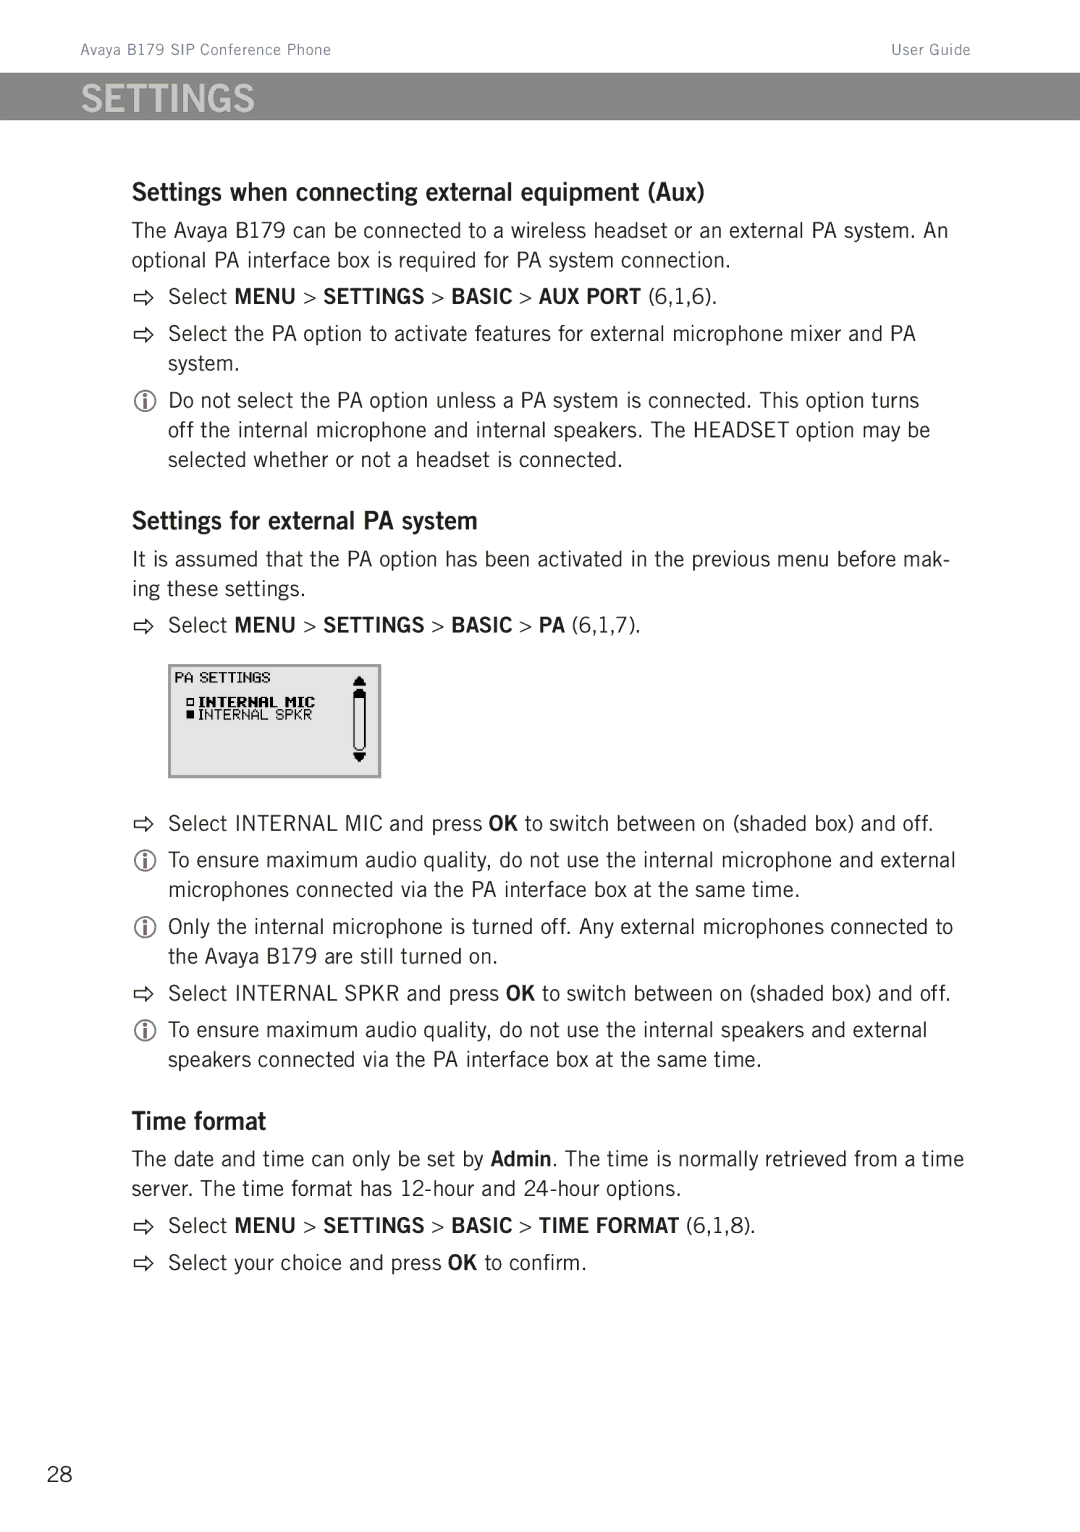
Settings for external PA system
It is assumed that the PA option has been activated in the previous menu before mak- ing these settings.
Select MENU > SETTINGS > BASIC > PA (6,1,7).
Select INTERNAL MIC and press OK to switch between on (shaded box) and off.
To ensure maximum audio quality, do not use the internal microphone and external microphones connected via the PA interface box at the same time.
Only the internal microphone is turned off. Any external microphones connected to the Avaya B179 are still turned on.
Select INTERNAL SPKR and press OK to switch between on (shaded box) and off.
To ensure maximum audio quality, do not use the internal speakers and external speakers connected via the PA interface box at the same time.
Time format
The date and time can only be set by Admin. The time is normally retrieved from a time server. The time format has
Select MENU > SETTINGS > BASIC > TIME FORMAT (6,1,8).
Select your choice and press OK to confirm.
28