20 | Installing Your Camera on a Network | AXIS 2100 User’s Guide |
|
|
|
Installing Your Camera on a Network
Important!
To install the AXIS 2100 to a modem, see Using Your Camera with a Modem, on page 26.
Quick Installation Procedure
Follow the instructions below to quickly install the AXIS 2100 onto an Ethernet network:
Important!
•Do not use the default or IP address featured in the following examples when installing your AXIS 2100. Acquire an unused IP address from your Network Administrator.
•Server Privileges: Although no special privileges are required for Windows 95/98, you do need Administrator privileges for Windows NT/2000, and Root privileges on UNIX.
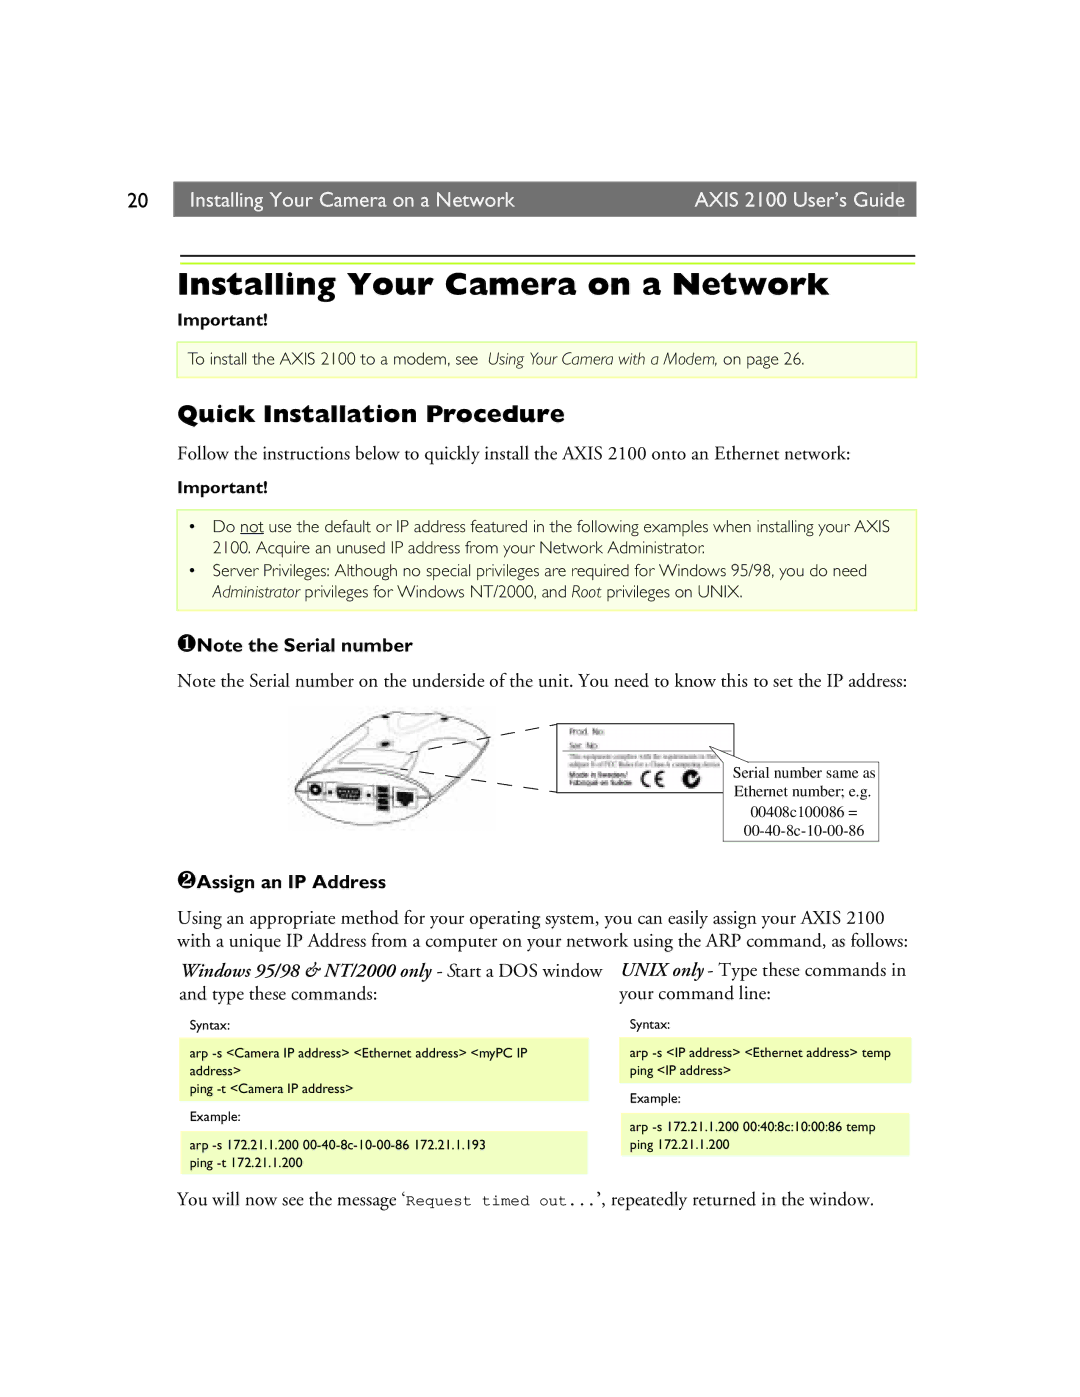
❶Note the Serial number
Note the Serial number on the underside of the unit. You need to know this to set the IP address:
Serial number same as Ethernet number; e.g.
00408c100086 =
❷Assign an IP Address
Using an appropriate method for your operating system, you can easily assign your AXIS 2100 with a unique IP Address from a computer on your network using the ARP command, as follows:
Windows 95/98 & NT/2000 only - Start a DOS window and type these commands:
Syntax:
arp
ping
Example:
arp
UNIX only - Type these commands in your command line:
Syntax:
arp
Example:
arp
You will now see the message ‘Request timed out...’, repeatedly returned in the window.