AXIS 2100 User’s Guide | Adjusting the Camera Focus | 33 |
|
|
|
Focusing the Camera Under Stable Conditions
Before you begin:
For the focusing algorithm to work effectively, always ensure that there is minimal movement within the camera’s field of view when focusing, as described below.
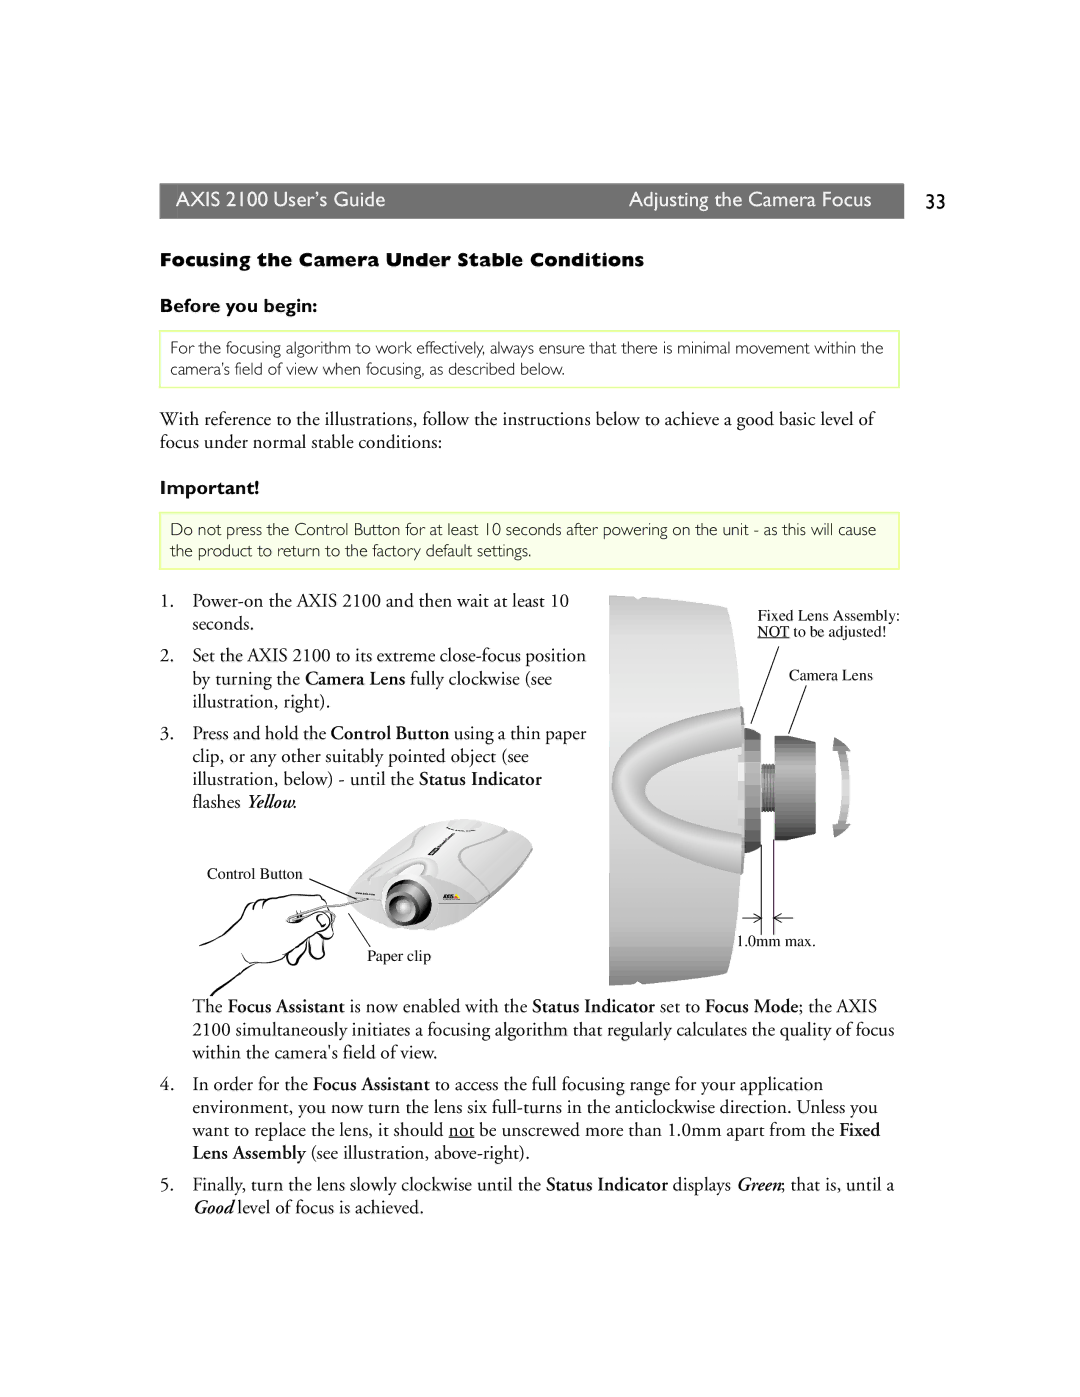
With reference to the illustrations, follow the instructions below to achieve a good basic level of focus under normal stable conditions:
Important!
Do not press the Control Button for at least 10 seconds after powering on the unit - as this will cause the product to return to the factory default settings.
1.
2.Set the AXIS 2100 to its extreme
3.Press and hold the Control Button using a thin paper clip, or any other suitably pointed object (see illustration, below) - until the Status Indicator flashes Yellow.
Fixed Lens Assembly: NOT to be adjusted!
Camera Lens
Control Button
1.0mm max.
Paper clip
The Focus Assistant is now enabled with the Status Indicator set to Focus Mode; the AXIS 2100 simultaneously initiates a focusing algorithm that regularly calculates the quality of focus within the camera's field of view.
4.In order for the Focus Assistant to access the full focusing range for your application environment, you now turn the lens six
5.Finally, turn the lens slowly clockwise until the Status Indicator displays Green; that is, until a Good level of focus is achieved.
