| AXIS 2400/2401 Admin Manual | Installing on a Network | 9 |
Installing on a Network
•Quick installation - Follow the instructions below to quickly install on an Ethernet network.
•Easy installation - See Using the AXIS IP Installer, on page 39.
•Macintosh users - Please refer to Notes for Macintosh Users, on page 38.
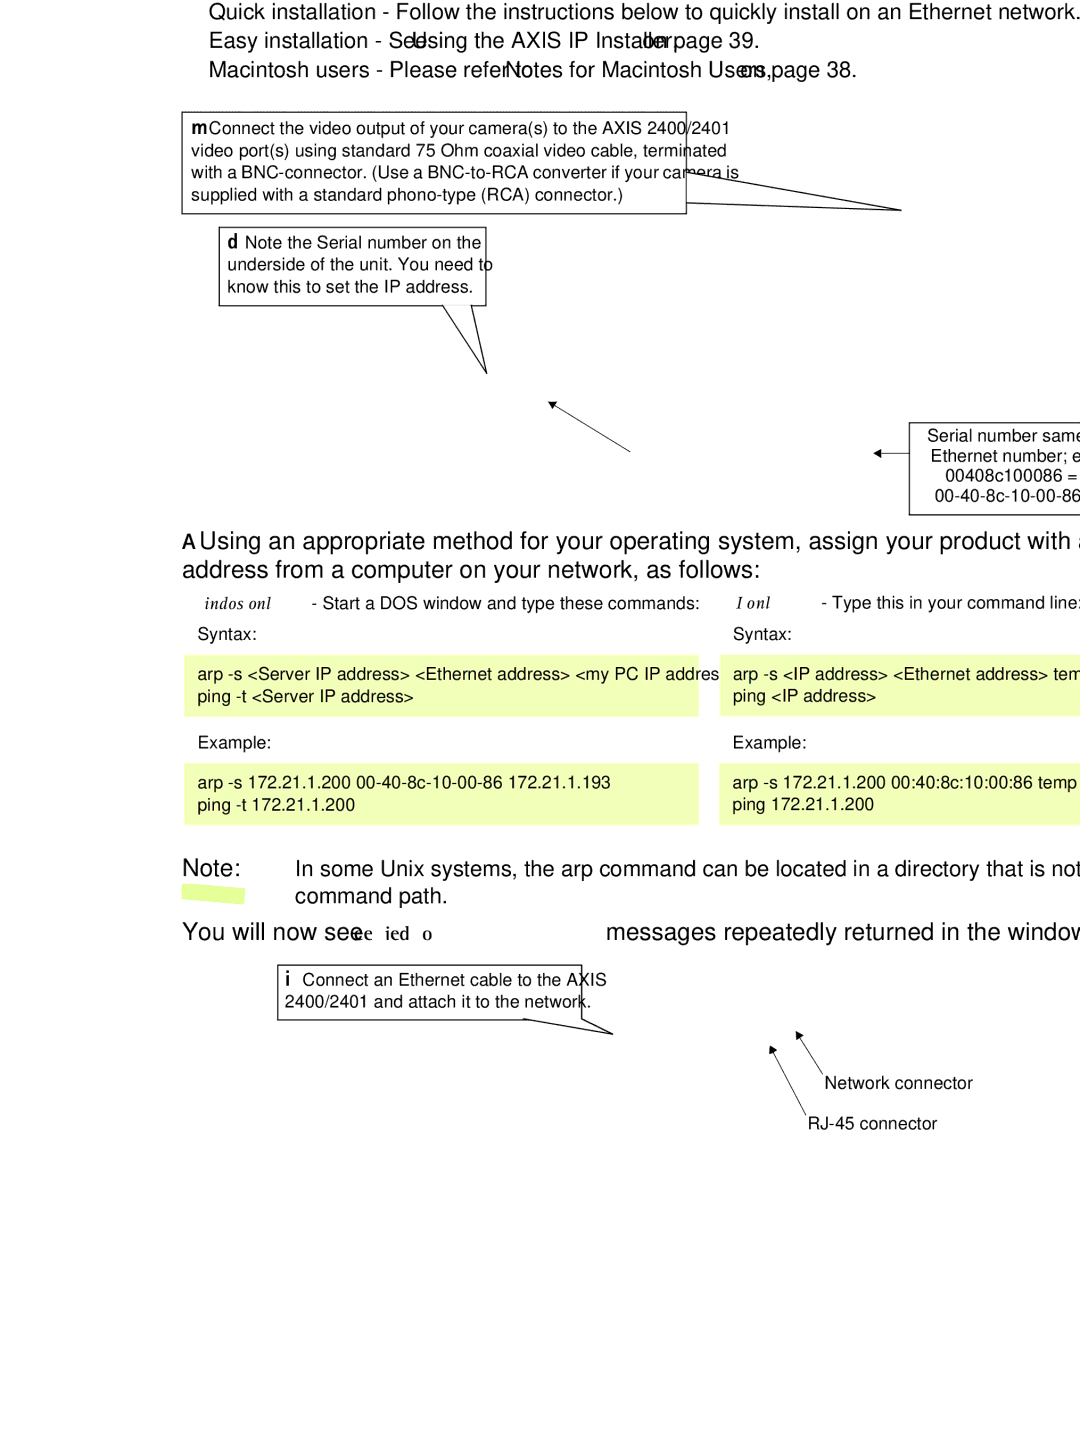
❶Connect the video output of your camera(s) to the AXIS 2400/2401
video port(s) using standard 75 Ohm coaxial video cable, terminated with a
❷Note the Serial number on the underside of the unit. You need to know this to set the IP address.
Serial number same as Ethernet number; e.g.
00408c100086 =
00-40-8c-10-00-86
❸Using an appropriate method for your operating system, assign your product with a unique IP address from a computer on your network, as follows:
Windows only - Start a DOS window and type these commands:
Syntax:
arp
Example:
arp
UNIX only - Type this in your command line:
Syntax:
arp
Example:
arp
Note: In some Unix systems, the arp command can be located in a directory that is not on the command path.
You will now see ‘Request timed out...’ messages repeatedly returned in the window.
❹Connect an Ethernet cable to the AXIS 2400/2401 and attach it to the network.