LOCAL ACCESS
Table of Contents | sections | 1 | 2 |
The Settings window – F2
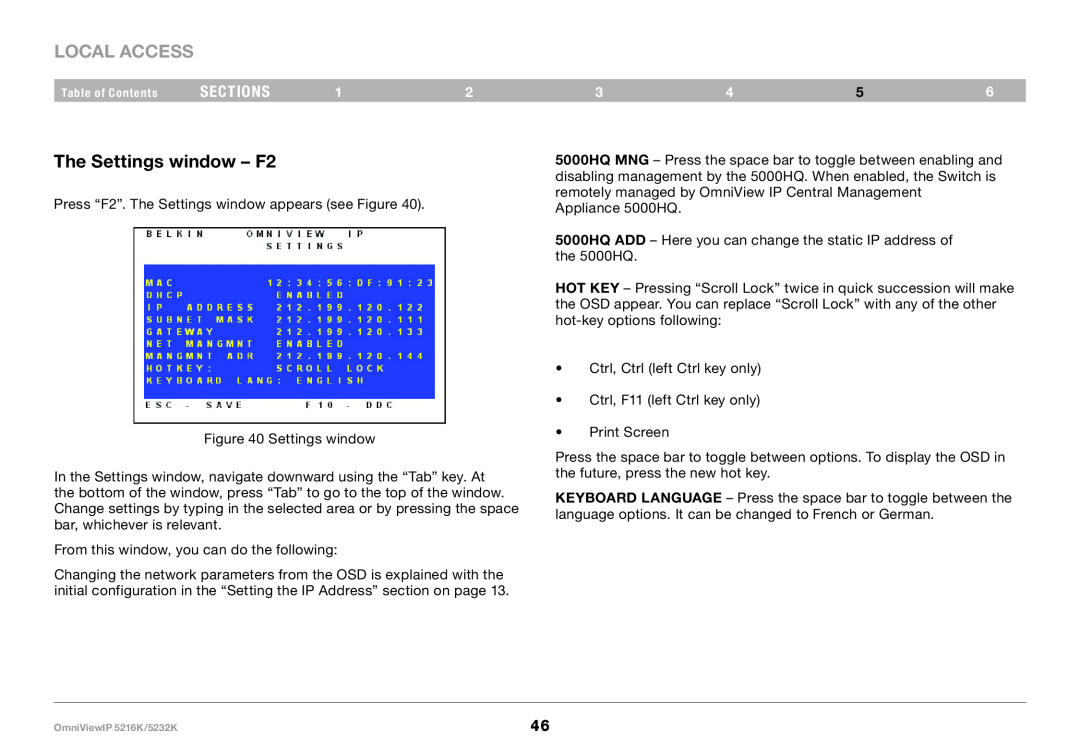
Press “F2”. The Settings window appears (see Figure 40).
Figure 40 Settings window
In the Settings window, navigate downward using the “Tab” key. At the bottom of the window, press “Tab” to go to the top of the window. Change settings by typing in the selected area or by pressing the space bar, whichever is relevant.
From this window, you can do the following:
Changing the network parameters from the OSD is explained with the initial configuration in the “Setting the IP Address” section on page 13.
3 | 4 | 5 | 6 |
5000HQ MNG – Press the space bar to toggle between enabling and disabling management by the 5000HQ. When enabled, the Switch is remotely managed by OmniView IP Central Management Appliance 5000HQ.
5000HQ ADD – Here you can change the static IP address of the 5000HQ.
HOT KEY – Pressing “Scroll Lock” twice in quick succession will make the OSD appear. You can replace “Scroll Lock” with any of the other
•Ctrl, Ctrl (left Ctrl key only)
•Ctrl, F11 (left Ctrl key only)
•Print Screen
Press the space bar to toggle between options. To display the OSD in the future, press the new hot key.
KEYBOARD LANGUAGE – Press the space bar to toggle between the language options. It can be changed to French or German.
OmniViewIP 5216K/5232K | 46 |