U S I N G YO U R K V M SW I T C H
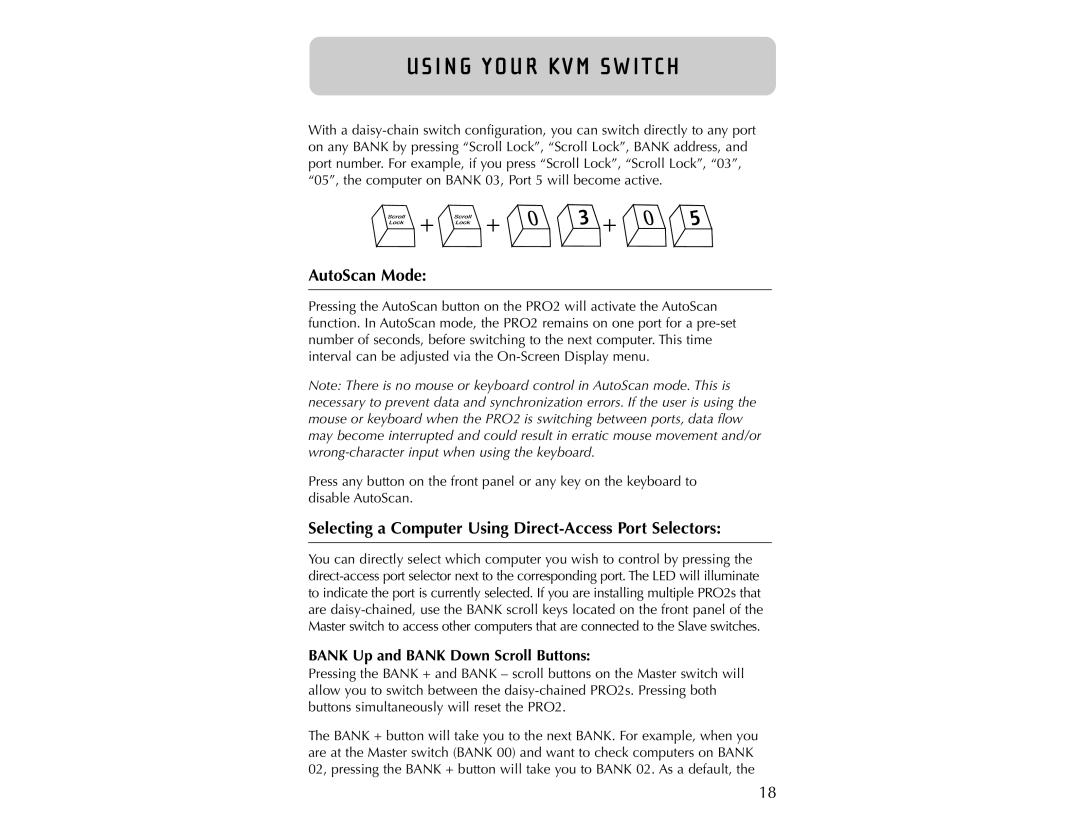
With a
![]()
![]()
![]()
![]()
![]() +
+ ![]()
![]()
![]()
![]()
![]() +
+
![]()
![]()
![]()
![]()
![]()
![]() 3
3
+
![]()
![]()
![]()
![]()
![]() 5
5![]()
AutoScan Mode:
Pressing the AutoScan button on the PRO2 will activate the AutoScan function. In AutoScan mode, the PRO2 remains on one port for a
Note: There is no mouse or keyboard control in AutoScan mode. This is necessary to prevent data and synchronization errors. If the user is using the mouse or keyboard when the PRO2 is switching between ports, data flow may become interrupted and could result in erratic mouse movement and/or
Press any button on the front panel or any key on the keyboard to disable AutoScan.
Selecting a Computer Using Direct-Access Port Selectors:
You can directly select which computer you wish to control by pressing the
BANK Up and BANK Down Scroll Buttons:
Pressing the BANK + and BANK – scroll buttons on the Master switch will allow you to switch between the
The BANK + button will take you to the next BANK. For example, when you are at the Master switch (BANK 00) and want to check computers on BANK 02, pressing the BANK + button will take you to BANK 02. As a default, the
18