•The input signal type effects the options available for the Picture Mode. See "Selecting a picture mode" on page 35 for details.
•For best display picture results, you should select and use an input signal which outputs at this resolution. Any other resolutions will be scaled by the projector depending upon the 'aspect ratio' setting, which may cause some image distortion or loss of picture clarity. See "Selecting the aspect ratio" on page 34 for details.
Changing Color Space
In the unlikely event that you connect the projector to a DVD player via the projector's HDMI input and the projected picture displays wrong colors, please change the color space to YUV.
1.Press MENU/EXIT and then press ![]() /
/ ![]() until the SOURCE menu is highlighted.
until the SOURCE menu is highlighted.
2.Press ![]() to highlight Color Space Conversion and press
to highlight Color Space Conversion and press ![]() /
/ ![]() to select a suitable color space.
to select a suitable color space.
![]() This function is only available when the HDMI input port is in use.
This function is only available when the HDMI input port is in use.
Magnifying and searching for details
If you need to find the details on the projected picture, magnify the picture. Use the direction arrow keys for navigating the picture.
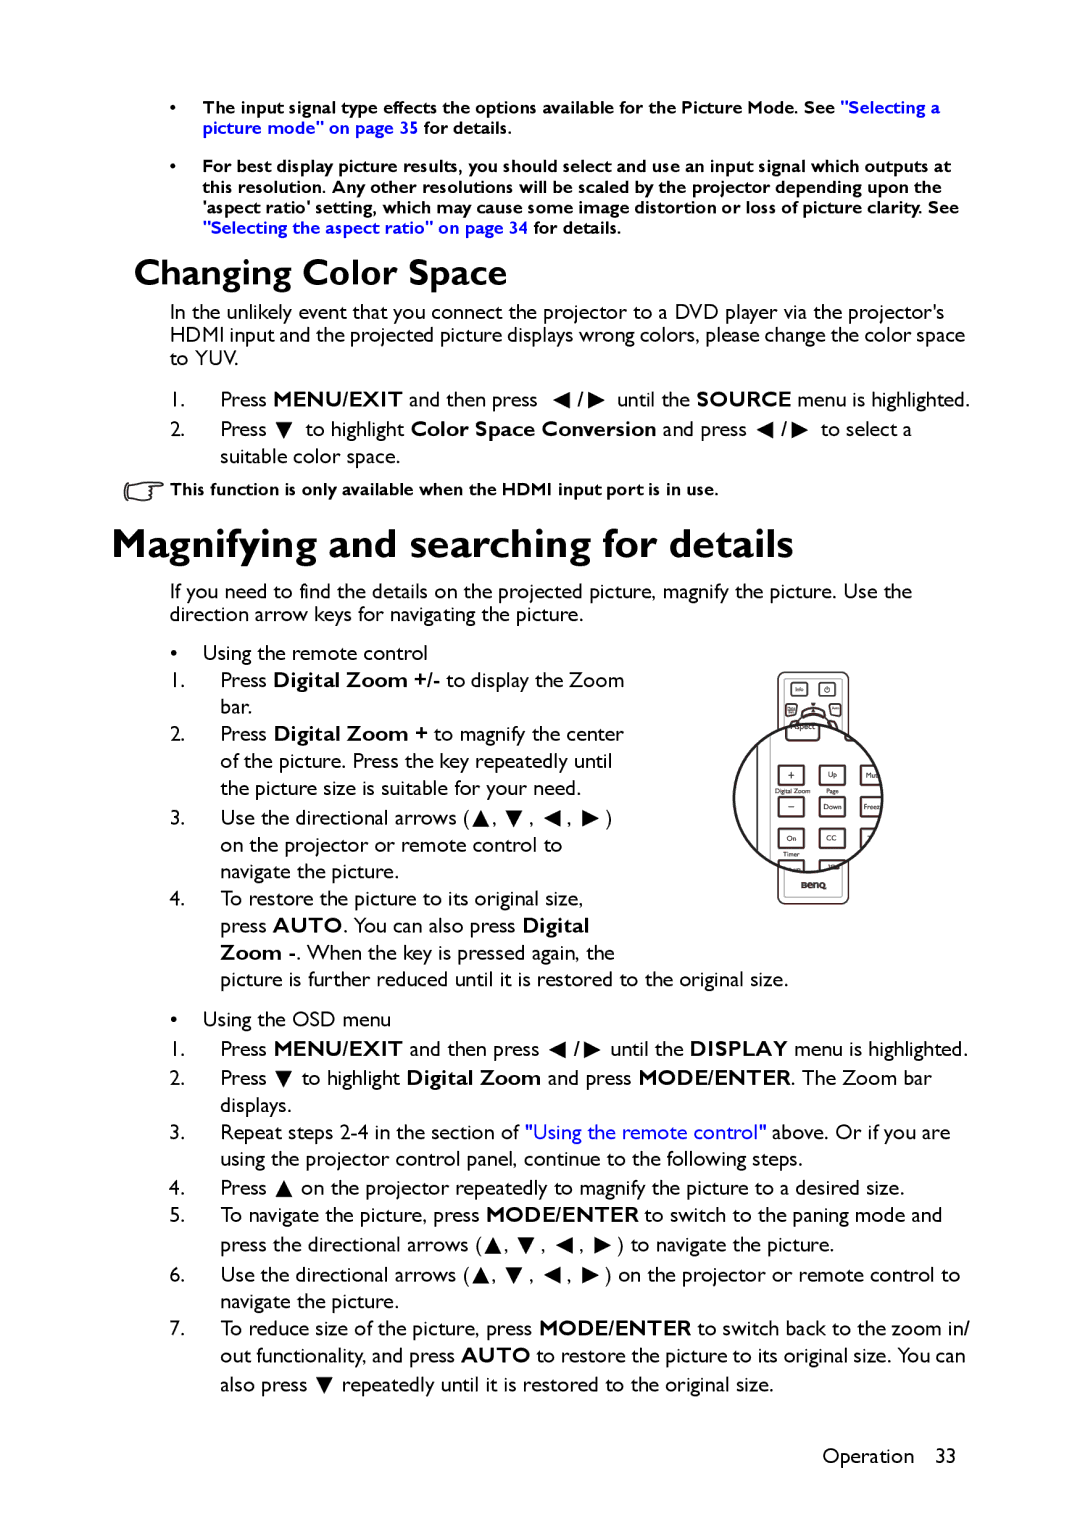
•Using the remote control
1.Press Digital Zoom +/- to display the Zoom
| bar. |
|
|
|
2. | Press Digital Zoom + to magnify the center | |||
| of the picture. Press the key repeatedly until | |||
| the picture size is suitable for your need. |
| ||
3. | Use the directional arrows ( , | , | , | ) |
| on the projector or remote control to |
|
| |
| navigate the picture. |
|
|
|
4. | To restore the picture to its original size, |
| ||
| press AUTO. You can also press Digital |
| ||
| Zoom | |||
| picture is further reduced until it is restored to the original size. | |||
•Using the OSD menu
1.Press MENU/EXIT and then press ![]() /
/ ![]() until the DISPLAY menu is highlighted.
until the DISPLAY menu is highlighted.
2.Press ![]() to highlight Digital Zoom and press MODE/ENTER. The Zoom bar displays.
to highlight Digital Zoom and press MODE/ENTER. The Zoom bar displays.
3.Repeat steps
4.Press ![]() on the projector repeatedly to magnify the picture to a desired size.
on the projector repeatedly to magnify the picture to a desired size.
5.To navigate the picture, press MODE/ENTER to switch to the paning mode and press the directional arrows (![]() ,
, ![]() ,
, ![]() ,
, ![]() ) to navigate the picture.
) to navigate the picture.
6.Use the directional arrows (![]() ,
, ![]() ,
, ![]() ,
, ![]() ) on the projector or remote control to navigate the picture.
) on the projector or remote control to navigate the picture.
7.To reduce size of the picture, press MODE/ENTER to switch back to the zoom in/ out functionality, and press AUTO to restore the picture to its original size. You can also press ![]() repeatedly until it is restored to the original size.
repeatedly until it is restored to the original size.
Operation 33