Router Table Operation
ROUTING USING FEATHERBOARDS (Fig. 21)
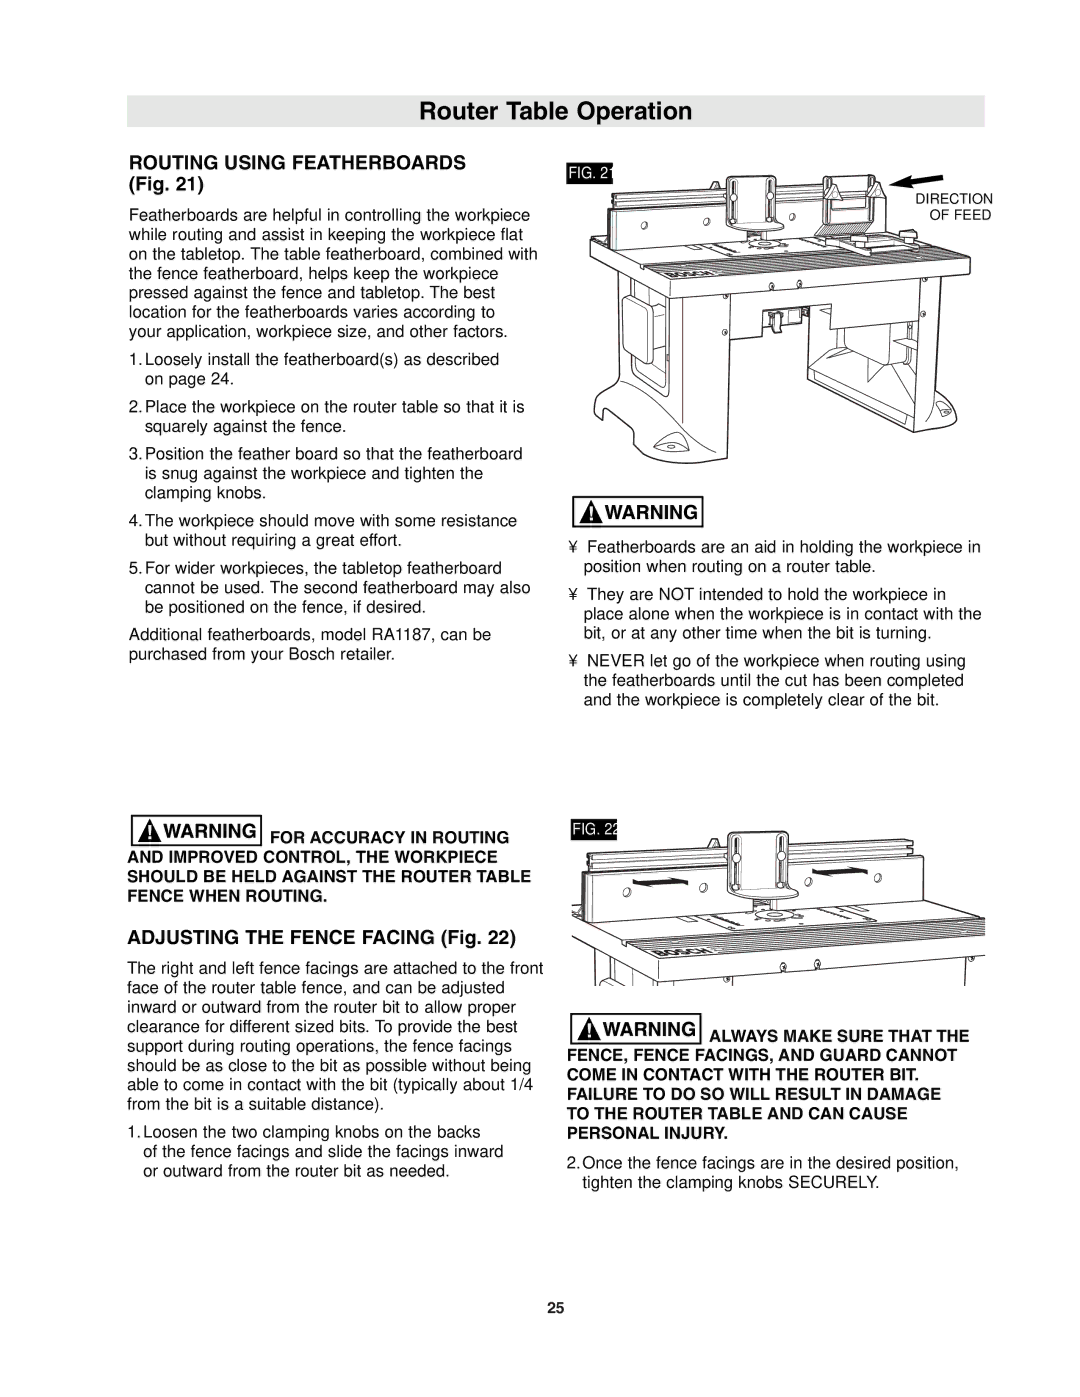
Featherboards are helpful in controlling the workpiece while routing and assist in keeping the workpiece flat on the tabletop. The table featherboard, combined with the fence featherboard, helps keep the workpiece pressed against the fence and tabletop. The best location for the featherboards varies according to your application, workpiece size, and other factors.
1.Loosely install the featherboard(s) as described on page 24.
2.Place the workpiece on the router table so that it is squarely against the fence.
3.Position the feather board so that the featherboard is snug against the workpiece and tighten the clamping knobs.
4.The workpiece should move with some resistance but without requiring a great effort.
5.For wider workpieces, the tabletop featherboard cannot be used. The second featherboard may also be positioned on the fence, if desired.
Additional featherboards, model RA1187, can be purchased from your Bosch retailer.
FIG. 21
DIRECTION
OF FEED
•Featherboards are an aid in holding the workpiece in position when routing on a router table.
•They are NOT intended to hold the workpiece in place alone when the workpiece is in contact with the bit, or at any other time when the bit is turning.
•NEVER let go of the workpiece when routing using the featherboards until the cut has been completed and the workpiece is completely clear of the bit.
![]()
![]()
![]()
![]()
![]()
![]()
![]()
![]()
![]() FOR ACCURACY IN ROUTING AND IMPROVED CONTROL, THE WORKPIECE SHOULD BE HELD AGAINST THE ROUTER TABLE FENCE WHEN ROUTING.
FOR ACCURACY IN ROUTING AND IMPROVED CONTROL, THE WORKPIECE SHOULD BE HELD AGAINST THE ROUTER TABLE FENCE WHEN ROUTING.
ADJUSTING THE FENCE FACING (Fig. 22)
The right and left fence facings are attached to the front face of the router table fence, and can be adjusted inward or outward from the router bit to allow proper clearance for different sized bits. To provide the best support during routing operations, the fence facings should be as close to the bit as possible without being able to come in contact with the bit (typically about 1/4″ from the bit is a suitable distance).
1.Loosen the two clamping knobs on the backs
of the fence facings and slide the facings inward or outward from the router bit as needed.
FIG. 22
![]()
![]()
![]()
![]()
![]()
![]()
![]()
![]()
![]() ALWAYS MAKE SURE THAT THE FENCE, FENCE FACINGS, AND GUARD CANNOT COME IN CONTACT WITH THE ROUTER BIT. FAILURE TO DO SO WILL RESULT IN DAMAGE TO THE ROUTER TABLE AND CAN CAUSE PERSONAL INJURY.
ALWAYS MAKE SURE THAT THE FENCE, FENCE FACINGS, AND GUARD CANNOT COME IN CONTACT WITH THE ROUTER BIT. FAILURE TO DO SO WILL RESULT IN DAMAGE TO THE ROUTER TABLE AND CAN CAUSE PERSONAL INJURY.
2.Once the fence facings are in the desired position, tighten the clamping knobs SECURELY.
25