Getting Started
2Control panel
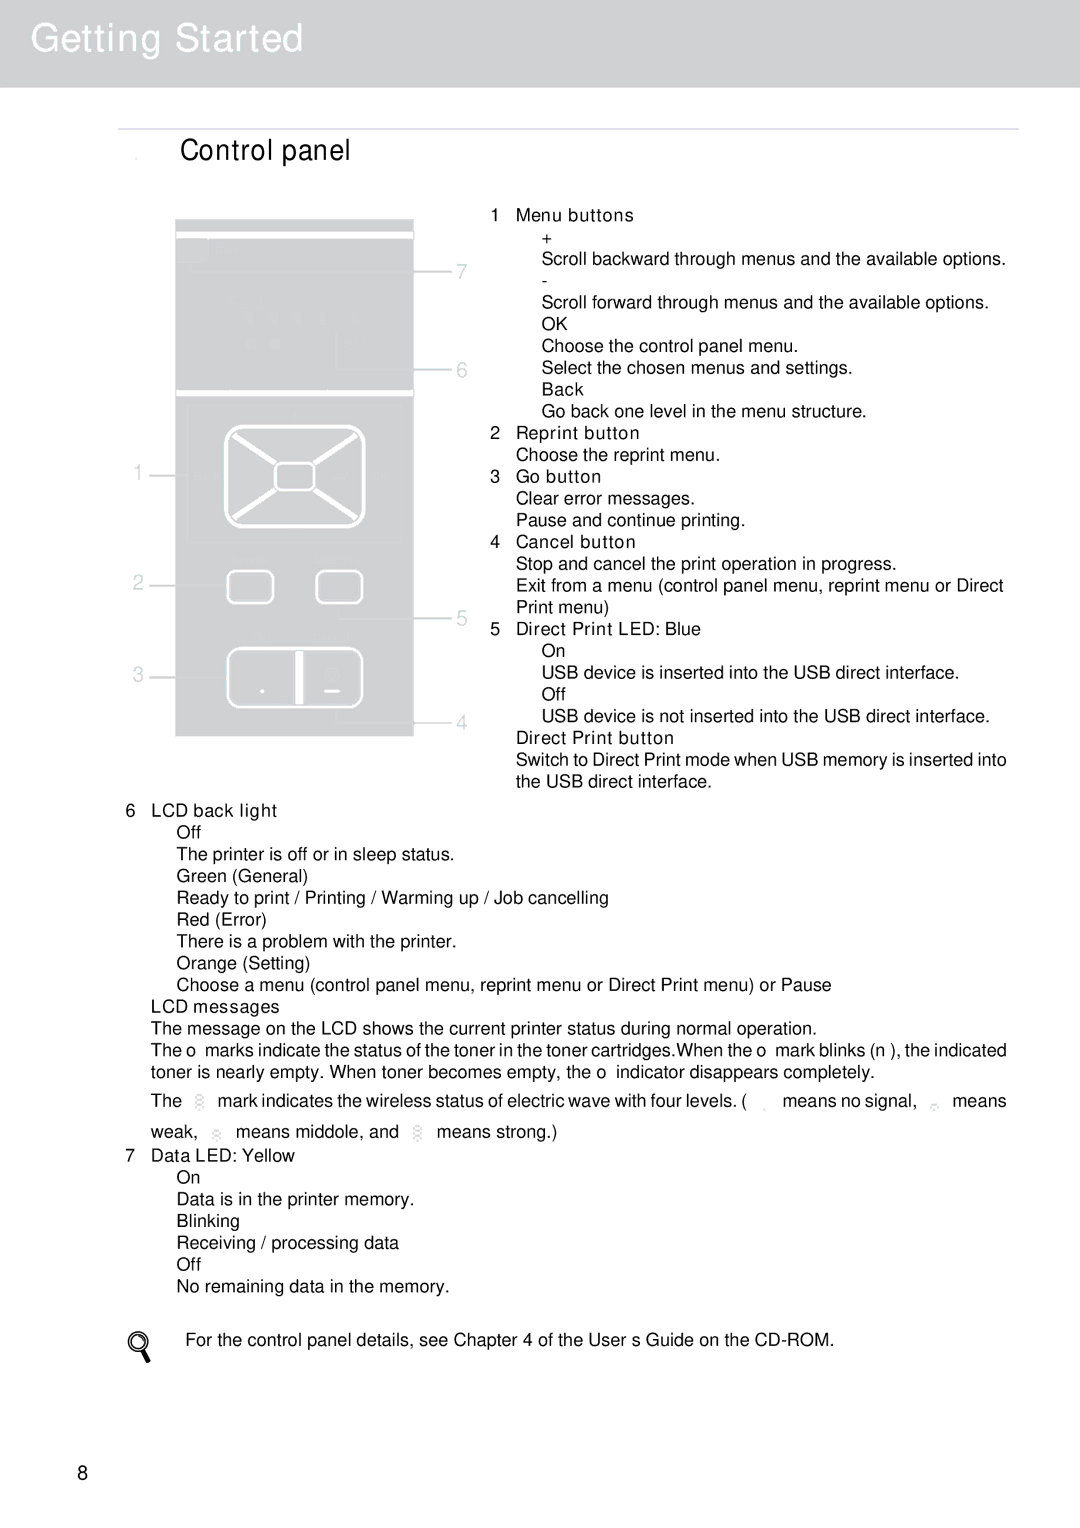
1Menu buttons
+
Scroll backward through menus and the available options.
7 -
Scroll forward through menus and the available options.
OK
Choose the control panel menu.
6Select the chosen menus and settings.
|
|
|
|
|
|
| Back |
|
|
|
|
|
|
| Go back one level in the menu structure. |
| 2 | Reprint button | |||||
1 |
|
|
|
|
|
| Choose the reprint menu. |
| 3 | Go button | |||||
| |||||||
|
|
|
|
| Clear error messages. |
|
|
|
|
| Pause and continue printing. |
|
| 4 | Cancel button | ||
| |||||
2 |
|
|
|
| Stop and cancel the print operation in progress. |
|
|
|
| Exit from a menu (control panel menu, reprint menu or Direct | |
|
|
|
| ||
|
|
|
|
| 5 | Print menu) |
|
|
|
|
|
| 5 Direct Print LED: Blue |
|
|
|
|
|
| |
|
|
|
|
|
| On |
3 |
|
|
|
|
| USB device is inserted into the USB direct interface. |
|
|
|
|
|
Off
4 | USB device is not inserted into the USB direct interface. | |
Direct Print button | ||
| ||
| Switch to Direct Print mode when USB memory is inserted into | |
| the USB direct interface. |
6LCD back light
Off
The printer is off or in sleep status.
Green (General)
Ready to print / Printing / Warming up / Job cancelling
Red (Error)
There is a problem with the printer.
Orange (Setting)
Choose a menu (control panel menu, reprint menu or Direct Print menu) or Pause
LCD messages
The message on the LCD shows the current printer status during normal operation.
The o marks indicate the status of the toner in the toner cartridges.When the o mark blinks (n), the indicated toner is nearly empty. When toner becomes empty, the o indicator disappears completely.
The | mark indicates the wireless status of electric wave with four levels. ( | means no signal, | means |
weak, ![]()
![]()
![]()
![]()
![]() means middole, and
means middole, and ![]()
![]()
![]()
![]()
![]() means strong.)
means strong.)
7Data LED: Yellow
On
Data is in the printer memory.
Blinking
Receiving / processing data
Off
No remaining data in the memory.
For the control panel details, see Chapter 4 of the User’s Guide on the
8