A

B

Für 1-Stufen-Knopfloch BH-Typ

(Modell STAR 240E, STAR 230E, PS-57, PS-55, STAR-50, RSR-55, XRX-55)

Wenn das Knopfloch nicht richtig genäht wird:

Es gibt zwei verschiedene Methoden zur Korrektur von Knopfloch- nähten, je nachdem, welcher Teil des Knopfloches nicht richtig genäht wird.

Methode 1 (siehe Abb. A)

1.Heben Sie den Nähfußhebel an, entfernen Sie den Stoff, den Oberfaden und den Unterfaden.

2.Ziehen Sie den Knopflochhebel leicht in Ihre Richtung.

3.Nähen Sie etwa 10 Stiche ohne Stoff, Oberfaden und Unterfaden in der Maschine.

4.Den Stoff unter den Nähfuß legen, und den Ober- und Unterfaden erneut einsetzen. Dann leicht den Knopflochhebel zur Rückseite der Maschine drücken, und das Knopfloch von Anfang an nähen.

ОБМЕТЫВАНИЕПЕТЕЛЬПРИШИВАНИЕПУГОВИЦИ

KNOPFLÖCHERUNDKNÖPFENÄHEN BUTTONHOLEANDBUTTONSEWING

Methode 2 (siehe Abb. B)

1. Heben Sie den Nähfußhebel, nehmen Sie Stoff- und Fadenreste


heraus.


2. Legen Sie den Stoff wieder unter den Nähfuß, drücken Sie dann den


Nähfußhebel leicht nach hinten und nähen Sie das Knopfloch von


Anfang an.


NOTIZEN:


Wenn Sie mit dem Nähen fertig sind, müssen Sie den Knopflochhebel


anheben.


Wenn der Knopflochhebel nach hinten gedrückt wird, während ein


anderer Stich als der Knopflochstich genäht wird, wird der Knopfloch-


transport benutzt, und der Stich wird nicht richtig genäht.


Wenn der Knopflochhebel versehentlich gedrückt wird, während Sie


einen anderen Stich als ein Knopfloch nähen, entfernen Sie den Stoff und


Faden von der Maschine, heben Sie den Knopflochhebel an, und nähen Sie


etwa 20 Stiche. Dann nähen Sie den vorgesehenen Stich.

For 1-Step BH Type

(Model STAR 240E, STAR 230E, PS-57, PS-55, STAR-50, RSR-55, XRX-55)

When the buttonhole is not sewn correctly:

There are two different procedures for correcting buttonhole sewing, depending on which part of the buttonhole is not sewn correctly.

Correction Procedure 1 (See fig. A)

1.Raise the Presser Foot Lever, then remove the fabric, upper thread and lower thread.

2.Pull the buttonhole lever slightly toward you.

3.Sew about 10 stitches with no fabric, upper thread, or lower thread in the machine.

4.Place the fabric under the presser foot, and set the upper and lower thread again, then lightly push the buttonhole lever toward the back of the machine and sew the buttonhole from the beginning.

Correction Procedure 2 (See fig. B)

1.Raise the Presser Foot Lever, then remove the fabric and all of the sewn thread.

2.Place the fabric under the presser foot again, then lightly push the buttonhole lever toward the back of the machine and sew the buttonhole from the beginning.

NOTE:

When you are finished sewing all buttonholes be sure to raise the buttonhole lever.

If the buttonhole lever is pushed toward the back of the machine while sewing any stitch other than a buttonhole, the buttonhole feed will be used and the stitch will not be sewn correctly.

If the buttonhole lever is accidentally pushed when you are sewing a stitch other than a buttonhole, remove the fabric and thread from the machine, raise the buttonhole lever, and sew about 20 stitches. Then sew the intended stitch.

Для 1-ступенчатого обметывания петли

(Модели STAR 240E, STAR 230E, PS-57, PS-55, STAR-50, RSR-55, XRX-55)

Если обметывание петель выполняется некачественно: Существует два способа коррекции механизма обметывания петель, в зависимости от того, какая планка петли обрабатывается некачественно.

Операция коррекции 1 (См. рис. A)

1.Поднимите рычаг нажимной лапки, снимите с машины ткань, а также верхнюю и нижнюю нитки.

2.Слегка потяните рычаг лапки для обметывания петель на себя.

3.Прошейте примерно 10 стежков без заправленных в машину ткани, верхней и нижней нитки.

4.Положите ткань под нажимную лапку, вновь заправьте нижнюю и верхнюю нитки, а затем, нажав на рычаг лапки для обметывания петель в направлении от себя, вновь начните обметывание петли.

Операция коррекции 2 (См. рис. B)

1.Поднимите рычаг нажимной лапки, снимите с машины ткань, а также всю прошитую верхнюю и нижнюю нитки.

2.Вновь положите ткань под нажимную лапку и затем, нажав на рычаг лапки для обметывания петель в направлении от себя, вновь начните обметывание петли.

ПРИМЕЧАНИЕ:

После завершения обметывания всех петель не забудьте поднять рычаг лапки для обметывания петель.

Если рычаг лапки для обметывания петель нажат в направлении от себя во время выполнения любых иных типов строчки, за исключением обметывания петель, получение качественной строчки невозможно.

Если Вы случайно нажали на рычаг лапки для обметывания петель от себя во время выполнения любой иной строчки, за исключением обметывания петель, снимите ткань и нитки с машины, поднимите рычаг лапки для обметывания петель и прошейте примерно 20 стежков. Затем вновь начните выполнять требуемую строчку.

71

Page 83
Image 83
Brother XRX-55, STAR-230E, STAR-240E, STAR-50, RSR-55 instruction manual Methode 2 siehe Abb. B

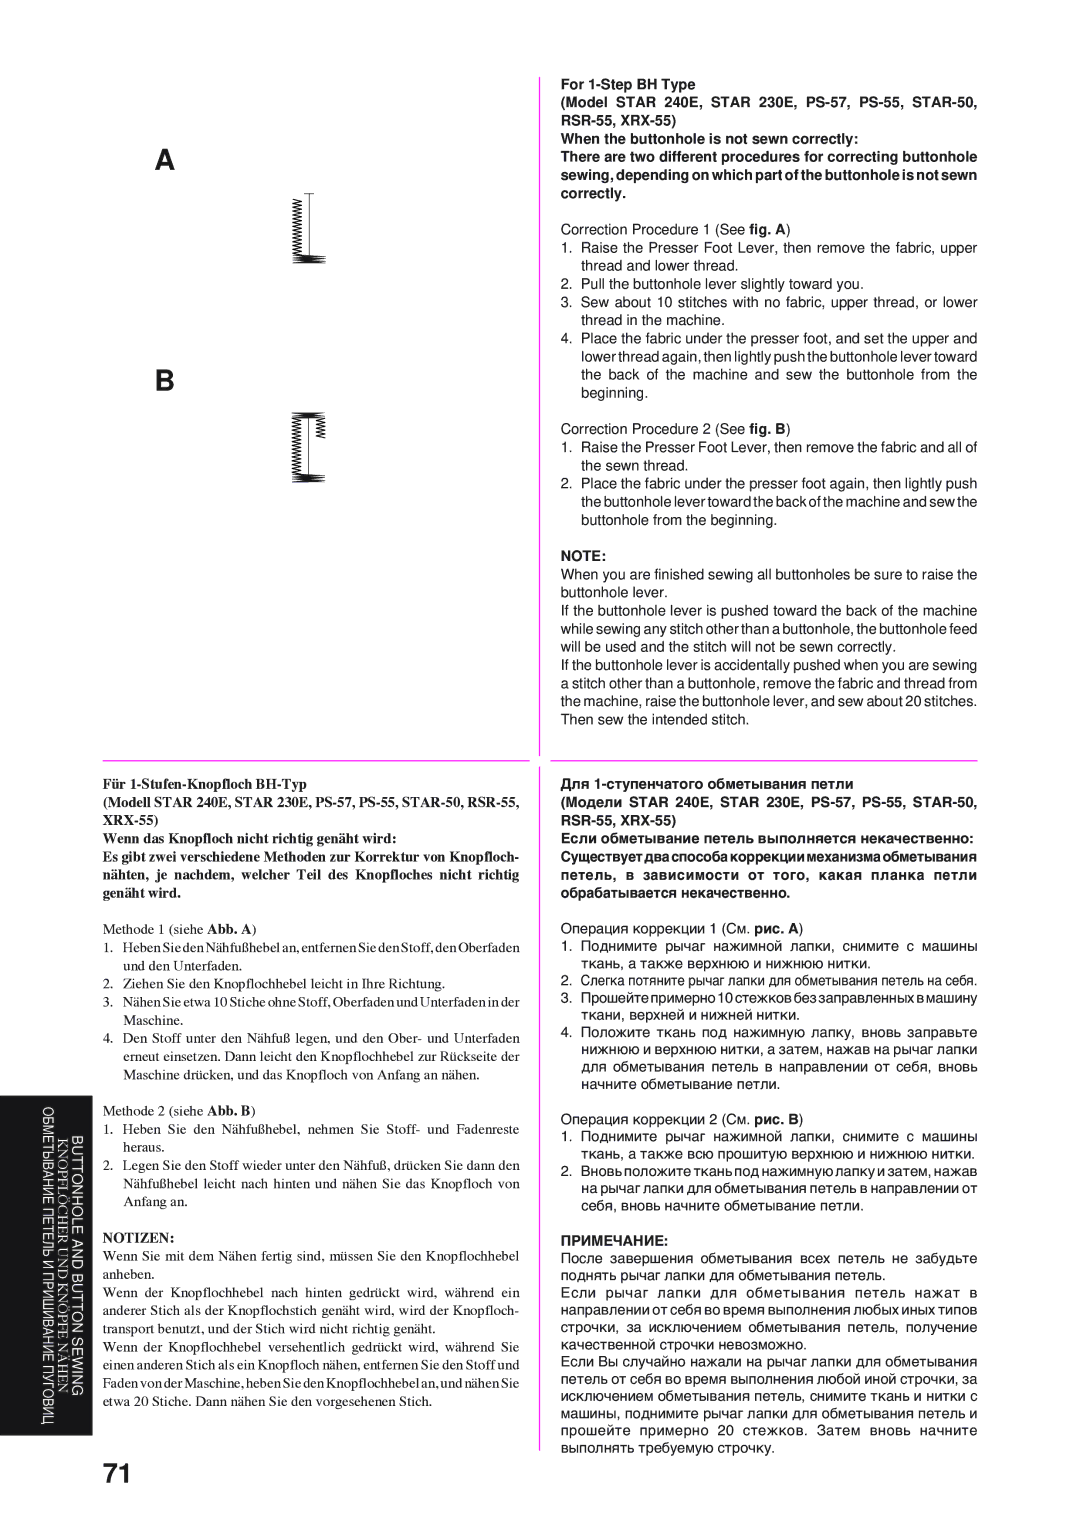
XRX-55, STAR-230E, STAR-50, RSR-55, STAR-240E specifications

Brother has long been a prominent player in the realm of sewing machines, consistently delivering reliable products equipped with innovative features. Among its impressive line-up are the Brother STAR-240E, RSR-55, STAR-50, STAR-230E, and XRX-55. Each model embodies unique characteristics and technologies, making them excellent choices for various sewing needs.

The Brother STAR-240E is a versatile sewing machine ideal for both beginners and experienced sewists. It boasts 40 built-in stitches, including decorative options and essential utility stitches, allowing users to explore a wide array of creative projects. Its automatic needle threader saves time, while the easy-to-use interface enhances the overall user experience. The machine also features a drop feed for free motion sewing and quilting, adding to its versatility.

The RSR-55 stands out with its user-friendly design. This model is perfect for those looking for a straightforward, reliable sewing machine. Its strong motor handles various fabric types with ease, from lightweight fabrics to heavier materials. The RSR-55 also includes an adjustable stitch length and width for customized sewing, catering to individual preferences.

Sibling to the STAR-240E, the Brother STAR-50 offers a more streamlined experience. It has 50 built-in stitches and an automatic one-step buttonhole feature, making it suitable for creating professional-looking garments. Its lightweight design and compact size make it easily portable, ideal for sewing on the go.

The STAR-230E is another exceptional model that combines affordability with advanced features. It includes a top-loading bobbin system for quick changes and a variety of built-in stitches that ensure ample options for any project. The STAR-230E's LCD display allows for easy navigation through its functions, making it user-friendly for all levels.

Lastly, the XRX-55 rounds out this lineup with its focus on creating intricate designs. Equipped with advanced embroidery features, including multiple embroidery designs and a USB port for importing custom designs, the XRX-55 is perfect for those wanting to elevate their sewing projects. Its robust construction ensures reliability and longevity, making it an investment for both hobbyists and professionals alike.

In conclusion, the Brother STAR-240E, RSR-55, STAR-50, STAR-230E, and XRX-55 each bring unique strengths to the sewing table. From beginner-friendly features to advanced embroidery capabilities, these machines cater to a wide audience, establishing Brother as a leading name in the sewing machine industry.