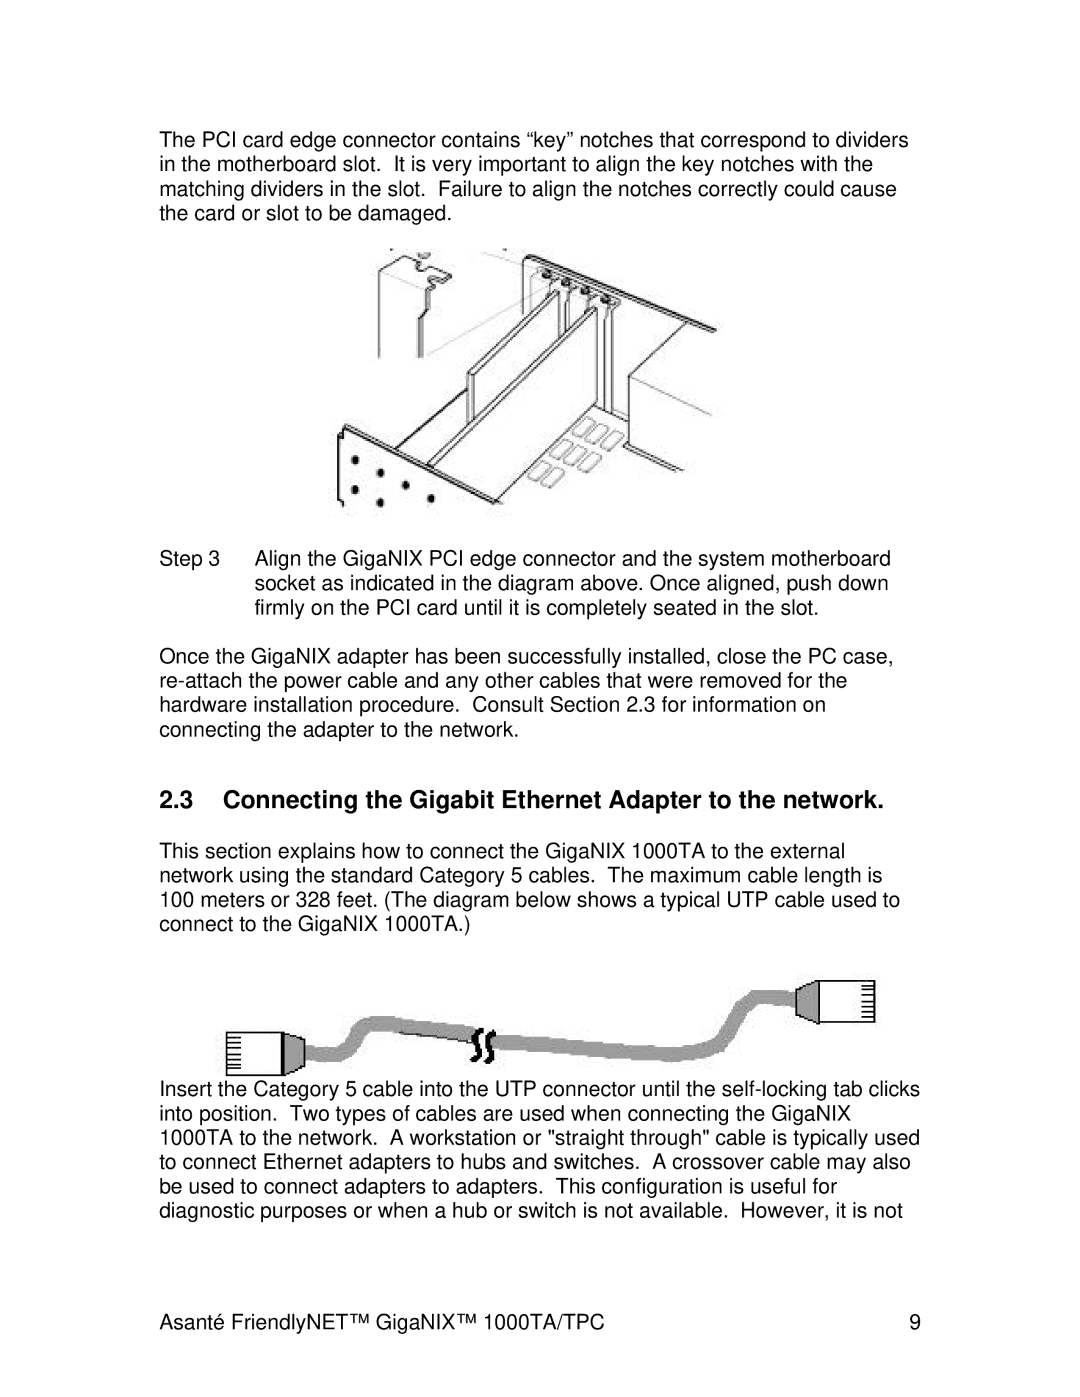
The PCI card edge connector contains “key” notches that correspond to dividers in the motherboard slot. It is very important to align the key notches with the matching dividers in the slot. Failure to align the notches correctly could cause the card or slot to be damaged.
Step 3 Align the GigaNIX PCI edge connector and the system motherboard socket as indicated in the diagram above. Once aligned, push down firmly on the PCI card until it is completely seated in the slot.
Once the GigaNIX adapter has been successfully installed, close the PC case,
2.3Connecting the Gigabit Ethernet Adapter to the network.
This section explains how to connect the GigaNIX 1000TA to the external network using the standard Category 5 cables. The maximum cable length is 100 meters or 328 feet. (The diagram below shows a typical UTP cable used to connect to the GigaNIX 1000TA.)
Insert the Category 5 cable into the UTP connector until the
Asanté FriendlyNET™ GigaNIX™ 1000TA/TPC | 9 |