2 Select the scanner to be used by either of the following methods.
-Click the Discover button to search for scanners on the network and display the results in the list of scanners. Click the scanner to be used in the list, then click the Select button.
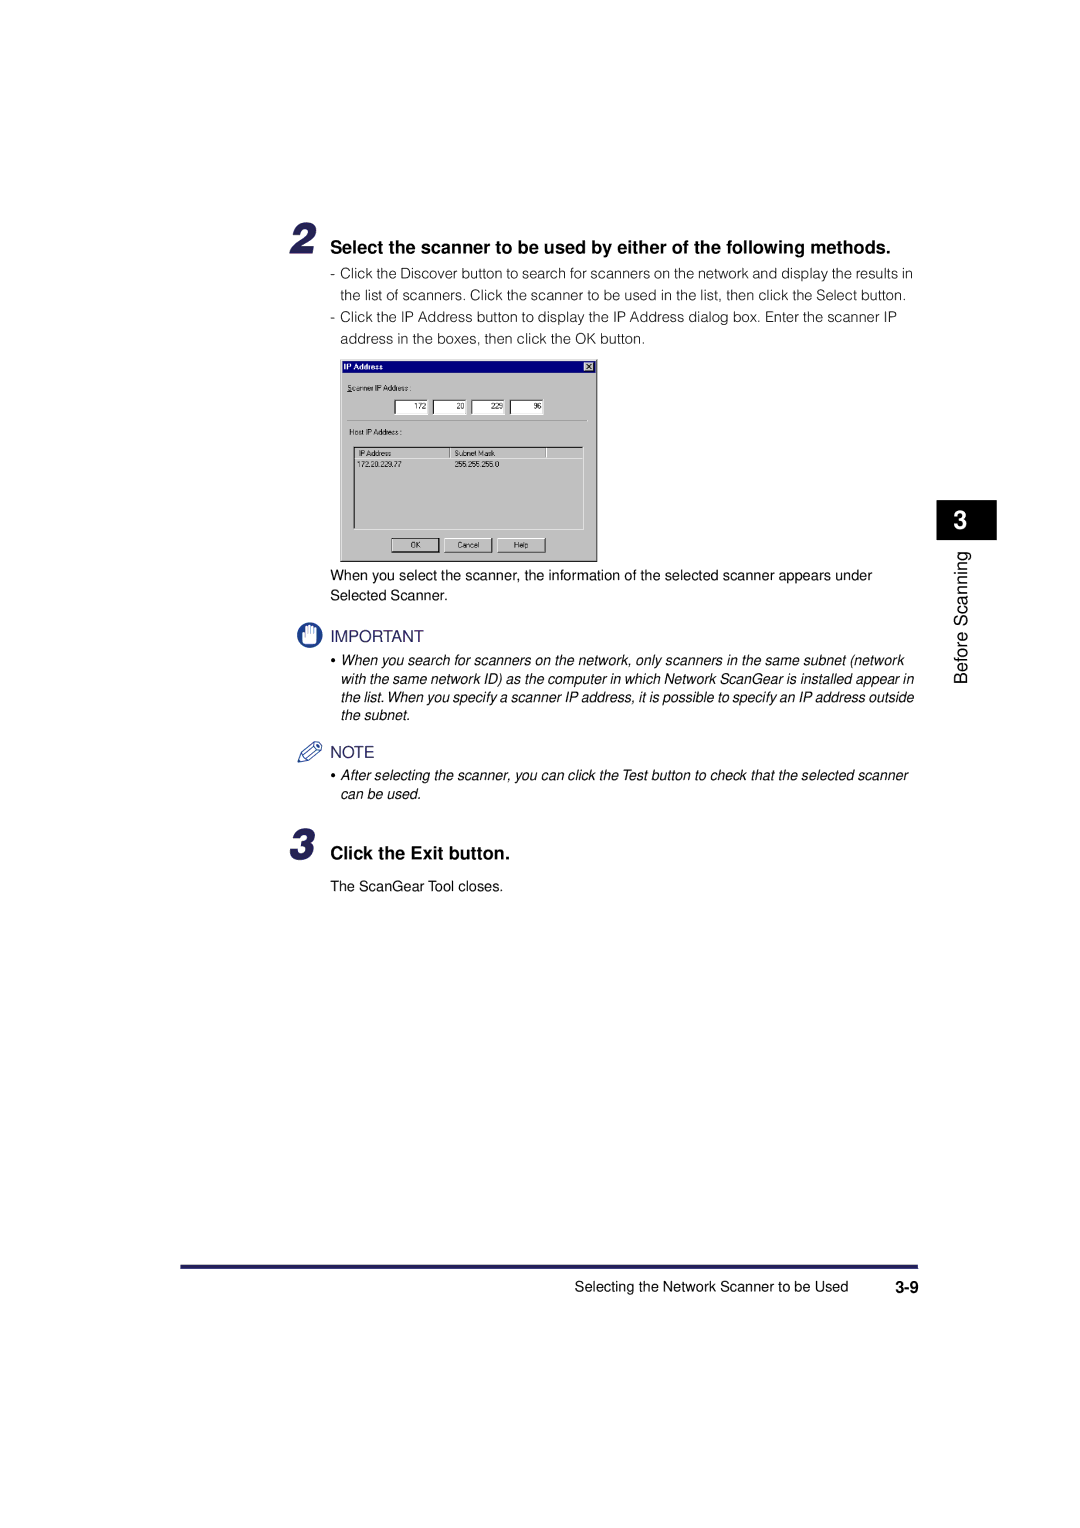
-Click the IP Address button to display the IP Address dialog box. Enter the scanner IP address in the boxes, then click the OK button.
When you select the scanner, the information of the selected scanner appears under Selected Scanner.
![]() IMPORTANT
IMPORTANT
•When you search for scanners on the network, only scanners in the same subnet (network with the same network ID) as the computer in which Network ScanGear is installed appear in the list. When you specify a scanner IP address, it is possible to specify an IP address outside the subnet.
![]() NOTE
NOTE
•After selecting the scanner, you can click the Test button to check that the selected scanner can be used.
3 Click the Exit button.
The ScanGear Tool closes.
3
Before Scanning
Selecting the Network Scanner to be Used |
