34 Adjusting the Picture: Exposure, Focus and Color 


[ ![]() NIGHT]
NIGHT]
-Moving subjects may leave a trailing afterimage.
-Picture quality may not be as good as in other modes.
-White points may appear on the screen.
-Autofocus may not work as well as in other modes. In such case, adjust the focus manually.
[ ![]() SNOW]/[
SNOW]/[ ![]()
![]() BEACH]
BEACH]
-The subject may become overexposed on cloudy days or in shaded places. Check the image on the screen.
[ ![]() FIREWORKS]
FIREWORKS]
To avoid camcorder shake, we recommend using a tripod.
Adjusting the Picture: Exposure, Focus and Color
Manual Exposure Adjustment
At times, backlit subjects may appear too dark (underexposed) or subjects under very strong lights may appear too bright or glaring (overexposed). To correct this, you can manually adjust the exposure.
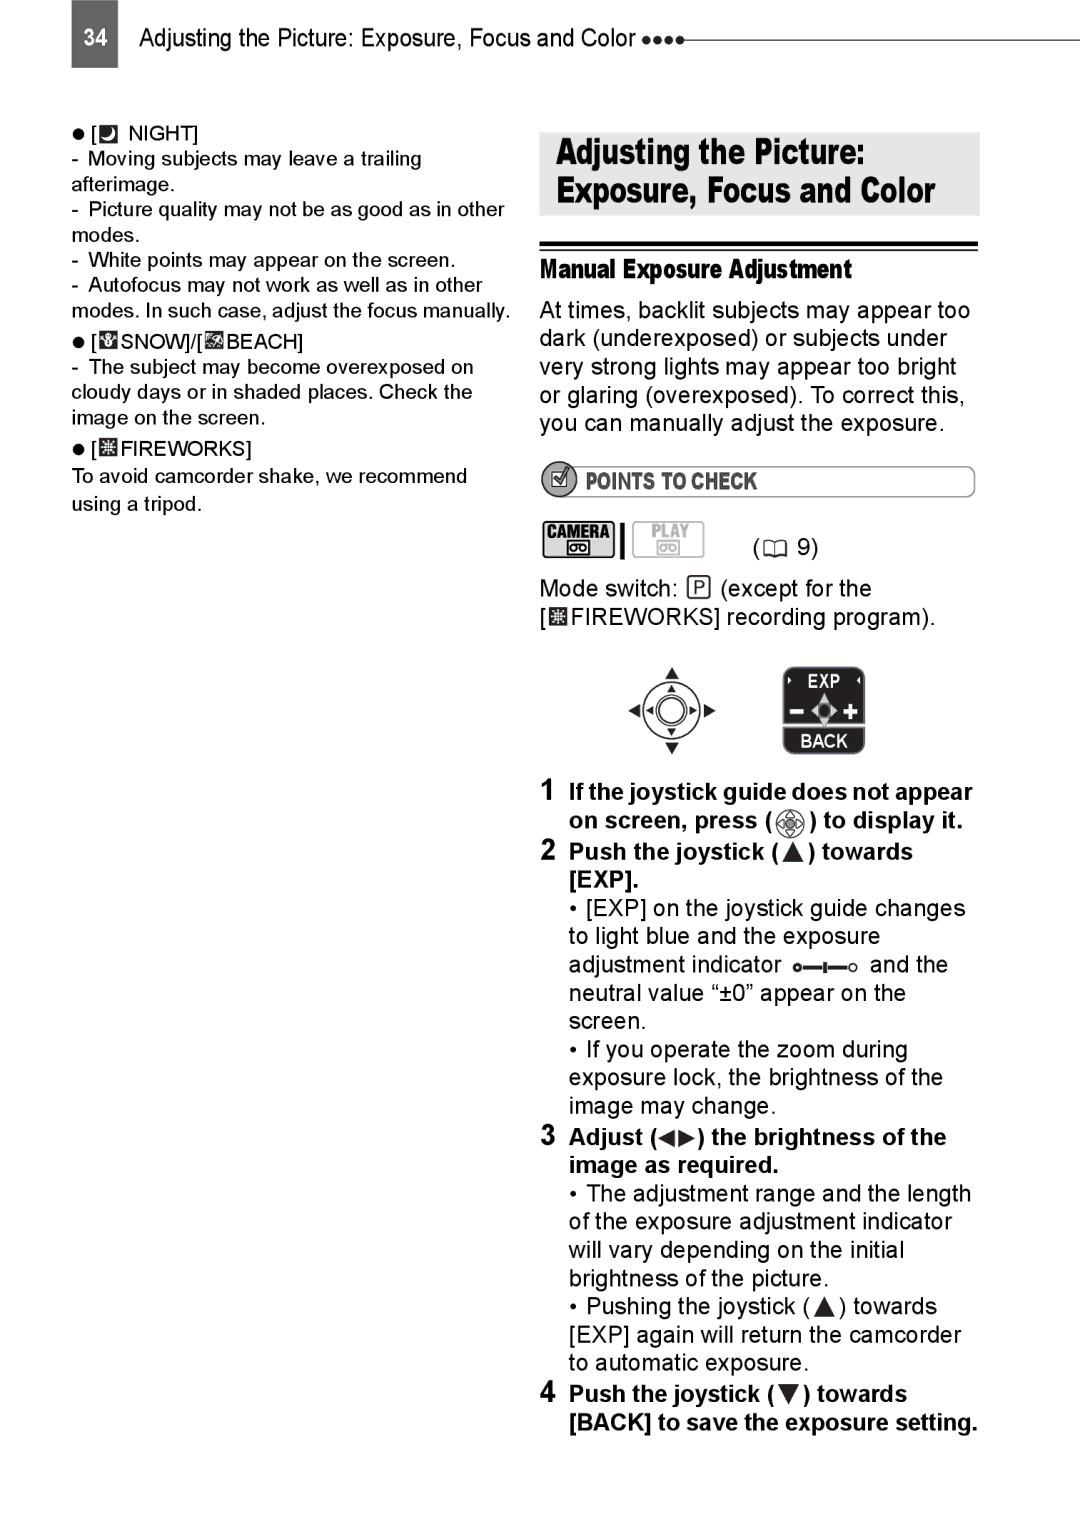
 POINTS TO CHECK
(![]() 9)
9)
Mode switch: ![]() (except for the
(except for the
[ ![]() FIREWORKS] recording program).
FIREWORKS] recording program).
EXP
BACK
1If the joystick guide does not appear on screen, press ( ![]() ) to display it.
) to display it.
2Push the joystick ( ) towards [EXP].
•[EXP] on the joystick guide changes to light blue and the exposure
adjustment indicator ![]()
![]()
![]()
![]()
![]() and the neutral value “±0” appear on the screen.
and the neutral value “±0” appear on the screen.
•If you operate the zoom during exposure lock, the brightness of the image may change.
3Adjust (
 ) the brightness of the image as required.
•The adjustment range and the length of the exposure adjustment indicator will vary depending on the initial brightness of the picture.
•Pushing the joystick ( ![]() ) towards [EXP] again will return the camcorder to automatic exposure.
) towards [EXP] again will return the camcorder to automatic exposure.