To correct directional trueness (ie. The carrier not rolling straight):
The dropouts of the wheel arms are screwed on and their holes are slotted. After loosening both screws, the dropout can be moved. This is possible on both the
WARNING
Please ensure that your child does not stand on the wheel arms when entering or leaving the carrier. If at any time you stop, do not allow anyone to sit on the wheel arms. Applying a load on either wheel arm may result in the aluminium axle sockets working loose.
DANGER
Always make sure that the large spring button of each wheel arm engages in the hole of the relevant Click ‘n’ Store bracket. If this is not done, the wheel arm might work loose and get caught in the wheel spokes. You run the risk of an accident!
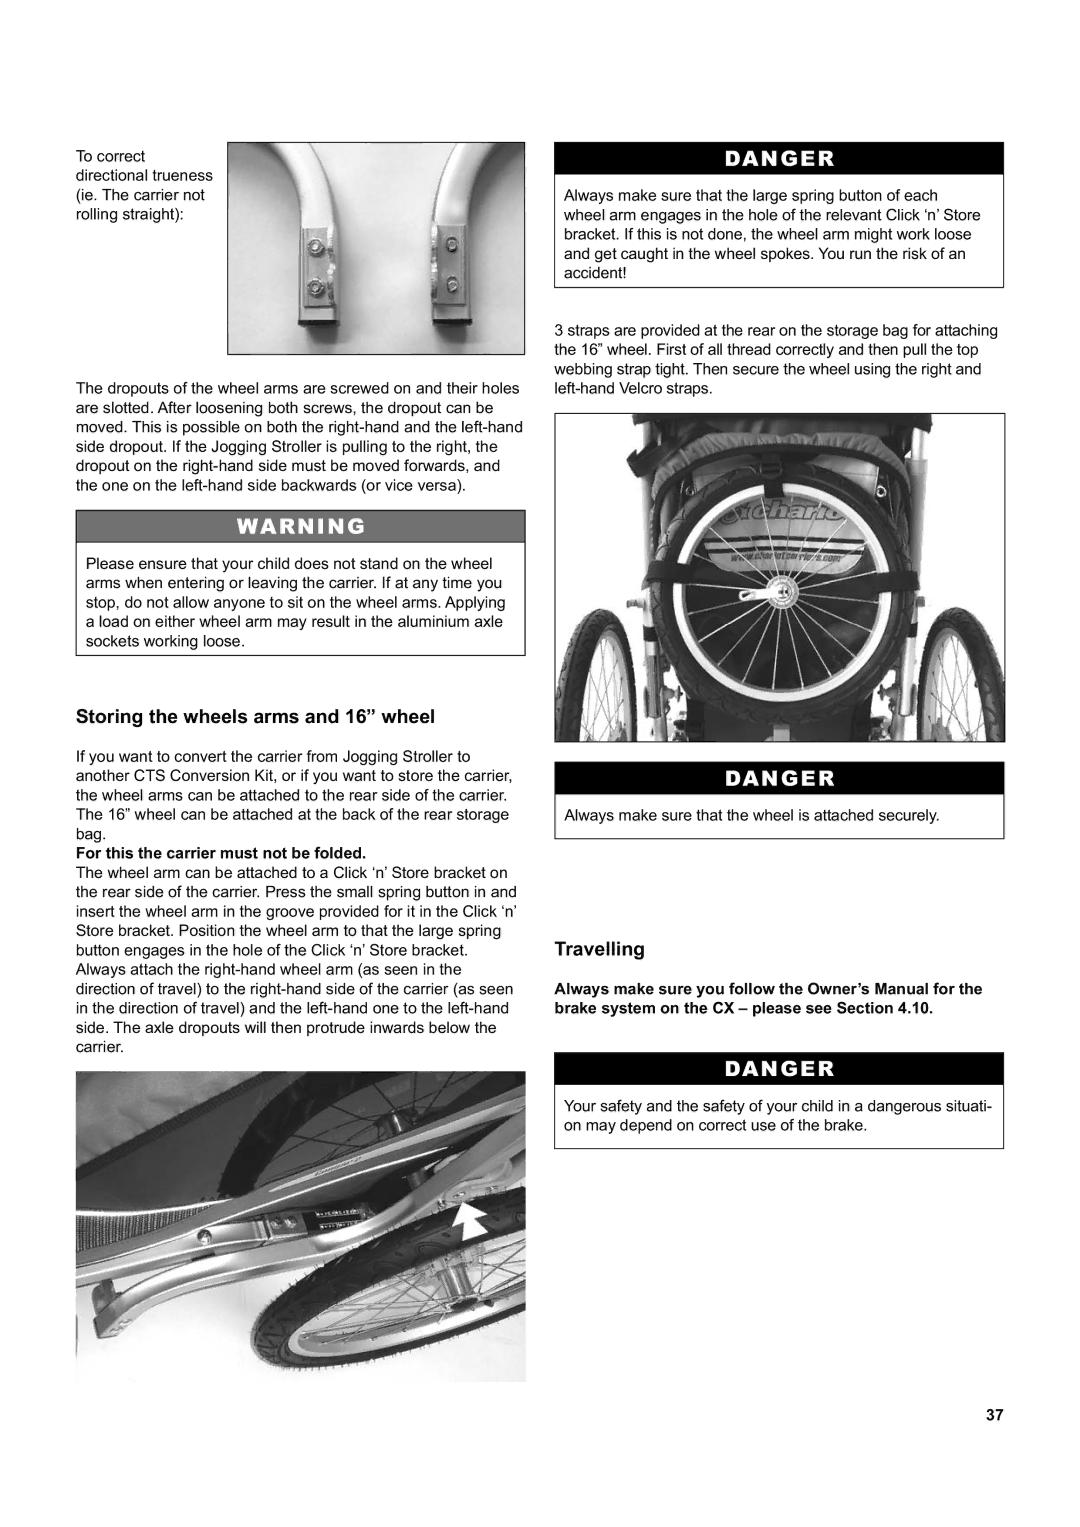
3 straps are provided at the rear on the storage bag for attaching the 16” wheel. First of all thread correctly and then pull the top webbing strap tight. Then secure the wheel using the right and
Storing the wheels arms and 16” wheel
If you want to convert the carrier from Jogging Stroller to another CTS Conversion Kit, or if you want to store the carrier, the wheel arms can be attached to the rear side of the carrier. The 16” wheel can be attached at the back of the rear storage bag.
For this the carrier must not be folded.
The wheel arm can be attached to a Click ‘n’ Store bracket on the rear side of the carrier. Press the small spring button in and insert the wheel arm in the groove provided for it in the Click ‘n’ Store bracket. Position the wheel arm to that the large spring button engages in the hole of the Click ‘n’ Store bracket. Always attach the
DANGER
Always make sure that the wheel is attached securely.
Travelling
Always make sure you follow the Owner’s Manual for the brake system on the CX – please see Section 4.10.
DANGER
Your safety and the safety of your child in a dangerous situati- on may depend on correct use of the brake.
37