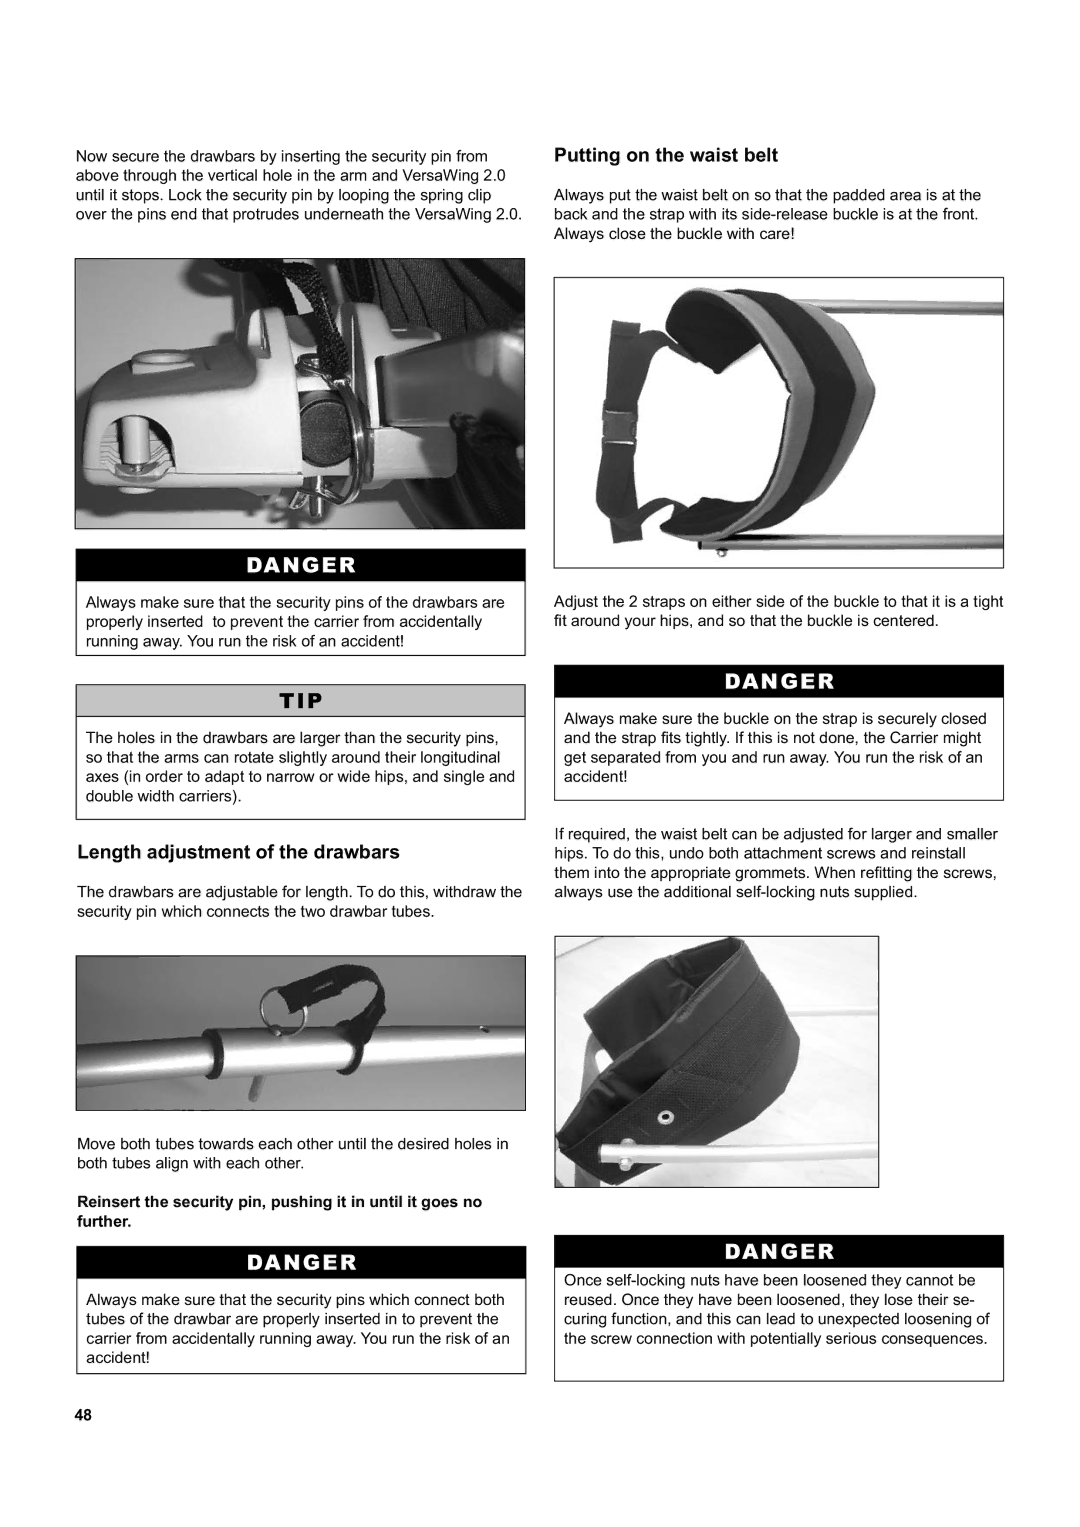
Now secure the drawbars by inserting the security pin from above through the vertical hole in the arm and VersaWing 2.0 until it stops. Lock the security pin by looping the spring clip over the pins end that protrudes underneath the VersaWing 2.0.
Putting on the waist belt
Always put the waist belt on so that the padded area is at the back and the strap with its
DANGER
Always make sure that the security pins of the drawbars are properly inserted to prevent the carrier from accidentally running away. You run the risk of an accident!
Adjust the 2 straps on either side of the buckle to that it is a tight fi t around your hips, and so that the buckle is centered.
TIP
The holes in the drawbars are larger than the security pins, so that the arms can rotate slightly around their longitudinal axes (in order to adapt to narrow or wide hips, and single and double width carriers).
Length adjustment of the drawbars
The drawbars are adjustable for length. To do this, withdraw the security pin which connects the two drawbar tubes.
Move both tubes towards each other until the desired holes in both tubes align with each other.
Reinsert the security pin, pushing it in until it goes no further.
DANGER
Always make sure that the security pins which connect both tubes of the drawbar are properly inserted in to prevent the carrier from accidentally running away. You run the risk of an accident!
DANGER
Always make sure the buckle on the strap is securely closed and the strap fi ts tightly. If this is not done, the Carrier might get separated from you and run away. You run the risk of an accident!
If required, the waist belt can be adjusted for larger and smaller hips. To do this, undo both attachment screws and reinstall them into the appropriate grommets. When refi tting the screws, always use the additional
DANGER
Once
48
