4.4 Installing the handlebar
Cougar and Cheetah
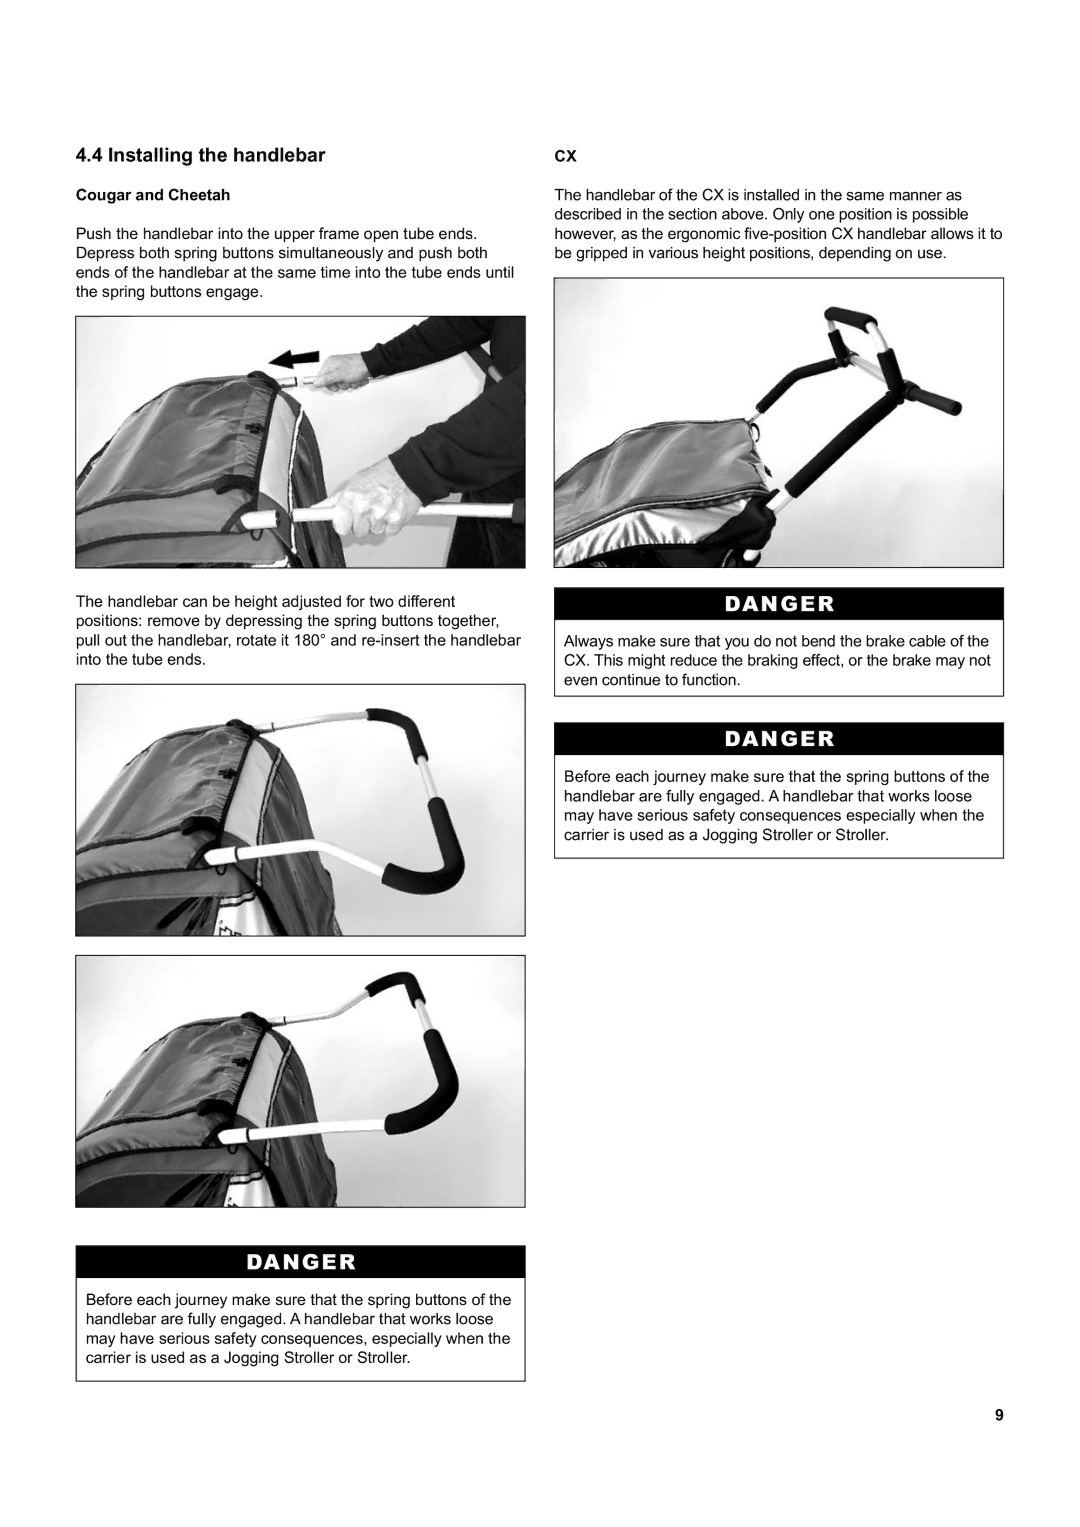
Push the handlebar into the upper frame open tube ends. Depress both spring buttons simultaneously and push both ends of the handlebar at the same time into the tube ends until the spring buttons engage.
The handlebar can be height adjusted for two different positions: remove by depressing the spring buttons together, pull out the handlebar, rotate it 180° and
DANGER
Before each journey make sure that the spring buttons of the handlebar are fully engaged. A handlebar that works loose may have serious safety consequences, especially when the carrier is used as a Jogging Stroller or Stroller.
CX
The handlebar of the CX is installed in the same manner as described in the section above. Only one position is possible however, as the ergonomic
DANGER
Always make sure that you do not bend the brake cable of the CX. This might reduce the braking effect, or the brake may not even continue to function.
DANGER
Before each journey make sure that the spring buttons of the handlebar are fully engaged. A handlebar that works loose may have serious safety consequences especially when the carrier is used as a Jogging Stroller or Stroller.
9
