M enu
Figure 3. 3. Entering the Menu
System

Section 3: Operation

Focus , Zoom , Lens H , Lens V

Arrow Keys

Use the keys to change a slidebar value or to select a different option within a pull-down list without having to first scroll through options. These keys also jump to the next page in long menus. See also Editing Text later in Section 3.

Use the keys to navigate within a menu, pull-down list or text box. Use in combination with power, shutter and OSD keys to force the corresponding state. See details provided on the back of the remote keypad.

Lens Focus, Zoom and Lens H, Lens V

There is no function when these keys are pressed – they require a motorized lens mount. Focus, zoom and lens offsets are manually adjusted in this projector.

In general, focus is adjusted by adjusting the rings on the projection lens and zoom, horizontal and vertical offsets can be achieved by adjusting the 6-axis adjuster. Refer to the Installation Guide provided with your projector for adjustment details.

Laser

Press to activate the laser pointer on the remote. This feature is useful when making presentations - just point the remote at the screen to highlight an area of your presentation. The closer you are to the screen the brighter thelaser beam appears. The laser pointer works best in an environment where ambient lighting can be controlled.

CAUTION

LASER RADIATION

DO NOT STARE INTO BEAM

LASER DIODE

Wavelength 670nm

Max Output 1mW

CLASS II LASER PRODUCT

3.3Navigating the Menus

NOTE: Leave batteries in the wired remote keypad for the key to work.

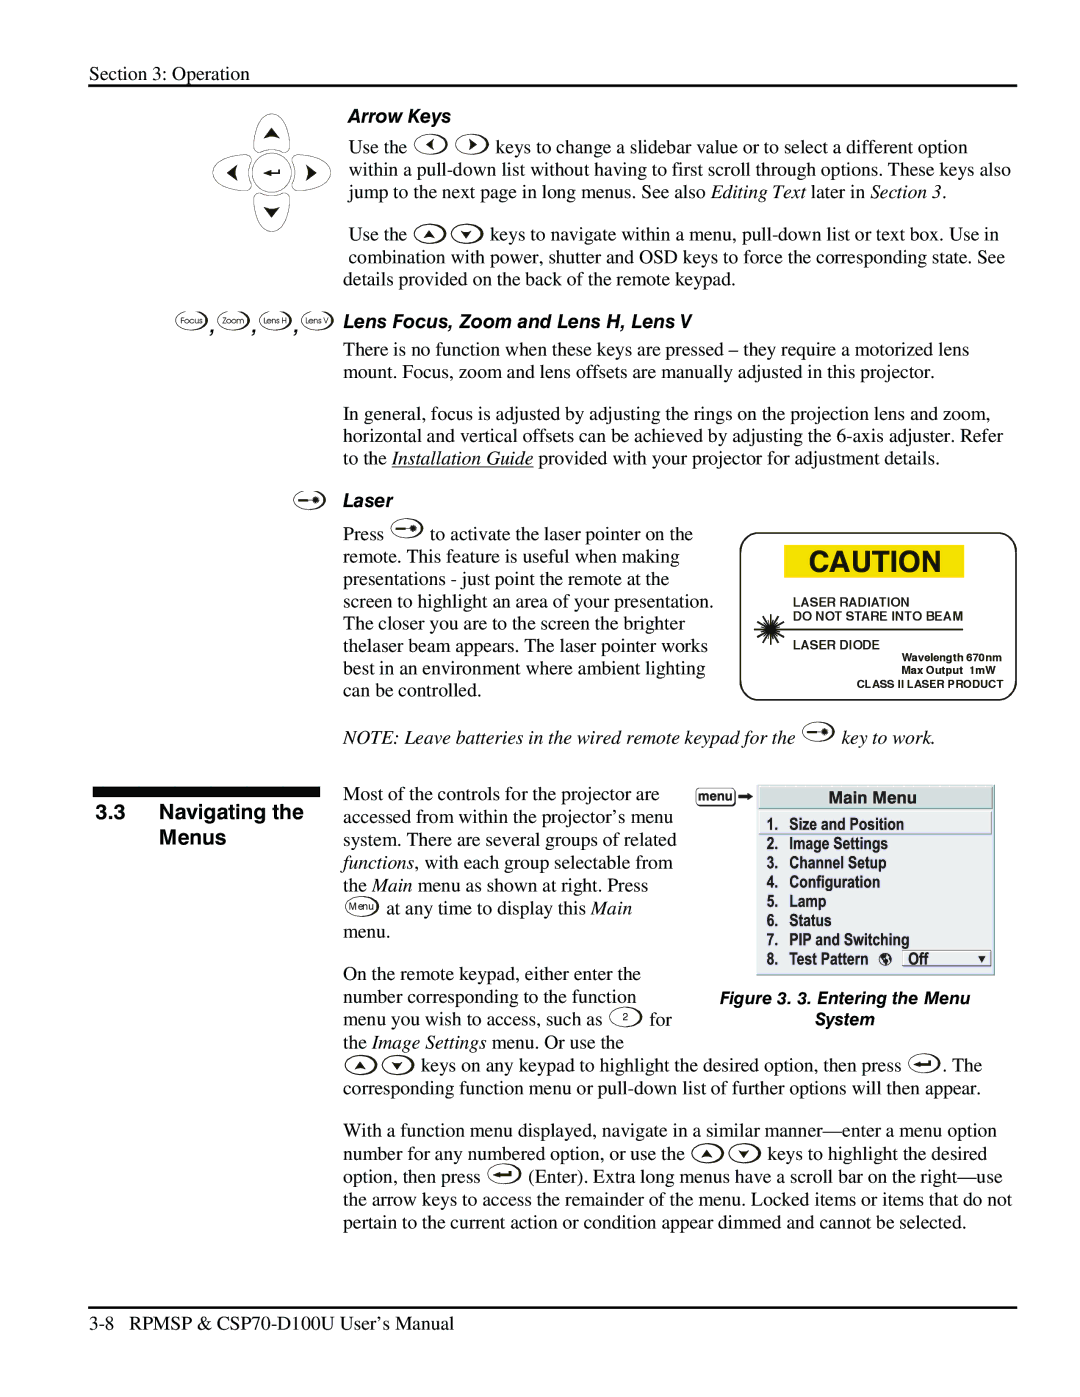
Most of the controls for the projector are accessed from within the projector’s menu system. There are several groups of related functions, with each group selectable from the Main menu as shown at right. Press at any time to display this Main menu.

On the remote keypad, either enter the number corresponding to the function menu you wish to access, such as 2 for the Image Settings menu. Or use the

keys on any keypad to highlight the desired option, then press . The corresponding function menu or pull-down list of further options will then appear.

With a function menu displayed, navigate in a similar manner—enter a menu option

number for any numbered option, or use the keys to highlight the desired

option, then press (Enter). Extra long menus have a scroll bar on the right—use the arrow keys to access the remainder of the menu. Locked items or items that do not pertain to the current action or condition appear dimmed and cannot be selected.

3-8 RPMSP & CSP70-D100U User’s Manual

Page 22
Image 22
Christie Digital Systems CSP70 user manual Arrow Keys, Lens Focus, Zoom and Lens H, Lens, Laser

CSP70 specifications

Christie Digital Systems has long been regarded as a leader in visual display technology, and the CSP70 is a standout product in their portfolio. This innovative projector is designed to cater to professional environments such as corporate meetings, educational institutions, and event venues that require high-quality image projection.

One of the most notable features of the CSP70 is its impressive brightness. With a high lumen output, the CSP70 ensures vibrant and clear images even in well-lit conditions. This is particularly important for environments where ambient light can interfere with image quality. The projector employs advanced DLP (Digital Light Processing) technology, which enhances color fidelity and contrast, producing sharp and detailed visuals that capture the audience's attention.

The CSP70 is also highly versatile, supporting a wide range of resolutions including 4K. This ability to display high-definition content makes it ideal for presentations that require fine detail and clarity. Whether used for corporate presentations, educational lectures, or immersive multimedia experiences, the projector delivers exceptional performance.

Another key characteristic of the CSP70 is its connectivity options. Featuring multiple input sources, including HDMI, DisplayPort, and various legacy connections, it ensures seamless integration with a variety of devices and media formats. This flexibility allows users to easily switch between sources without hassle, enhancing the efficiency of presentations and collaborations.

Moreover, the CSP70 incorporates advanced imaging technologies, including HDR (High Dynamic Range) support, which expands the color range and contrast ratio, providing stunning visuals that are more lifelike. The projector also boasts an extended lifespan, thanks to its robust design and efficient cooling system, minimizing maintenance interruptions and maximizing uptime.

In addition to its technical specifications, the CSP70 is designed with user-friendliness in mind. The intuitive interface allows for easy setup and operation, making it an excellent choice for users of all skill levels. Overall, the Christie Digital Systems CSP70 stands out as a powerful and adaptable projection solution, making it a go-to choice for professionals seeking reliability, quality, and versatility in their visual presentations.