Chapter
Getting Started Guide | 3 |
|
Part B: Configure the Network Storage System (NSS)
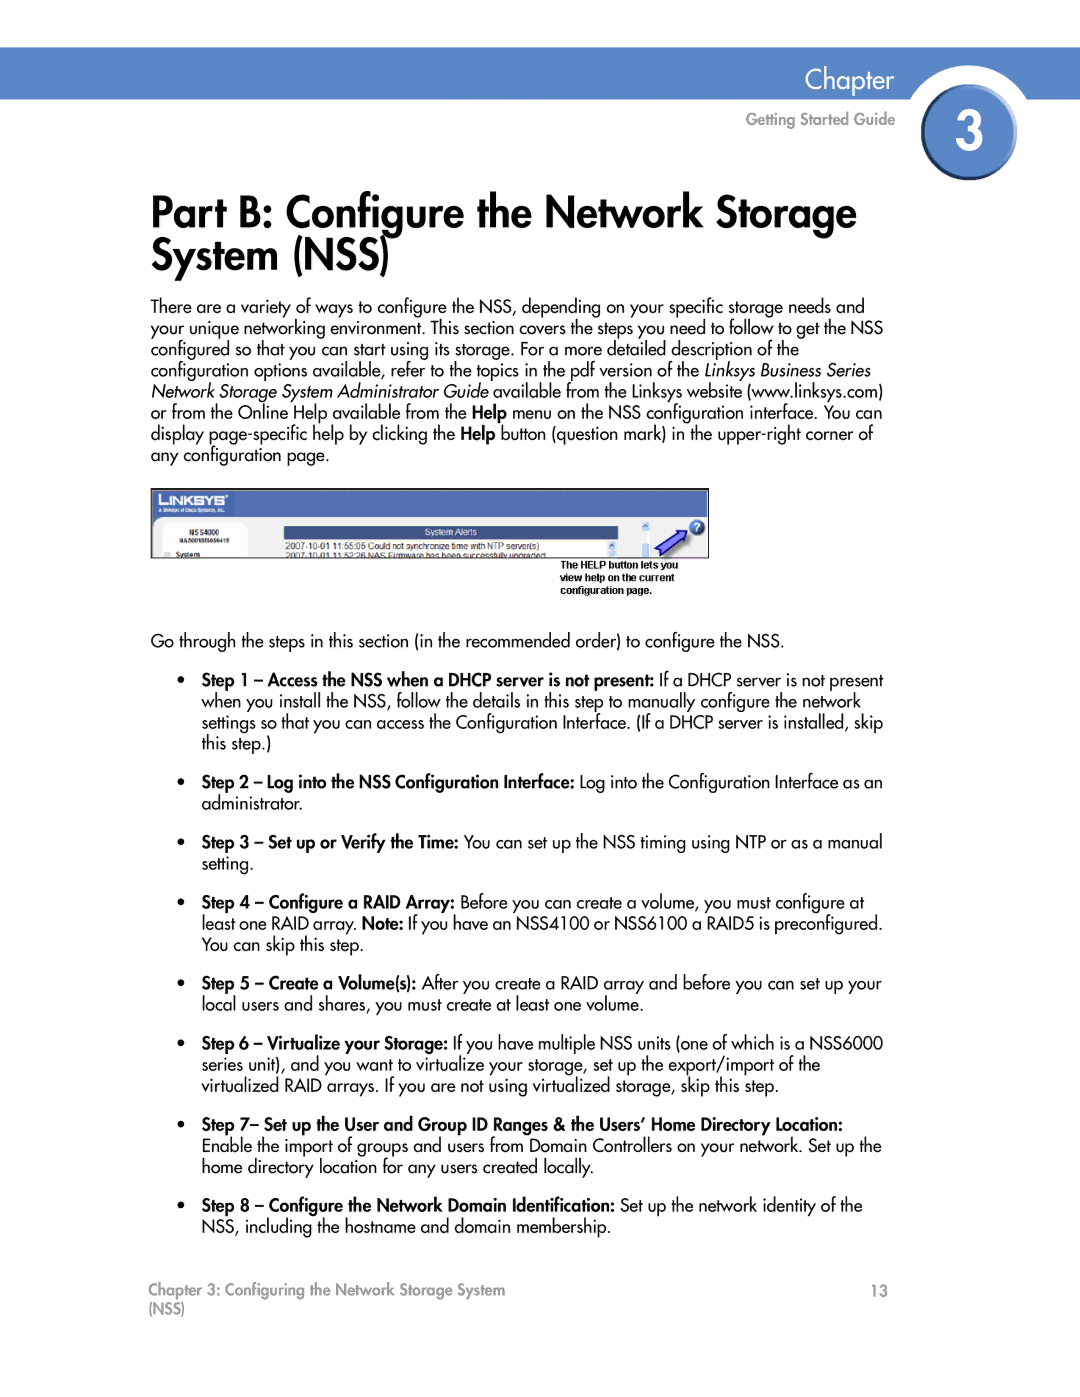
There are a variety of ways to configure the NSS, depending on your specific storage needs and your unique networking environment. This section covers the steps you need to follow to get the NSS configured so that you can start using its storage. For a more detailed description of the configuration options available, refer to the topics in the pdf version of the Linksys Business Series Network Storage System Administrator Guide available from the Linksys website (www.linksys.com) or from the Online Help available from the Help menu on the NSS configuration interface. You can display
Go through the steps in this section (in the recommended order) to configure the NSS.
•Step 1 – Access the NSS when a DHCP server is not present: If a DHCP server is not present when you install the NSS, follow the details in this step to manually configure the network settings so that you can access the Configuration Interface. (If a DHCP server is installed, skip this step.)
•Step 2 – Log into the NSS Configuration Interface: Log into the Configuration Interface as an administrator.
•Step 3 – Set up or Verify the Time: You can set up the NSS timing using NTP or as a manual setting.
•Step 4 – Configure a RAID Array: Before you can create a volume, you must configure at
least one RAID array. Note: If you have an NSS4100 or NSS6100 a RAID5 is preconfigured. You can skip this step.
•Step 5 – Create a Volume(s): After you create a RAID array and before you can set up your local users and shares, you must create at least one volume.
•Step 6 – Virtualize your Storage: If you have multiple NSS units (one of which is a NSS6000 series unit), and you want to virtualize your storage, set up the export/import of the virtualized RAID arrays. If you are not using virtualized storage, skip this step.
•Step 7– Set up the User and Group ID Ranges & the Users’ Home Directory Location: Enable the import of groups and users from Domain Controllers on your network. Set up the home directory location for any users created locally.
•Step 8 – Configure the Network Domain Identification: Set up the network identity of the NSS, including the hostname and domain membership.
Chapter 3: Configuring the Network Storage System | 13 |
(NSS) |
|