Chapter 5 | Configuration Using the |
Administrative Status The LAG’s administrative status. Select either Up or Down to enable or disable the LAG.
Current Status
Admin Auto Negotiation Select Enable (default) or Disable to enable or disable
Current Auto Negotiation
Admin Speed Use this to manually set the LAG’s configured transmission rate in Mbps. You can select 10M, 100M, or 1000M (Gigabit ports only). Before you change this setting, make sure that Admin Auto Negotiation is disabled.
Current LAG Speed
Admin Flow Control Select Enable or Disable to manually enable or disable flow control, or select Auto- Negotiation for automatic selection of flow control.
Current Flow Control
Select Ports To add a port to the LAG, select its checkbox in this section. You can select up to 8 ports per LAG.
Click Save to save the settings and leave the screen open. Click Save & Close to save the settings and close the screen. Click Close to close the screen without saving the settings.
Port Management > LACP
In addition to LAGs that you create by manually grouping ports together, you can also use the Link Aggregation Control Protocol (LACP) to automatically negotiate a LAG link between the Switch and another network device.
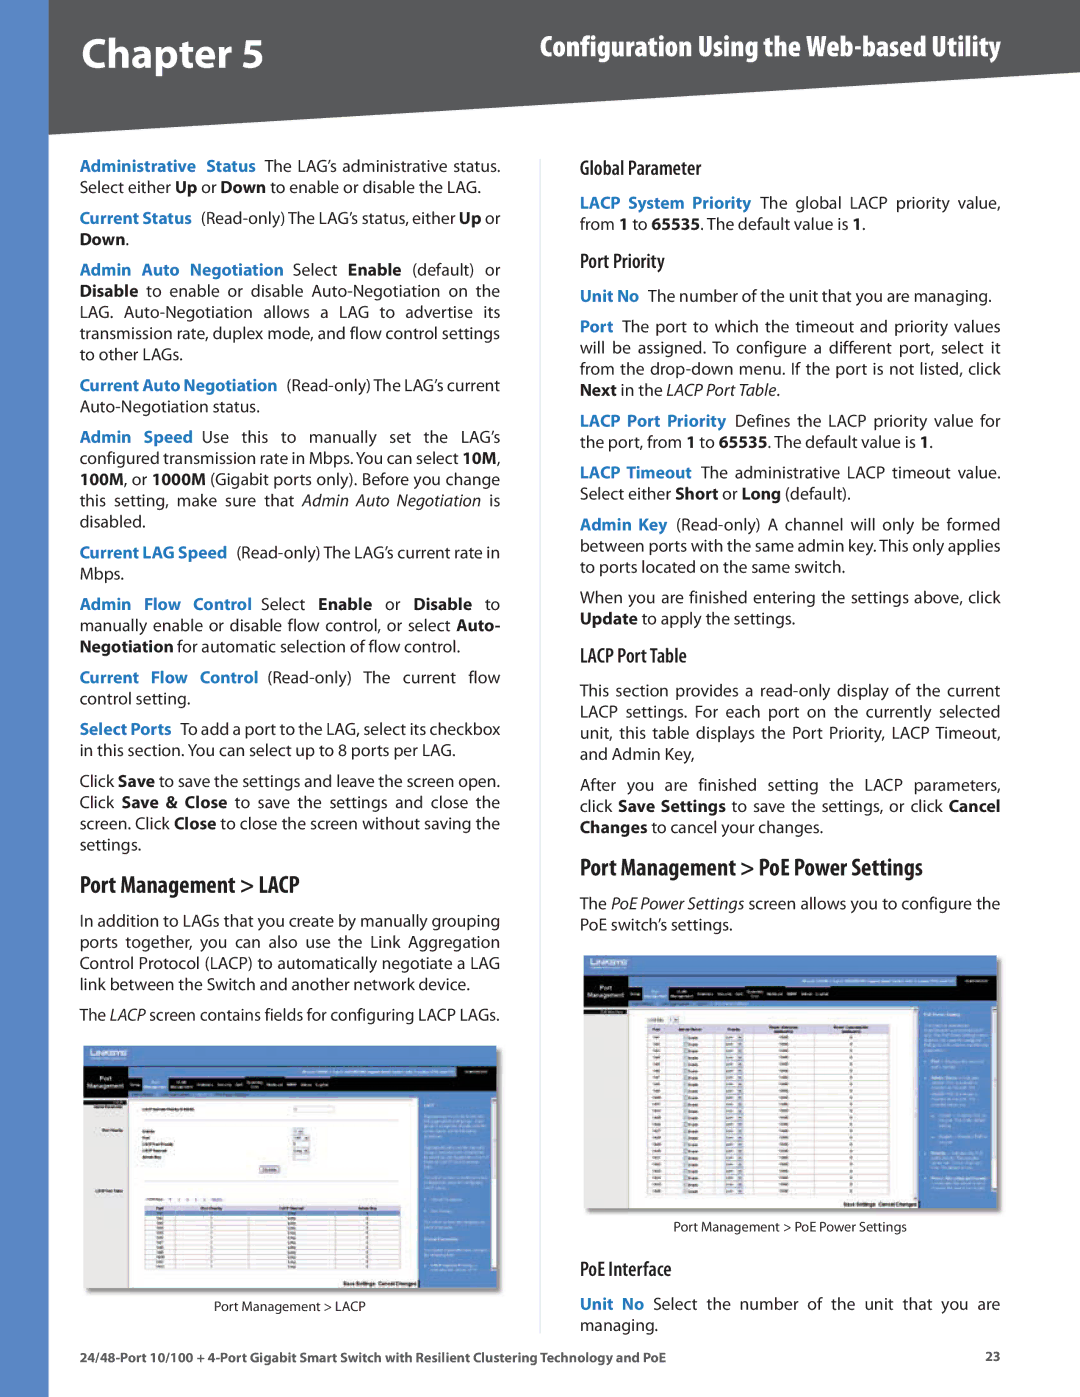
The LACP screen contains fields for configuring LACP LAGs.
Port Management > LACP
Global Parameter
LACP System Priority The global LACP priority value, from 1 to 65535. The default value is 1.
Port Priority
Unit No The number of the unit that you are managing.
Port The port to which the timeout and priority values will be assigned. To configure a different port, select it from the
LACP Port Priority Defines the LACP priority value for the port, from 1 to 65535. The default value is 1.
LACP Timeout The administrative LACP timeout value. Select either Short or Long (default).
Admin Key
When you are finished entering the settings above, click Update to apply the settings.
LACP Port Table
This section provides a
After you are finished setting the LACP parameters, click Save Settings to save the settings, or click Cancel Changes to cancel your changes.
Port Management > PoE Power Settings
The PoE Power Settings screen allows you to configure the PoE switch’s settings.
Port Management > PoE Power Settings
PoE Interface
Unit No Select the number of the unit that you are managing.
23 |
