5.4.4 AREA
•Choose the AREA in the MOTION menu with the UP/DOWN buttons
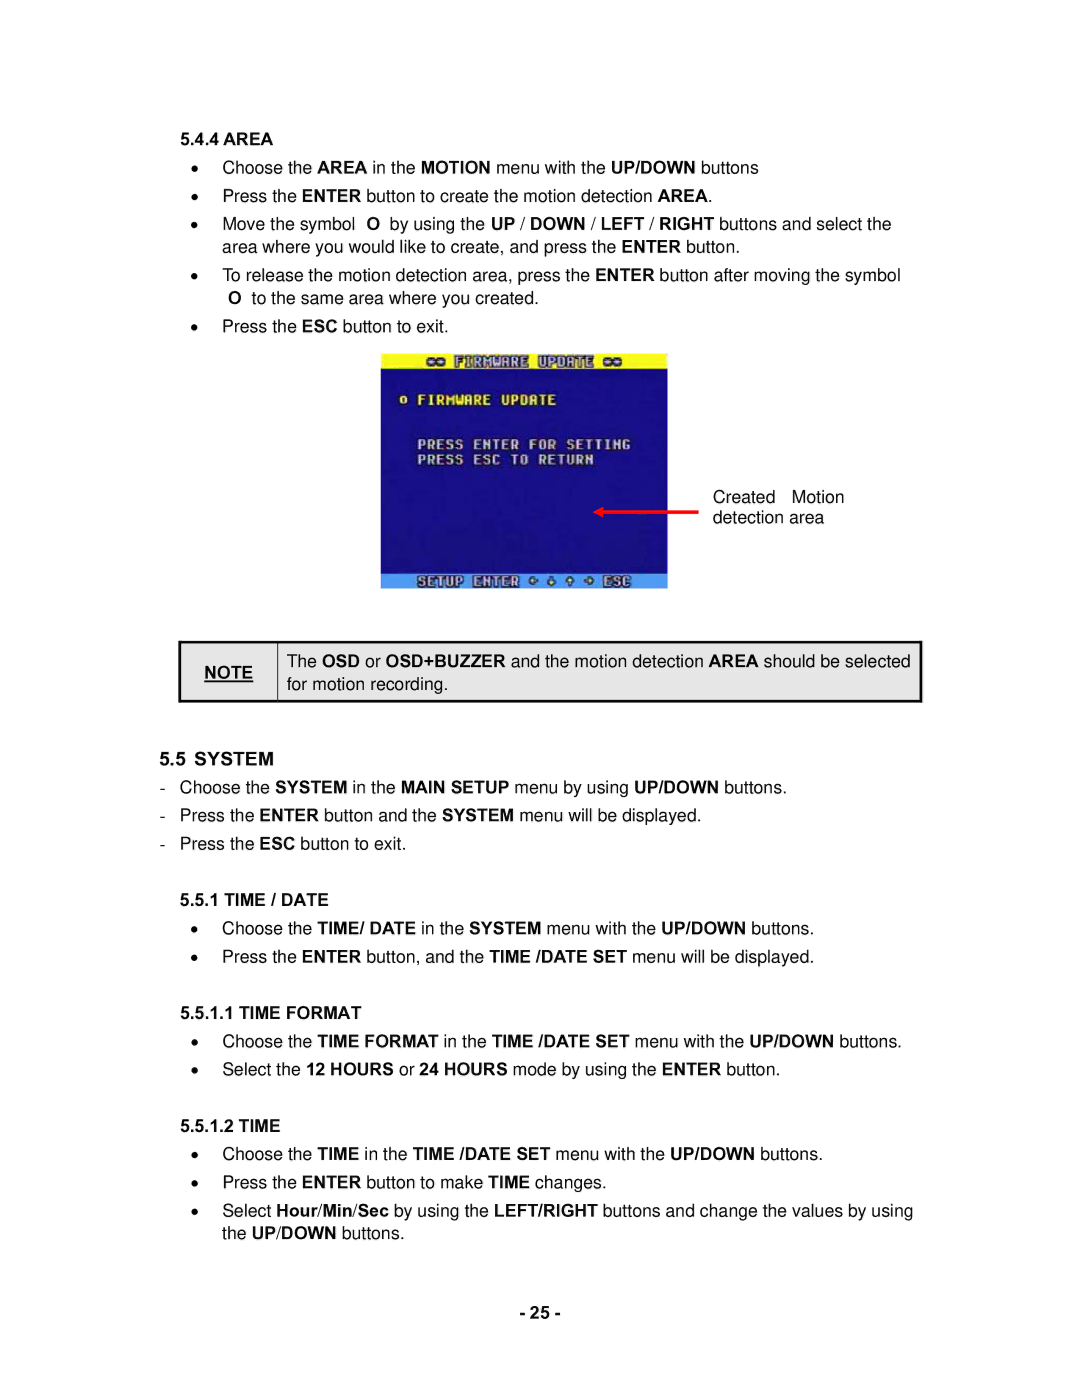
•Press the ENTER button to create the motion detection AREA.
•Move the symbol “O” by using the UP / DOWN / LEFT / RIGHT buttons and select the area where you would like to create, and press the ENTER button.
•To release the motion detection area, press the ENTER button after moving the symbol “O” to the same area where you created.
•Press the ESC button to exit.
Created Motion detection area
NOTE
The OSD or OSD+BUZZER and the motion detection AREA should be selected for motion recording.
5.5 SYSTEM
-Choose the SYSTEM in the MAIN SETUP menu by using UP/DOWN buttons.
-Press the ENTER button and the SYSTEM menu will be displayed.
-Press the ESC button to exit.
5.5.1 TIME / DATE
•Choose the TIME/ DATE in the SYSTEM menu with the UP/DOWN buttons.
•Press the ENTER button, and the TIME /DATE SET menu will be displayed.
5.5.1.1 TIME FORMAT
•Choose the TIME FORMAT in the TIME /DATE SET menu with the UP/DOWN buttons.
•Select the 12 HOURS or 24 HOURS mode by using the ENTER button.
5.5.1.2 TIME
•Choose the TIME in the TIME /DATE SET menu with the UP/DOWN buttons.
•Press the ENTER button to make TIME changes.
•Select Hour/Min/Sec by using the LEFT/RIGHT buttons and change the values by using the UP/DOWN buttons.
- 25 -
