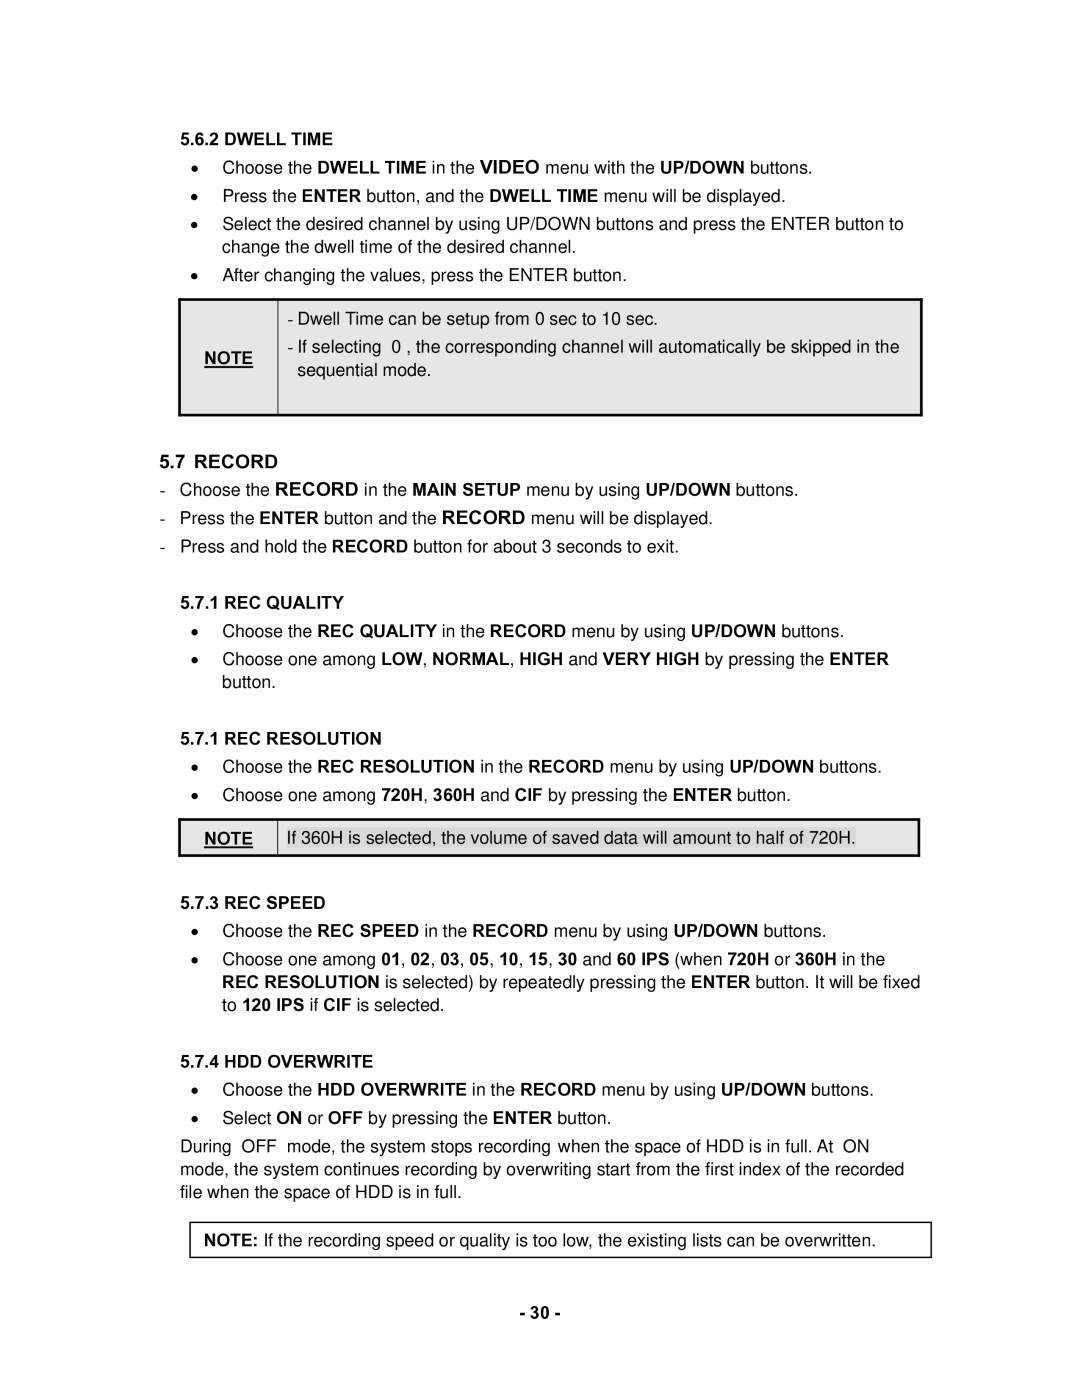
5.6.2 DWELL TIME
•Choose the DWELL TIME in the VIDEO menu with the UP/DOWN buttons.
•Press the ENTER button, and the DWELL TIME menu will be displayed.
•Select the desired channel by using UP/DOWN buttons and press the ENTER button to change the dwell time of the desired channel.
•After changing the values, press the ENTER button.
NOTE
-Dwell Time can be setup from 0 sec to 10 sec.
-If selecting “0”, the corresponding channel will automatically be skipped in the sequential mode.
5.7 RECORD
-Choose the RECORD in the MAIN SETUP menu by using UP/DOWN buttons.
-Press the ENTER button and the RECORD menu will be displayed.
-Press and hold the RECORD button for about 3 seconds to exit.
5.7.1 REC QUALITY
•Choose the REC QUALITY in the RECORD menu by using UP/DOWN buttons.
•Choose one among LOW, NORMAL, HIGH and VERY HIGH by pressing the ENTER button.
5.7.1 REC RESOLUTION
•Choose the REC RESOLUTION in the RECORD menu by using UP/DOWN buttons.
•Choose one among 720H, 360H and CIF by pressing the ENTER button.
NOTE
If 360H is selected, the volume of saved data will amount to half of 720H.
5.7.3 REC SPEED
•Choose the REC SPEED in the RECORD menu by using UP/DOWN buttons.
•Choose one among 01, 02, 03, 05, 10, 15, 30 and 60 IPS (when 720H or 360H in the REC RESOLUTION is selected) by repeatedly pressing the ENTER button. It will be fixed to 120 IPS if CIF is selected.
5.7.4 HDD OVERWRITE
•Choose the HDD OVERWRITE in the RECORD menu by using UP/DOWN buttons.
•Select ON or OFF by pressing the ENTER button.
During “OFF” mode, the system stops recording when the space of HDD is in full. At “ON” mode, the system continues recording by overwriting start from the first index of the recorded file when the space of HDD is in full.
NOTE: If the recording speed or quality is too low, the existing lists can be overwritten.
- 30 -
