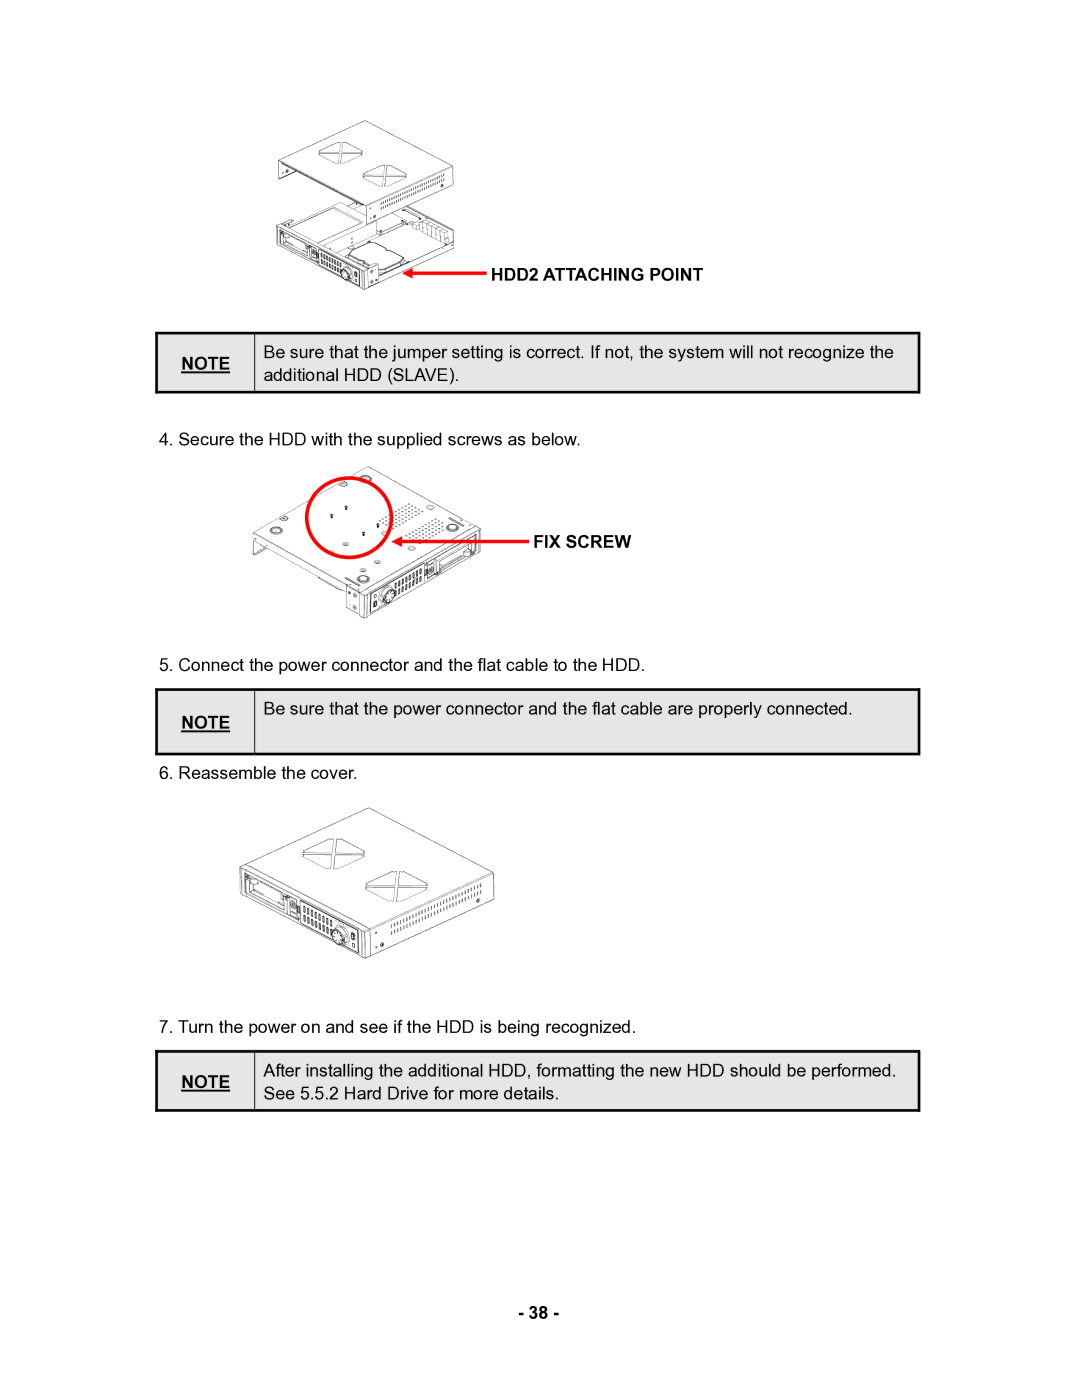
HDD2 ATTACHING POINT
NOTE
Be sure that the jumper setting is correct. If not, the system will not recognize the additional HDD (SLAVE).
4.Secure the HDD with the supplied screws as below.
 FIX SCREW
5.Connect the power connector and the flat cable to the HDD.
NOTE
Be sure that the power connector and the flat cable are properly connected.
6. Reassemble the cover.
7. Turn the power on and see if the HDD is being recognized.
NOTE
After installing the additional HDD, formatting the new HDD should be performed. See 5.5.2 Hard Drive for more details.
- 38 -